Sunday 31 March 2013

Indoor sowing

All my plans for a major seed-sowing session this weekend have been scuppered by the weather. Much as I would like to do so, it is really not suitable weather for sowing seeds outdoors. Our daytime temperatures have struggled to get into double figures, and at night-time they have been several degrees below zero - for weeks now. And despite the fact that our clocks have gone forward an hour today, taking us into British Summer Time (who do they think they are kidding?) the light levels are still very poor indeed, so windowsill-raised seedlings are not likely to do well. So what to do?


Many of you will know that I got a Grow Light House as a birthday present the other day, and it is certainly "fully booked", but in current circumstances I could do with three or four of them! But even if the growlights help me to produce some good seedlings, when will I be able to plant them outside? I have decided that the only thing to do is to assume that the weather WILL change some time during April, and plan accordingly. If I don't even sow seeds until the weather warms up I will probably be planting my seedlings in July! Having made this decision, I have begun sowing seeds in some containers - indoors. Well, to be exact, in my garage.


The garage (which is part of the main structure of my house) is too dark for growing things properly (it has only one window), but it will be OK for germination. The temperature in there is nowhere near what it is inside the house itself, but it is certainly many degrees warmer than outside in the open air. I'm just hoping that by the time my seeds germinate the weather will allow me to put the containers outside.

Today I filled two large plastic boxes with compost and sowed into them seeds for three different types of finger carrot - "Amsterdam 3 Sprint", "Mignon" and "Mini Finger". I sowed the seeds fairly thickly, and I will need to thin them later, when I see how good the germination rate is.

Carrots, after sowing, but before covering with the final layer of compost

These are varieties of carrots specially bred to be small. They are the type that is often eaten raw as a salad ingredient, although they are also very nice cooked. Their big advantage is that they generally mature in much less time than maincrop carrots - although this wasn't true last year! In amongst the carrot seeds I sowed a small number of Spring Onion seeds too (White Lisbon). This is because I have read that onions may repel Carrot Root Fly. I'm not convinced of this, and won't be relying on this method alone, but anything that even contributes towards the deterrence of Carrot Root Fly is welcome.

This is the end result. Nearest the window is my little Fig tree, waiting to be potted-up into a bigger container. Then seed potatoes, chitting. Then the black plastic boxes with the Carrots in, raised up on top of some empty plastic planters.


You can tell that the carrots are never going to be satisfied with the level of light they will receive in that position, but I sincerely hope that their residence there will be of short duration!

Saturday 30 March 2013

Buddleia

I have pruned my Buddleia Davidii- again. I did prune it back in the Autumn, as described HERE, but I recently read an article in a magazine about how to prune Buddleias properly, and I decided that I had not done a good enough job. This is what the plant looked like after my first attempt in November:


The article I read advocated much harder pruning, so I have taken the plant down to this:


As I mentioned when I wrote about the first pruning episode, the plant got very top-heavy last year and keeled over. To counteract this I have put in a stout hardwood stake and I have strapped the Buddleia to it with a nylon tree-tie.


I have left in place the cuttings that I planted in November. They look as if they are alive all right, but I think it is best if I leave them to develop strong root systems before I attempt to re-locate them.

I should also mention that this is a good time of year for pruning shrubs - before they put on their new growth.

Friday 29 March 2013

"Cornish pasty" pie

Last Saturday Jane went into London for a club meeting, and it therefore fell to me to make dinner (not that I mind in the slightest!). It was a cold, windy day and chucking it down with snow, so I decided that a pie would be appropriate. Pies are good comfort food, ideal for this sort of day.

Now first an admission: I had never made pastry before. Well, certainly not "solo". I think I have only made it once before with Jane watching over my shoulder and providing advice. However, I wanted a pie, and you can't make a pie without pastry... I dug out Jane's little Be-Ro recipe book - a rather dog-eared volume, but with evidence of frequent use - always a good sign. Aha, "Making pastry", page 19. So I followed the instructions very carefully. They worked! I dutifully rubbed the fat into the flour, added the water, formed the dough, chilled it, rolled it, draped it over the rolling-pin and plonked it on top of a pie-dish full of nice stuff (details in a moment). I even remembered to cut some holes in the top to allow steam to escape. So here we are: Exhibit 'A' - one pie ready for baking.


"So, what was in the pie?", I hear you ask. Well, it was what you would put in a Cornish pasty: diced stewing beef, potato, onion and swede turnip. I browned the meat and cooked it in seasoned stock to make a nice rich gravy and then reduced the liquid so that I would have a fairly firm filling for the pie. I also part-cooked the vegetables, since one of the things I dislike about many commercially-produced pasties is that they often contain potato that is still almost raw. I mixed these ingredients together and put them into the pie-dish, and once the mixture was cool I put the pastry on top, crimped it round the edge with a fork and brushed the surface with beaten egg.

At some point along the way I realised that I had more ingredients than would fit in my pie-dish, so I decided to make another, smaller, pie. This was actually a stroke of genius, because not only did it provide me with lunch, but it also gave me the opportunity to test-drive a prototype of my pie. You see, I wasn't certain that my pastry would be any good, and I thought that if it turned out to be horrible I could always tell Jane I had just made a casserole and conveniently omit any mention of pastry...

So here is the mini-pie. Firstly, in its raw state (with rolling-pin in the photo to give an idea of scale):


Then in its finished state. Doesn't that pastry with its glossy golden coating of egg-wash look yummy?


And now an "interior view"...  Unfortunately the top wouldn't come off in one piece. Nevertheless, I was quite happy with the pastry's texture. By the way, I forgot to mention that this was Shortcrust pastry, so crumbly rather than flaky.


I have to say I was satisfied with the result - and not a little relieved too, because I know that making pastry can easily go wrong. So it was with more confidence that I set-to to prepare the rest of our dinner.

This is how the main pie came out - thankfully just a bigger version of the small prototype!


The filling of my pie was moist enough not to need any separate gravy. All the meal needed was a splash of colour and a change of texture, so I served the pie with some lightly-boiled Savoy Cabbage.


Well, it wasn't exactly a Cornish pasty, but it was fairly pasty-esque! Beautifully tender savoury meat, firm (but fully cooked!) vegetables and crisp tasty pastry. I was really happy with this result. There'll be no stopping me now! I might even make a quiche next...

Thursday 28 March 2013

Daffodils

I love Daffodils. In my mind their vivid yellow colour is practically synonymous with Spring, and what a welcome sight it is after months of Winter drabness!

In my small garden, the shorter varieties look best, and they are also the most practical because they suffer less from wind damage than the bigger, taller varieties. One variety that I have grown several times is "Jetfire". It grows to a height of about 12" and has a lovely two-tone flower: yellow petals with a bright orange trumpet.


The yellow petals always have a swept-back stance, making them look almost as if they are constantly rushing forwards into a gale of wind. (Actually, they have been doing a lot of that just recently!)


Individual Daffodil flowers don't last very long - 10 to 14 days is about normal - and of course each bulb only produces one flower, once a year. However, if you choose wisely, you can have Daffodils flowering in your garden for at least three months. The first ones generally flower in late January, and there are plenty of types that flower in late April or early May.


This is Tete a Tete, which grows to about 8" tall - perfect for rockeries, small beds or the front of a border.


Daffodils, despite their frail appearance, are actually very hardy and resilient. Mine have been all but submerged in snow, battered by icy blasts of wind, and deluged with torrential rain, but they still look pretty good.


Yes, well... In the circumstances, those daffs do look nice, with their vivid yellow colours contrasting with the white snow background, but don't you just wish I was publishing photos of Geraniums, Rudbeckia or Sunflowers?

Wednesday 27 March 2013

Moros y Cristianos

Soup of the day:


This is a variation on the theme of "Moros y Cristianos" (Moors and Christians) - a dish normally made with black beans and white rice - but I have hijacked the idea for a soup made with black and white beans.

My soup was made with dried home-grown "Cherokee Trail of Tears" beans for the black element, and tinned Cannellini beans for the white. If like me you are using dried beans, it is best to soak them for several hours before cooking them.

Ingredients:
100g cooked black beans
100g cooked white beans
1 medium onion, peeled and chopped
2 cloves of garlic, peeled and crushed
1 red chilli, de-seeded and cut into quarters
3 dried chipotle chillis, re-hydrated (soaking water retained)
1 litre chicken or vegetable stock
1 tbsp vegetable oil
1/4 tsp ground Cumin

Method:
Fry the onion gently with the oil in a large saucepan for a few minutes, until translucent but not brown
Add the garlic and Cumin and cook for one more minute
Add the stock, along with the chipotle chillis and the water in which they were re-hydrated
Add the beans
Bring to a boil and simmer, covered, for about 45 minutes
If the soup is too thin for your liking, remove the pan lid and allow some of the fluid to evaporate
Immediately before serving, lightly crush some of the beans to produce a creamier texture
Serve in large bowls, garnished with the red chilli, and accompanied by some crusty bread (Corn bread would also be nice, and very appropriate.)


The chipotle chilli gives this hearty soup a pleasantly smoky, warm flavour, without being too spicy. If you want spicy, add some more fresh red chillis during the cooking.

Afterthought: When we ate this soup, Jane commented that it could have been improved with the addition of some slices of soft, Frankfurter-style sausage. I agree. I'll remember that for next time! [Perhaps some home-smoked sausages like those I did the other day? They would combine brilliantly with the smoky chipotle.]

Tuesday 26 March 2013

Tomato containers

At this time of year I usually do a bit of "stock-taking" in my garage, where I keep all my gardening kit. One of the things I have done this week is review what containers I have for growing potatoes and tomatoes. The result of this exercise is Classified information, but suffice it to say that I now have "lots"...

Tomatoes and potatoes need large containers. Small ones dry out too rapidly which makes for erratic growth - as well as encouraging Blossom End Rot in the tomatoes, so over the years I have accumulated a number of containers which I consider perfect for the task. Although they are maybe not quite as attractive as terracotta pots, plastic ones are more practical, since they are less prone to damage and retain moisture better. Until recently I would have said that these are perfect tomato pots:

Photo from 2011


Photo from 2011

However, last year I discovered some pots that are even better.

Photo from 2012

These ones are big (40cm square) plastic pots, with a water reservoir in the base, which can be refilled via a vertical tube that sticks up above the compost level. I described how I use these pots in a blogpost about this time last year, so if you're interested, follow this link: Tomato pots

Last year my Mother-in-law gave me three of those for my birthday. I was so impressed with them that this year I asked her for the same again! I now have 6 identical pots. These will be the ones I use for my main crop, which will probably be three plants each of "Ferline" and "Orkado".

My other tomato plants will go into slightly less good pots, and they will not have the benefit of those really useful cane-support devices. I have searched everywhere for them, but they don't seem to be available any more. There are various other similar devices to be had, and I have tried a couple, but in my opinion none of them are as good. They were originally designed for supporting canes used with Growbags.

I haven't finally decided how many tomatoes to grow this year, nor which varieties they will be. I have seeds for about 20 varieties, but I think I'll try to restrict myself to about six or eight. Apart from the two named above, I will probably have "Sungold", "Maskotka", "Cherokee Purple", "Zapotec Pleated", "Tigerella" and "San Marzano" - but then I may change my mind again!

One of the containers I use will be the new Woodblocx raised bed. I think it will play host to several of the "Maskotka" plants (amongst other things). Should be big enough, don't you think?


If you would like to read more about my tomato-growing efforts in previous years, try these links:
2010, 2011 and 2012 - or just put "tomato" into the Search widget on my sidebar.

Monday 25 March 2013

Stovetop Smoker report

I used my new Stovetop Smoker for the first time at the weekend. I was very impressed with it. To be honest, I hadn't expected anything as simple as that to be much good, but I was pleasantly surprised. It works on pretty much any type of cooker - even induction hobs - but gas and electric hobs are evidently best. The pan can also be used as a poacher, a steamer or a conventional roasting-pan.

Using it could hardly be simpler. You put a little pile of the wood chips in the base of the pan, put the "drip-tray" directly on top of it and then the grill rack with your food on top of that. Fit the lid and close it until only a small gap remains. Then put it on a moderate heat and wait for smoke to appear, which in my case was only about 2 minutes.When you see the first wisps of smoke appear, you close the lid fully and the cooking time officially begins.


The lid fits pretty tightly and only a tiny amount of smoke comes out. The sample of smoking-wood supplied with mine was Alder, which is apparently considered very mild. The instruction booklet mentions 8 other types, some of which are very much more "full on", such as Mesquite and Hickory.

I chose something very simple and "safe" for my first use of the smoker - some pork chipolata sausages, bought from my local butcher. Cooking time for sausages is given in the booklet as approximately 10 minutes per half pound (which is the weight I had). Not knowing what to expect, I wanted to keep opening the lid to check progress, but I know that is not a good thing to do as it allows the smoke to escape. Nor is it easy, since the lid fits very tightly! Since the booklet mentions that many meats need finishing on a traditional grill to make them go brown and crispy, I had expected my sausages to remain rather anaemic in colour, but I was very wrong. Just look at this:


I served my sausages as a starter, simply cut into pieces and presented with a little bowl of Brown Sauce to dip them in.


The flavour was amazing! Jane said "This is probably the best smoked food I have ever had". What greater accolade could you hope for? I think we are likely to be using this thing quite frequently. I'll probably have a go with chicken next, because we both love smoked chicken as a cold salad ingredient.

Sunday 24 March 2013

Planting potatoes

Because I don't have much space available I always grow my potatoes in containers. Last Friday I planted my first batch of the year - two tubers each of seven different varieties. In a couple of weeks' time I will plant another batch, but the size of the current batch was limited by the arrangements available for protecting them. With the weather being very Wintery again I don't want to plant any potatoes without protection of some sort.

Normally I would do my potato-planting outdoors, but the weather was so cold and windy that this time I did the task in the garage. This year I am trying the Miracle-Gro compost, which is artificially boosted with nutrients, so we'll see how good it is...


The containers I used were 12" florists' buckets, with holes drilled in them for drainage. I bought them at Morrisons supermarket - 8 for 99p. I find these are quite sufficient for one tuber each. I also use larger containers, but these small ones have one big advantage - I can fit a lot of them in my "seedling greenhouse" contraption:


This thing is designed to serve the same purpose as a coldframe, and is the same shape - that's to say it is taller at the back than it is at the front. I can (just) fit twelve of those florist's buckets inside it.


Do you see those labels? This year I am being a bit more organised than usual - I normally don't label the potato pots and then I can never tell which is which.

My method of planting is this: I put a fairly thin (5cm?) layer of compost in the pot, add a handful of pelleted chicken manure, then another handful of compost so that the potato tuber is not in direct contact with the manure; settle one tuber firmly into the compost in each pot and then cover it with more compost - again a layer of approx 5cm. I water the pots to make the compost uniformly moist but not wet, and then put them in the greenhouse thingy and zip up the cover:-


The way this thing is designed means that it does have a habit of collecting rainwater, which is why I have added a length of plastic cord about halfway down, to stop the lid sagging. Also, the overhang of the zip-up cover flaps about in the wind and lets in a draught if you don't do something about it, so I secure it with some clothes-pegs. (See next photo).

Later on, when the shoots appear above the surface of the compost, I add more compost to submerge them again. I repeat this procedure a second time, by which time the pots are full to the brim. This is the equivalent of "earthing-up" or "hilling".

I have also erected the first of my 2-tier mini greenhouses, which now accommodates a further two pots of potatoes:


When I get the chance I am going to put up one more 2-tier greenhouse cobbled together from the parts of two others. Some of the plastic bits have gone brittle with age and have cracked, while some of the metal struts are crumbling with rust, but I probably have enough good bits to make one complete greenhouse. I have also separately purchased a new cover. These things are fairly flimsy but don't cost a huge amount of money (about £25 for a complete kit or about £10 for a replacement cover), and they last several years. I think my oldest one must be nearly 10 years old, so I reckon they are worth the money.

So now the waiting begins. Early potato varieties take something like 3 months to mature, so it will be late June before I harvest any of them.

For the record, these are the varieties I planted:-
Accent, Swift, Rocket, Orla, Casablanca, Lady Christl and Ratte. I also have a few Pink Fir Apple, but they are not ready for planting yet.

Saturday 23 March 2013

Stovetop smoker

Another of my birthday presents was this stove-top smoker. I didn't know that such things existed!


Jane chanced upon a website selling these and couldn't resist buying one for me, even though she had already bought me my present - that Growlight House I wrote about yesterday. How lucky I am to be married to someone who spends a signifcant proportion of her waking hours browsing the internet! She does this in her search for competitions to cover in her magazine The Competition Grapevine, so it is a perfectly legitimate and resonable activity, but it does occasionally have some fortuitous side-effects...

Is that warning REALLY necessary?

Fortunately it comes with a clear set of instructions - which I will certainly need!


Don't worry - the booklet is in English as well as French.

I'll probably have a go with the smoker over the weekend, so I'll let you know how I get on.

Friday 22 March 2013

Growlights

As she always does, Jane bought me some very nice birthday presents, one of which is something I have
been wanting for ages - an indoor Growlight House.

This one is the Garland Grow Light Garden. It was easy to assemble. Aided by a good set of instructions, it only took me just over ten minutes.

In the past I have always struggled to produce good plant seedlings early in the year, simply because I can't provide them with sufficient light. This year has been particularly bad in this respect, with very few sunny days so far. Heat is no problem: the house is usually warm enough for germination anyway, and I sometimes give seeds a head-start by putting them in the airing-cupboard for a few days. But heat without enough light produces etiolated or "leggy" seedlings, like these:-


Those ones are Tenderstem Broccoli. They will probably be OK-ish, but they are not likely to produce strong plants, so I will probably re-sow and see how they do in the new Growlight House. The trouble is, there are lots of other seeds I want to sow too, such as my chillies and tomatoes!


As you can see, I have already put some of my very light-deprived seedlings under the lights. I have to go away on business for a few days on Sunday, so I think I will probably delay sowing more seeds until the following (Easter) weekend, but I'm expecting great things of this device...

I know that some of you have similar bits of kit, so can I ask you this please: how do you water your plants under the lights? Do they need more water than usual? Do you fill the base (or maybe the 4 separate trays) with gravel or something to help with drainage or moisture-retention? Any advice you can offer will be gratefully received!

Thursday 21 March 2013

Bits and Bobs

Having been away last weekend, and out at work until today, I have not had much chance to see what's going on in my garden, but I had a good look round this afternoon. It currently appears to be in a state of "neither here nor there". Winter seems to have nearly finished (though I'm not sure) and Spring may possibly have begun. My plants seem equally undecided.

No sign of any Asparagus coming up yet, but the Rhubarb is gradually emerging - albeit very slowly. Every time it thinks Spring has arrived we get another cold spell.


The Broad Beans I sowed under cloches on 15th February have not shown through yet, but the Radishes I scattered around them have just germinated:


I promised myself that I would not sow my second row of Broad Beans until the first one had germinated, because I want to stagger the harvest, but I hope they get a move on!


The Crocuses and Daffodils are looking good. I have moved several pots so that they are in a group right outside the French windows, so that I can see them from where I sit in my favourite chair.


Last Autumn I planted out many of the Crocus bulbs that I had previously grown in pots, around the bases of my trees, so that they could "naturalize". They are settling-in nicely:


 My Snakeshead Fritillaries have got buds on them now, but there aren't as many of them as I had hoped. I think a few must have succumbed to the ravages of the Winter weather.


 The Raspberry plants that took a bit of a battering when the new fence was put up look as if they will be OK, and are beginning to put up green shoots. Unfortunately some of them are now very close to concrete posts and concrete gravel-boards, but there's not much I can do about that in the short term.


I would love to be able to sow some seeds, but the soil in the garden is still very cold and wet, and if I sow seeds indoors the light levels are so low that they will go leggy --- except that since my Birthday I am now the proud possessor of an indoor Growlight House, which I shall be assembling very soon!

Wednesday 20 March 2013

A Gardener's holiday

You know the term "Busman's holiday", derived from when an off-duty bus-driver would travel by bus? Well, this last weekend was for me a Gardener's holiday. We went over to spend a long weekend with our daughter Fiona and her husband Juan. They live in a village called Ornex, in France but very close to the Swiss city of Geneva, where they both work. Last Summer they bought their first-ever house, and this was our first visit since they moved in. They have already done a lot to improve the interior of the property, which was in a fairly poor condition, but I don't want to write about that. Instead (of course!) I want to tell you about their garden.

The previous occupants of this property were evidently not very good (or ambitious) gardeners. Most of the available garden space is effectively unused. As you can see in my first photo, there is a large expanse of grass (I wouldn't go so far as to call it a lawn), but it is in very bad condition - riddled with moss, etc. We discussed several plans for its future, and they mostly involve the construction of some raised beds (Oh, what a surprise...!), but to be fair I have also advocated retaining a significant expanse of grass for use as family space (on the assumption that grandchildren will appear at some stage, and that barbecue parties will need to be hosted...)


A nice expanse of grass to play with, that's for sure, but what a shame about the view of the electrity pylon, eh? However, look in the other direction, which affords a lovely view of the nearby Jura mountains:


On Saturday morning, about 8 a.m., this was the view from Fiona's kitchen window:


It comprehensively eclipses my view of a tiddly little bed of flowers around the base of one solitary Crab Apple tree, doesn't it?

On Saturday, since the weather was beautiful we set-to and had a blitz on the garden. One of the first tasks we undertook was to re-vitalize the flower-bed alongside the driveway. It contains a number of very mature Rose bushes, which were regrettably in pretty poor condition, having suffered a severe lack of TLC.  We pruned the bushes quite hard, hoping that this will revitalise them, and we removed all the extraneous debris that had accumulated over the years, along with a number of very uninspiring Allium plants and countless little seedlings self-seeded from the nearby Ash tree. The only colour to be seen here (indeed in the whole garden) is a lovely clump of Crocuses (foreground, below). I'm sure the Roses will in due course benefit from a good dose of Blood, Fish and Bone, but Rome wasn't built in a day....


Later in the afternoon the youngsters took it in turns beginning to rake moss out of the very neglected "lawn", while I volunteered my services to prepare a Potato bed. (You know my views on lawns and grass...). This is the "Before" situation.


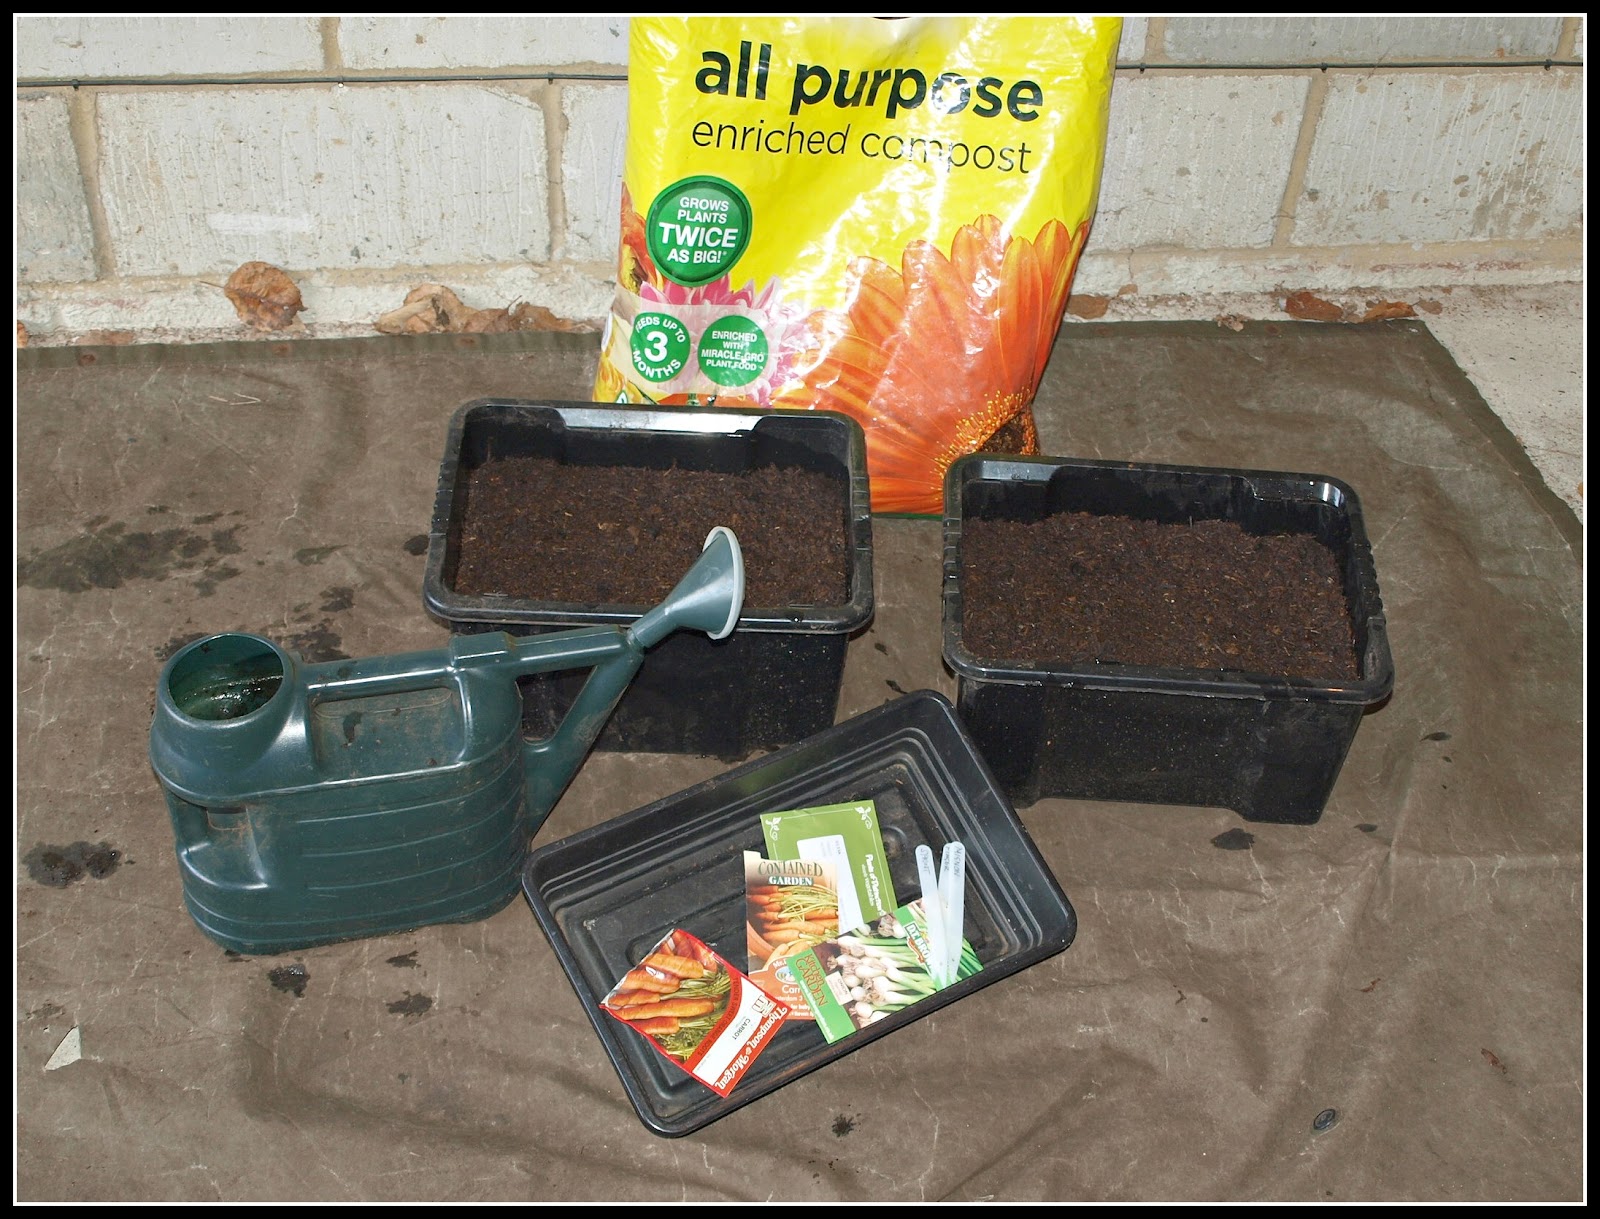
This area had obviously previously been a vegetable bed of some sort, but I don't think it had been used as such in recent years. It was very overgrown and full of weeds like dandelions, chickweeed etc, and stones and general rubbish (especially champagne corks!). Using a lightweight mattock left by the previous owners of the property, I dug over this bed and transformed it into a site for growing potatoes. I felt that this would be a good way of getting a crop under way as soon as possible, and of course the cultivation of potatoes is often seen as a good way of preparing ground for growing other crops, because it breaks down and aerates the soil. Fiona and Juan, who have not previously grown this crop, promptly rushed off to their local Garden Centre to buy some seed potatoes. At this stage of the year there was no choice: there was only one type of seed potato left in the shop. It was a variety I had not heard of before but its description sounded fine - an early, salad variety. I've forgotten the name!


Later, after the gardening was finished for the day we were talking about food (of course) and we were looking at the contents of Fiona's kitchen cupboards. What did we find? None other than Freekeh. Maybe you remember me writing about this grain the other day when I made Yotam Ottolenghi's dish "Poached chicken with sweet spiced bulgur" (Which originally calls for freekeh instead of bulgur). It was indeed green, as I had read, and it had indeed been obtained from a Lebanese shop in Geneva. Doesn't it look smart displayed on this dish embellished with the silhouette of the New York skyline?


And my UK readers will undoubtedly appreciate this photo of a type of bulgur with the trade name "Tat":


Of course if you are not British, you may not know that "tat" is a colloquial word for "rubbish"!

My birthday was on Monday - 18th March - so while we were over in France we went out for an "official birthday" celebration. We ate in a restaurant just a couple of miles from where Fiona and Juan live, in other words out in the countryside rather than in a town. We were very pleasantly surprised to find a restaurant with a very undistinguished exterior serving really excellent food. Their food was presented very stylishly but without excessive complication - just what I like! One thing we particularly liked was that fact that each dish was presented on a plate appropriate to the dish, rather than being a uniform set of crockery. This meant that a diner eating meat had a plate completely different from the one on which their neighbour might be eating fish. And the plate for the fish was decorated with a fish-related pattern. I'll not bore you with all the details of what we all ate, but I'll just tell you what I had: Starter: green salad with Jambon Cru; Main: beef steak with pepper sauce; Cheese: selection from about 20 different ones on a trolley (including my favourite Brillat-Savarin); Dessert: Creme Brule. Juan has become very knowledgeable about wines, and made some excellent choices for us - a crisp Sancerre for our aperitif, and a lovely smoky red from the Cote Roti for with our mains. I was a happy man!