Sunday, 19 January 2014

Pintadeau au vin rouge

Today's dish "Pintadeau au vin rouge" (guinea-fowl in red wine) is based on a recipe in a book called "Recipes from a French Herb Garden" by Geraldene Holt. This is a book which really inspires me. The recipes in it all use herbs in some form or other, either fresh or dried. As regular visitors to my blog will know, I am very keen on growing herbs, and we use a lot of them in our cooking, so you will know how much this book appeals to me. This particular dish uses Thyme, Bay and Winter Savory (Sarriette) - all from my own garden.


For those of you not familiar with the Guinea-Fowl as a culinary ingredient, let me explain that it is like a small and ever-so-slightly-gamey chicken. The meat is a little denser than chicken, and slightly yellow in colour. Certainly you could use chicken if you can't find, or don't like, guinea-fowl. 


For copyright reasons I'm not going to give you the exact quantities of anything or the exact recipe, but I'm sure my post will give you enough to go on if you wish to re-create the dish yourself.

The first step is to divide the bird into four joints - two breasts and two legs. If this were a chicken, I would keep the backbone and other bits to make gravy with, but I personally think that guinea-fowl gravy is not very nice, so I discarded them.


The recipe proceeds along fairly conventional lines: brown the meat; cook some smoked streaky bacon; soften some onions and garlic in the bacon fat; (I threw in the last of my home-grown Shallots);


stir in a little flour with some wine to moisten it; chuck the herbs in; put the meat on top;


cover it with the wine (the recipe uses a whole bottle, so think carefully before you put your best Chateau Lafitte into it!);


cover and cook over a medium heat (160C) for about half an hour; add some button mushrooms and baste them with the hot wine; return the dish to the oven and cook for a further 30 minutes or until the Guinea-Fowl is fully cooked. I added a little slaked cornflour to thicken the sauce, but you could also pour it off into a saucepan and reduce it before adding it back onto the Guinea-Fowl.


Hey, that's pretty much like "Coq au Vin"! Well, yes... and just as nice.

I served our Pintadeau with a classic Gratin Dauphinois,


and a side salad of home-grown Mesclun and Radicchio - oh, and of course a bottle of French red wine, in this case a St.Chinian (Chateau de la Dournie, 2009)! Anyone would think we liked French cuisine, wouldn't they?


Here's the finished dish:


The dish was everything I wanted it to be: succulent; tasty; winey; yet not brash; very French. And do you know what was the star of the show? Surprisingly it was the small amount of Celery leaf in the Mesclun - amazingly tasty. So tasty in fact that I have resolved to buy a packet of Celery (or was it Celeriac?) seed, just to grow it for Micro-greens. 

I haven't shown it here, but I just want to say that we followed the Guinea-Fowl dish with some French cheese- some Beaufort, which Jane brought back from France a couple of weeks ago. It was the epitome of  what cheese should be: tangy, powerful (unpasteurised), full of depth; worlds apart from the "plastic" Cheddar that sells in such huge quantities in our supermarkets.

Final thought: one Guinea-Fowl will easily serve four people, not two! Now, what do we do with the leftovers?

Saturday, 18 January 2014

Winter greens

Yes, Winter greens, not "Wintergreen", as in "Oil of Wintergreen" that pungent plant extract used in perfumery and medicine!

In Winter-time it is more difficult than at other times of year to provide a reliable source of vegetables, and I have decided that I will make a bigger effort in this area this year, but at present my produce is a bit limited. I have some of the ever-reliable Cavolo Nero still, but the Brussels Sprouts are long gone and the PSB is nowhere near ready.

Cavolo Nero "Black Magic"

To try and keep up the supply of greens I have grown a few bits and pieces indoors, such as this tray of Mesclun, which has had the benefit of the Growlight House for all of its short life:


That lot has been grown from a pack of seeds supplied on the cover of Grow Your Own magazine. A lovely selection of leaves - apart from the rather bizarre inclusion of carrots! What are you supposed to do - leave the carrots to mature, or eat the leaves?

I have also grown three small "Little Gem" lettuces in a seed-tray, initially in the Growlight House and latterly on a windowsill.

"Little Gem" lettuces on the windowsill, with an aerial view of  Mark's Veg Plot behind!

The plants began to bolt before hearting-up (hardly susrprising, is it?), so I picked all the useable leaves.


Out in the garden I also have something else very green:


Not "greens", but certainly green. It's a sprig of this Rosemary plant, seen here surrounded by several pots of Sage:


Looking closely, I see that there are lots of flower-buds on the plant, so hopefully before long it will put on a good display.


Rosemary is often described as being susceptible to damage in cold conditions, but I have found it to be very hardy and resilient. It is one of the few herbs that is available for picking all year round. Most of my other ones are in pots in the coldframe and it will be a fair while before I can pick anything from them:


Friday, 17 January 2014

Over-Wintering chillis

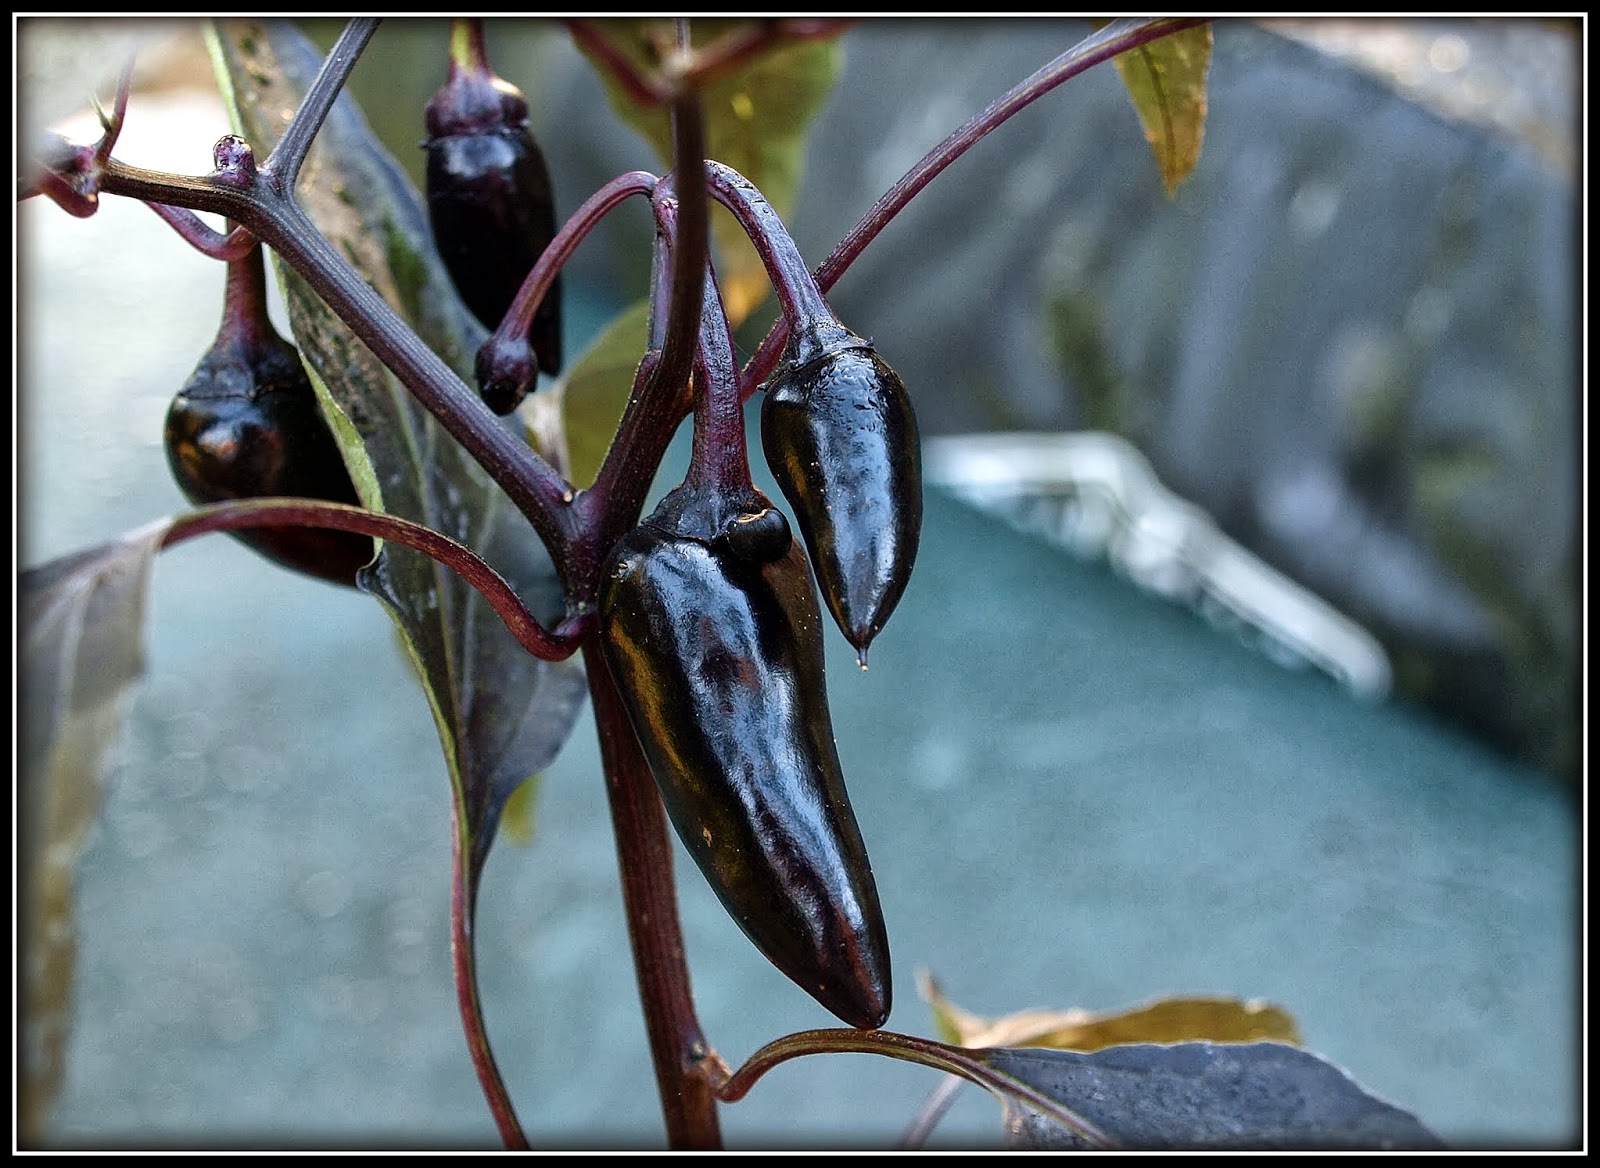
Towards the end of the Summer of 2012 I bought a very bedraggled little "Scotch Bonnet" chilli plant, for 50p in a Garden Centre sale, but I administered a lot of TLC and nurtured it through the Winter. Last year it really thrived. It grew so huge that I had to prune it several times, and it went on to produce loads of really fiery hot fruit. Following on from this success I determined to attempt a similar thing this Winter. I duly bought two chilli plants from the same Garden Centre as before (fairly cheaply, but not at the same knock-down price), and potted them up. One was a "Red Habanero" and the other was a "Nosferatu".

They went on to produce a welcome, but modest harvest of very handsome fruits:

Red Habanero

Nosferatu

However the weather soon obliged me to bring the plants indoors or lose them. Our spare bedroom's windowsill became a temporary greenhouse.

Reading up about over-Wintering chillis I learned that it is recommended that you prune them very hard so that they don't lose too much energy through transpiration. I applied the technique and hoped for the best. From then on it was just a case of doing an occasional bit of watering. I added a bit of "Baby Bio" houseplant food, because that's what I always feed my houseplants with!

My efforts have met with variable success. The old Scotch Bonnet seems to have given up the ghost, as has my Numex Twilight. Did I mention Numex Twilight? No, I thought not...

Numex Twilight
But the Nosferatu and Red Habanero have done better. The Habanero is very vigorous, and has already put out lots of new foliage:

"Red Habanero" in foreground

Whereas the Nosferatu only has a few fresh leaves so far, but has optimistically produced a couple of  flowers:


The slowly-shrivelling fruit you see in the photo above ( the last remaining one) will hopefully yield a few seeds, and if it does I plan to sow them in order to "maintain the succession", as it were.

"Nosferatu", flowering in mid-January

I would be interested to hear if anyone else reading this has any experience of over-Wintering chillis, and if so, how they did it.

Thursday, 16 January 2014

"Cape Malay" curry

In the culinary context the term "Cape Malay" refers to a type of cuisine which evolved in South Africa via a fusion of indigenous food and that of the immigrant Indonesian community. It involves a mix of fragrant spices which we call "curry", and the mandatory inclusion of fruit, preferably apricots...

Here is my rendition of the concept:-


This is Cape Malay Pork with Calabrese Broccoli and Basmati Rice - subtle, warm, tasty spices, not searing-hot chilli, along with the soft, mellow sweetness of apricots.

We start here, with 100g of semi-dried apricots, halved:


A couple of onions, peeled, sliced and gently softened over a low heat...


And some diced pork that has been marinated in grated fresh Ginger, crushed Garlic, and a generous quantity of Jane's home-made curry powder, and now browned in a little vegetable oil...


When the meat is browned, add it to the onions, along with about a litre of good stock...


Throw in the apricots...


Now cook long and slow until the meat is tender (about 3 hours on 140C?)...


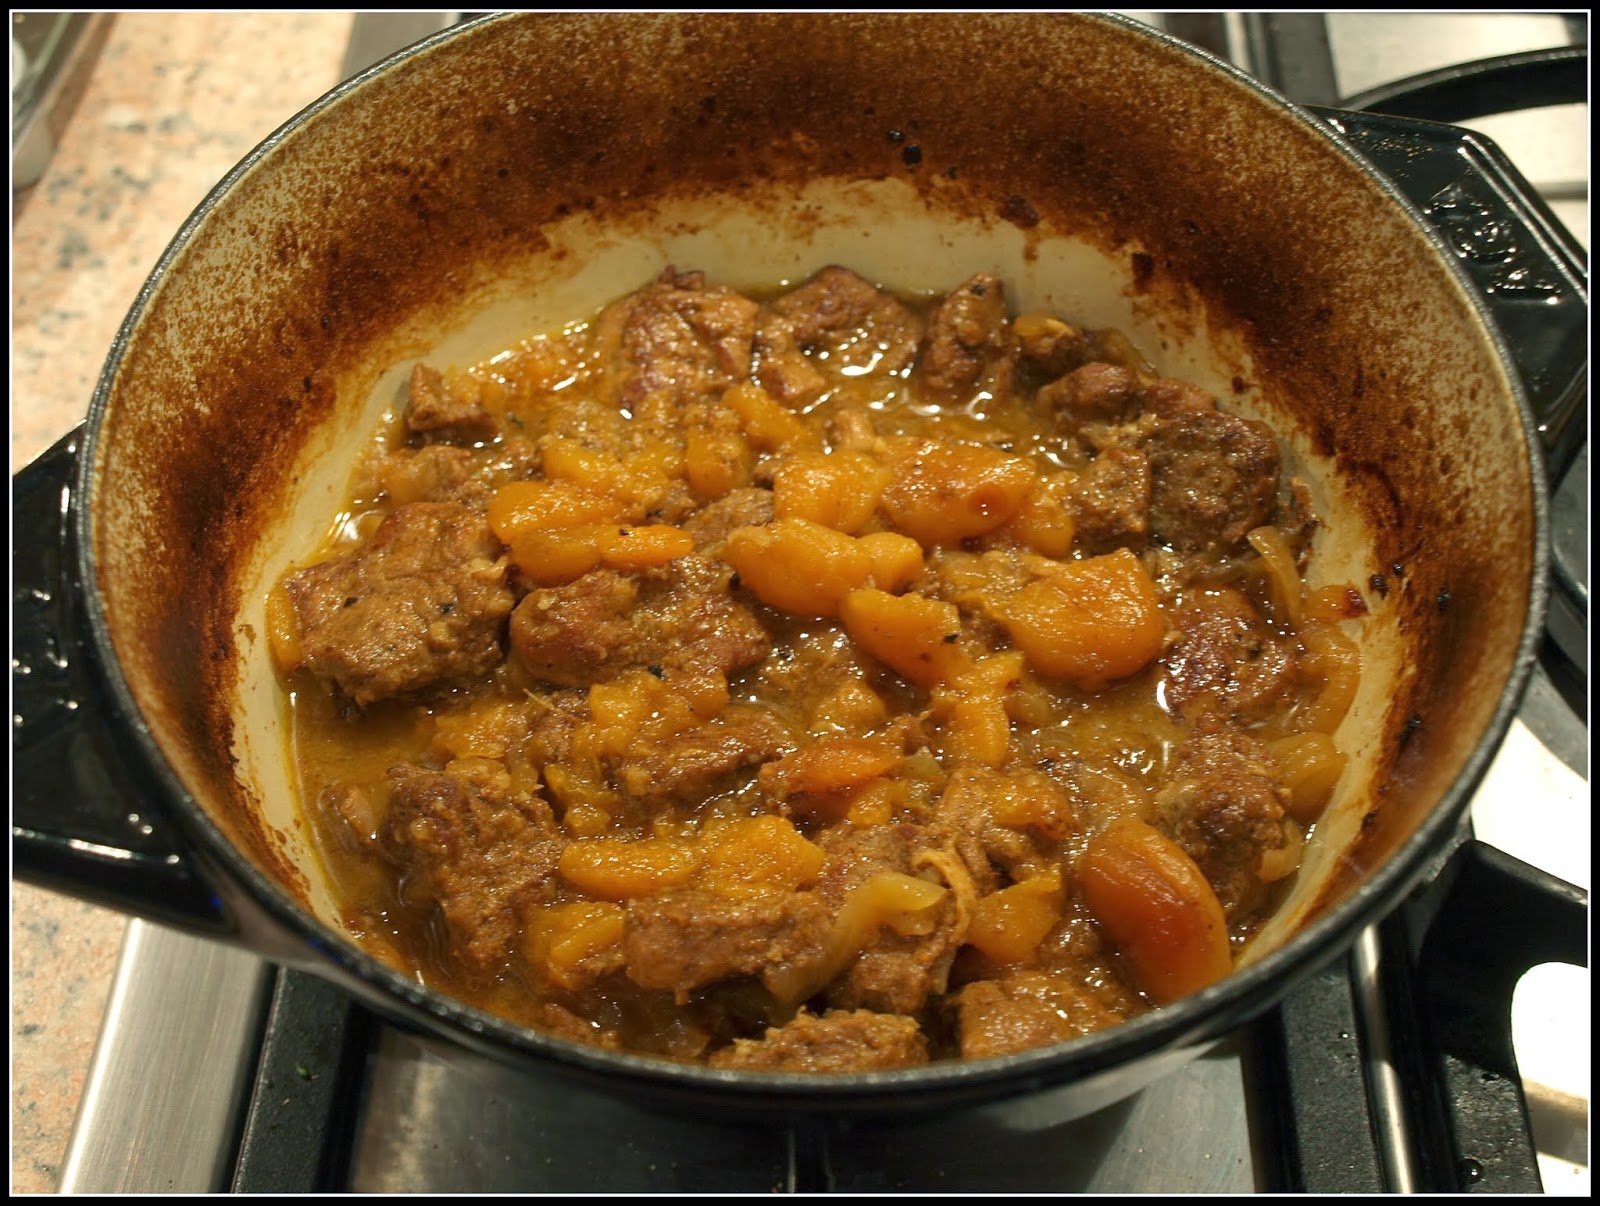
Here is the end result. Notice how much the liquid has reduced. During cooking you should check every so often to make sure that the dish has not dried out, adding a little boiling water if necessary.

Meanwhile, cook the broccoli. Mine was simply boiled until just tender but not too soft....


And the rice of course (not illustrated!).  Finally, dish up:-


You know what? That is Comfort Food par excellence!

Wednesday, 15 January 2014

Some curiosities

What do you think of my baby Biome?


It's not quite on a par with The Eden Project, is it? This plastic hemisphere about 15cm in diameter, one of a pair, started life as a crafting item. I believe it was intended to be made into a Christmas bauble of some sort. It came as part of a kit that Jane was given. She didn't want it, so it came my way - and you can see that it is now serving as a miniature cloche!

Let's zoom in and take a closer look...


And now really close up...


Even if it turns out to be rubbish as a cloche, it's certainly photogenic!

Now what about this creature that I spotted in the garden...what on earth is it?


I think it is a chrysalis of some sort. It looks a bit like a cicada. Do we get cicadas in the UK?


With all those hairy bits on the underside it looks like a miniature scrubbing-brush! Perhaps we should look at something a bit more ordinary now...


Those two pics are of my Purple Sprouting Broccoli, which is just beginning to form its flower-shoots. We're a long way from harvest-time still, but it's nice to know that things are going according to plan!


Tuesday, 14 January 2014

Bulbs are popping up everywhere!

My bulbs think that because the weather is mild it must be Spring, and hence time for them to flower.
As I was tidying up on Friday, I found this pot of "Tete-a-Tete" Daffodils by the front door, where it has been for months, slowly disappearing under the falling leaves. Once the leaves were removed the pale yellow leaves of the bulbs were revealed:


Now that they can get some light, I'm sure they will green-up very rapidly.

I plant most of my bulbs in pots, so that I can move them around the garden - and easily remove them once they have finished flowering. Here are some of them, waiting in the wings ready to come on stage when their cue is given...


Some of my bulbs are in the borders though. Here are some, peeping up underneath the leaves of a Heuchera:


The Heuchera itself is looking pretty bedraggled, having only recently been rescued from under a thick
carpet of soggy Maple leaves. Hopefully it will perk up now that it has some light.

First of my bulbs to flower this year will be the "Soleil d'Or" Daffodils that I brought back from the Isles of Scilly. Some of them look as if they will be open very soon:


Monday, 13 January 2014

Harvest Monday - 13th January 2014

At this time of the year I consider myself lucky if I have harvested anything at all. This week though I have harvested three types of vegetable - endive, parsnip and broccoli.

This is the endive, a curly one for sure, though I can't remember which variety it is:


Although you can hasten the blanching process by covering the endive with something to exclude the light (a dinner-plate works quite well), they are always to a certain extent self-blanching, like this one, which I have not covered at all.


My next harvest was another batch of parsnips (mine are "Gladiator F1"):


One of the best features of the parsnip is that it keeps very well even when mature. you don't have to harvest it, you can just leave it in the ground for months on end and harvest it when you need it. The foliage dies down almost completely, so it is a good idea to put in some sticks or something to remind you where the row is - especially if it is in danger of being covered with snow.

This time I harvested just enough for a two-person serving:


These ones are destined to be roasted and served alongside a roast Goose-breast in a couple of days' time. Incidentally, if you don't use your parsnips straight away they keep very well for at least a week in the fridge, especially if you use one of those "Stayfresh" bags. After a while they will go a bit limp, even though they will still be useable for perhaps 3 or 4 weeks.

My third harvest this past week is one that you have seen already - that single head of "Matsuri" miniature broccoli:


If you want to see more about what we eat, you can see lots of posts on the subject on Jane's blog Onions and Paper, for instance this one which shows you what happened to the Cavolo Nero I harvested last week.  "Onions and Paper" is named after the primary ingredients of Jane's two chief areas of expertise (after comping, that is!) - cookery and crafting.

That's it from me this week folks, but why not head over to"Harvest Monday" on Daphne's Dandelions to see what others have harvested...