Monday, 7 April 2014

Going Mexican

I haven't harvested anything significant from my garden this past week, so I'm not entering the Harvest Monday forum this time, and I want instead to describe the meal I cooked on Saturday evening.

Regular readers of my blog know that we eat a very varied diet, with meals from any number of different cuisines. This time when it was my turn to cook I decided to do a Mexican-style meal. I say "Mexican-style", because it's probably not very authentic, and the purists would probably dismiss it, but to me it is near enough Mexican to qualify!

Spicy Pulled Pork with corn tortillas

My meal was this:
Spicy slow-cooked pork with corn tortillas, guacamole, tomato and chilli salsa, shredded lettuce, and spring onions.

It starts with a piece of meat. I bought a 685g pork shoulder roasting joint, complete with skin for crackling. At £2.73 I thought this was excellent value. The first step was to marinate the meat in a spicy rub. It doesn't look very pretty in the photo, but just imagine what is smelled like. For the marinade I used crushed Garlic, grated fresh Ginger, Chilli flakes, Chipotle powder, Fennel seeds, Ground cloves, Ground Allspice, Ground Cinnamon, and some All Purpose Seasoning, and I moistened the mixture with a little vegetable oil so that it would stick to the meat.

Meat marinating

After the meat had had about an hour or so in the marinade, I softened some onions in a big pan, put the meat on top and added about a litre of beef stock, along with all the marinade. Then it went into the oven with the lid on for four hours on a low heat. I checked it once or twice, turning the meat over and basting it with the liquid, but not adding any more water or stock. Over the four hours cooking time the meat became very tender and the "gravy" reduced to a sticky sauce. It is important not to let the dish dry out!

Meat before cooking

The final part of the process with the meat was to remove and discard the skin (shame about the absence of crackling, eh?) and then shred the pork into small pieces, using two forks. I then mixed it thoroughly into the remaining sauce and returned it to the oven to keep warm.

Earlier I had made the tomato and chilli salsa, using an appropriate receptacle for it:


Isn't that a fun dish? The salsa inside was made with chopped tomatoes (seeds removed), finely chopped yellow "Aji Limon" chilli (seeds also removed) and loads of Parsley. To be authentic, I know I should have used Coriander, but that makes me ill, so Parsley it had to be. The garnish on top is actually a couple of Leaf Celery leaves - which conveniently look very like Coriander.

Tomato, Chilli and Parsley salsa

I also prepared some shredded crunchy Romaine lettuce and some chopped spring onions, but they are not particularly photogenic so no photos of them! Shortly before serving time I made some guacamole. Mine was made simply with avocado, lots of lime juice and a small amount of salt, all zuzzed up in the food-processor. I served it in an authentically-Mexican hand-made dish, which we bought some years ago on the day we explored the Mayan ruins at Tulum. This is very much the sort of souvenir we buy when on holiday, because using it really does help us to remember the good times we had all those years ago.

Guacamole

Then finally the "piece de resistance" - the tortillas. I don't have much experience of making these, but I'm a quick learner with this type of thing. [Note to self: practice makes perfect. Make them more often!]. I used the tortilla-press that we bought some years ago (in Vancouver, of all places!):

Authentic Mexican tortilla-press made by "Estrella"

After some experimatation I have decided that (in the absence of authentic Masa), the best sort of dough for making tortillas is made with a 50:50 mix of fine polenta (cornmeal) and ordinary plain flour, moistened to the right texture with water. The technique is then to form the dough into small balls (perhaps a bit smaller than a golf ball) and squash them flat in the tortilla-press, between two plastic bags. I found the most difficult part of the proceedings was to persuade the dough not to stick to the plastic bags. I tried greasing them with a squirt of PAM non-stick cooking spray, but got better results with a dusting of flour.

Then I cooked the tortillas on the thing we call a "Tava" (this is the name used in India. The Mexicans would call it a "Comal".) Basically it is a heavy disc of cast iron that is laid directly on top of a gas ring. It gets very hot, and maintains a very even heat. A tortilla cooks on one in about a minute. Mid-way through cooking you flip the tortilla over and cook the other side - aiming to achieve a nice "blistered" effect.

Tortilla cooking on the Tava
I cooked about a dozen of these tortillas, keeping them warm in a dish covered with a tea-towel, in a very low oven. This is necessary because it is only practical to cook one tortilla at a time!

Anyway, at this point the various elements of the meal were all ready, and it was just a case of assembling them all. We ate our meal from trays, in front of the TV. I served the pork and some tortillas on a dinner-plate with a selection of the other items in a bowl alongside, which allowed us to assemble the filled tortillas as desired.

The full meal

I was pleased with the result. The pork was very tender indeed. It had a warm but not searingly-hot chilli tingle and a deep mellow flavour from all the spices. The tortillas came out well too. They had a firmer texture than commerical ones, which I often find to be unappetisingly flaccid, and the polenta gave them a good flavour too. The sign of success here was the fact that none of the tortillas got thrown away. Sometimes when you're making pancakes the first one doesn't turn out right - possibly because the pan is not really hot enough - and I had half expected this to happen with my tortillas. But No, they were all fine, and we ate the lot!

Sunday, 6 April 2014

Comfrey

A few years ago I brought some Comfrey plants into my garden. I'll be honest and admit that I dug them up from a patch on a roadside verge. I knew that Comfrey was a very hardy and resilient plant that would grow practically anywhere, and for this reason I thought I would establish a patch down at the bottom of my garden, in a place where nothing much else will grow because it is under the branches of my neighbour's Leylandii conifer- dry shade and lots of competition for scarce nutrients.

For a couple of years the comfrey did well and I was able to harvest a decent quantity with which to make "Comfrey Tea" as a plant food for my tomatoes and chillis.

Photo from 2012

However, the Leylandii tree has got bigger and has defeated even the Comfrey, which has been reduced to a few feeble shoots. I have therefore decided to move it and have another go.

I rounded up all the little Comfrey plants I could find, including this self-seeded one over by the fruit trees:


And a couple peeping up from underneath my Insect Hotel


There were six all told, and I have now re-planted them in a place where they will hopefully get a bit more light. It is still not a good place - sandwiched in between the compost bins - but it's the best I can afford.

Comfrey in the foreground, Good King Henry in the background

Here's a better view of the Good King Henry growing in the background:


So, let's see what happens... Will it re-establish? I hope so.

On a different note, how about this for appropriate planting? A tuber of potato "Red Duke of York" planted in a big red plastic bucket:


Saturday, 5 April 2014

Garden Share Collective - April 2014

This is my entry for the April edition of the Garden Share Collective, organised by Lizzie Moult.

Hopefully by the time you read this Lizzie's baby will have been born, so I'd just like to say that I hope everything went OK and that mother and baby are well...

In my garden things are growing apace now that Spring has arrived. I have seed-trays and modules full of young plants all over the place. Our weather is not yet very warm, and the nights are still definitely cold, so I am making maximum use of my plastic mini-greenhouses.


Sowings made during March:
Brussels Sprouts - 3 varieties
Tenderstem Broccoli
Lettuces - 6 types
Endives - 2 types
Tomatoes - forgotten how many types! (lots)
Chillis - 2 more since last month
Parsnips - 2 varieties
Carrots - 5 varieties
Spring Onions
Rocket
Corn Salad / Lamb's Lettuce
Land Cress

Before you get too excited about the huge crop potential implied by that list, let me just say that I only ever have a small number of plants of any type. I just like a lot of variety! It is also good practice to diversify. If one variety, or one vegetable type, does badly in any given year, another may do well. I sowed 30 pots of tomato seed, but I expect I'll only grow about half that number of plants. It just depends how many I can squeeze in!

Tomatoes, just a few days old

 I have also planted my first batch of potatoes - the First Earlies. As ever, I am growing them in containers, for two reasons: firstly because I can't spare the space for them in my raised beds, and secondly because the containers are portable and can be moved around as necessary. At present they are under cover, being protected from frosts:


Later they will be moved out into the open, to a sunnier spot. Each of those containers holds one potato tuber, by the way. The First Early varieties I have this year are Sharpe's Express, Marilyn, Leontine and Red Duke of York.

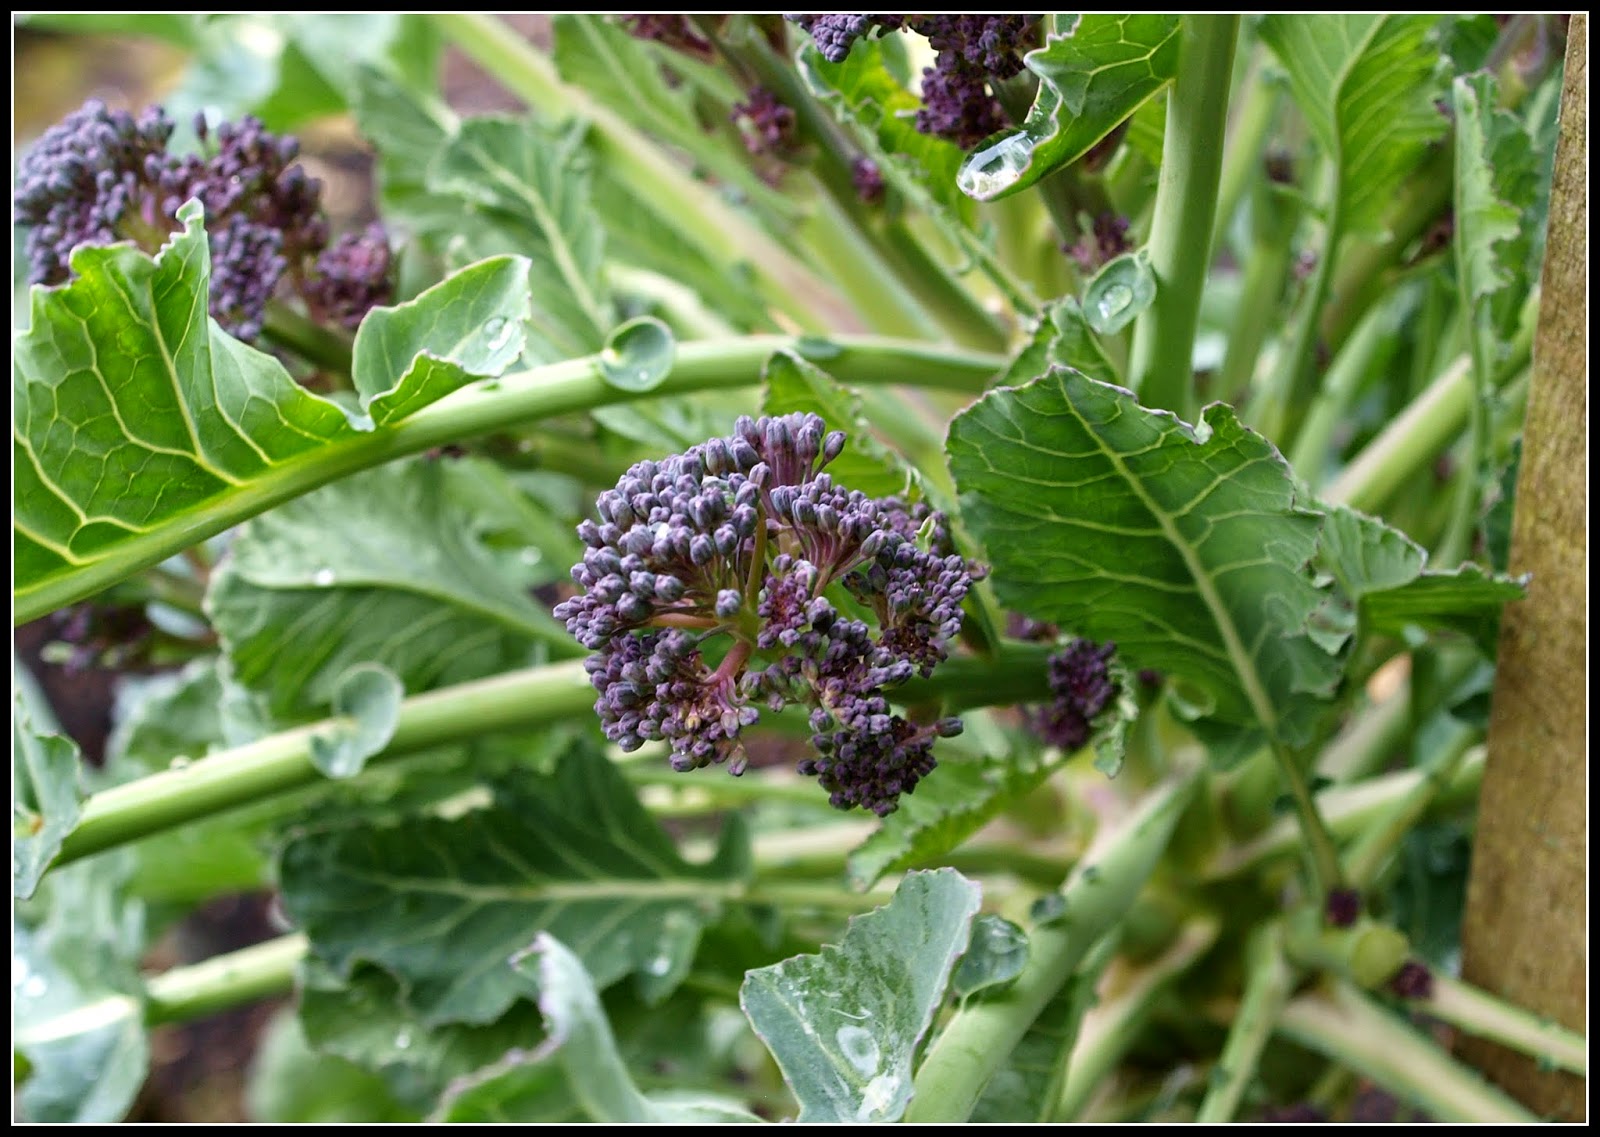
Harvests at this time of year (the so-called Hungry Gap) are sparse. Nevertheless, I have picked some of my favourite veg - Purple Sprouting Broccoli:


Other than broccoli, my only harvest during the past month has been of herbs. We use lots of herbs in our cooking, so it is really convenient to have a regular supply of them just outside the door. We have been using lots of Parsley, which is at its best right now, as well as Rosemary, Oregano and the first tender sprigs of Mint from the pots in the coldframe:


We have also had for the first time, a few leaves of home-grown Wild Garlic. I brought a clump of this into the garden in the Autumn of 2012. I didn't cut any last year, so that the plant could establish itself fully. During 2013 it self-seeded and spread a lot, so now I feel justified in picking some. In fact it is spreading so rapidly that I hope I am not going to regret introducing it!


Jobs to do this coming month
Harvest last remaining over-Wintered salads
Harvest Asparagus as available, Radishes and last of PSB
Transplant chillis and tomatoes to bigger pots
Earth-up First Early potatoes in their pots
Plant Second Early and Maincrop potatoes
Plant out Lettuce seedlings
Distribute compost over raised beds to be used for Runner Beans and Winter Brassicas
Remove pots of past-it Daffodils, and replace (with Geraniums?)
Plant out rooted Lavender cuttings taken last Autumn
Sow seeds for Runner Beans, French Beans, Swede Turnips, Beetroot, Cucumbers, Squash

Here in the UK April is the prime time for sowing and planting, so I'm expecting to be pretty busy!


*******************************************************************************
P.S. Just a little plug for myself... There is a small article about my garden and blog in the May edition of The Kitchen Garden magazine (page 97).

Friday, 4 April 2014

Broad Beans and cloche-cleaning

The weather last weekend was amazingly good for the end of March. Our temperature reached 20C, and we had many hours of sunshine. Good gardening weather!

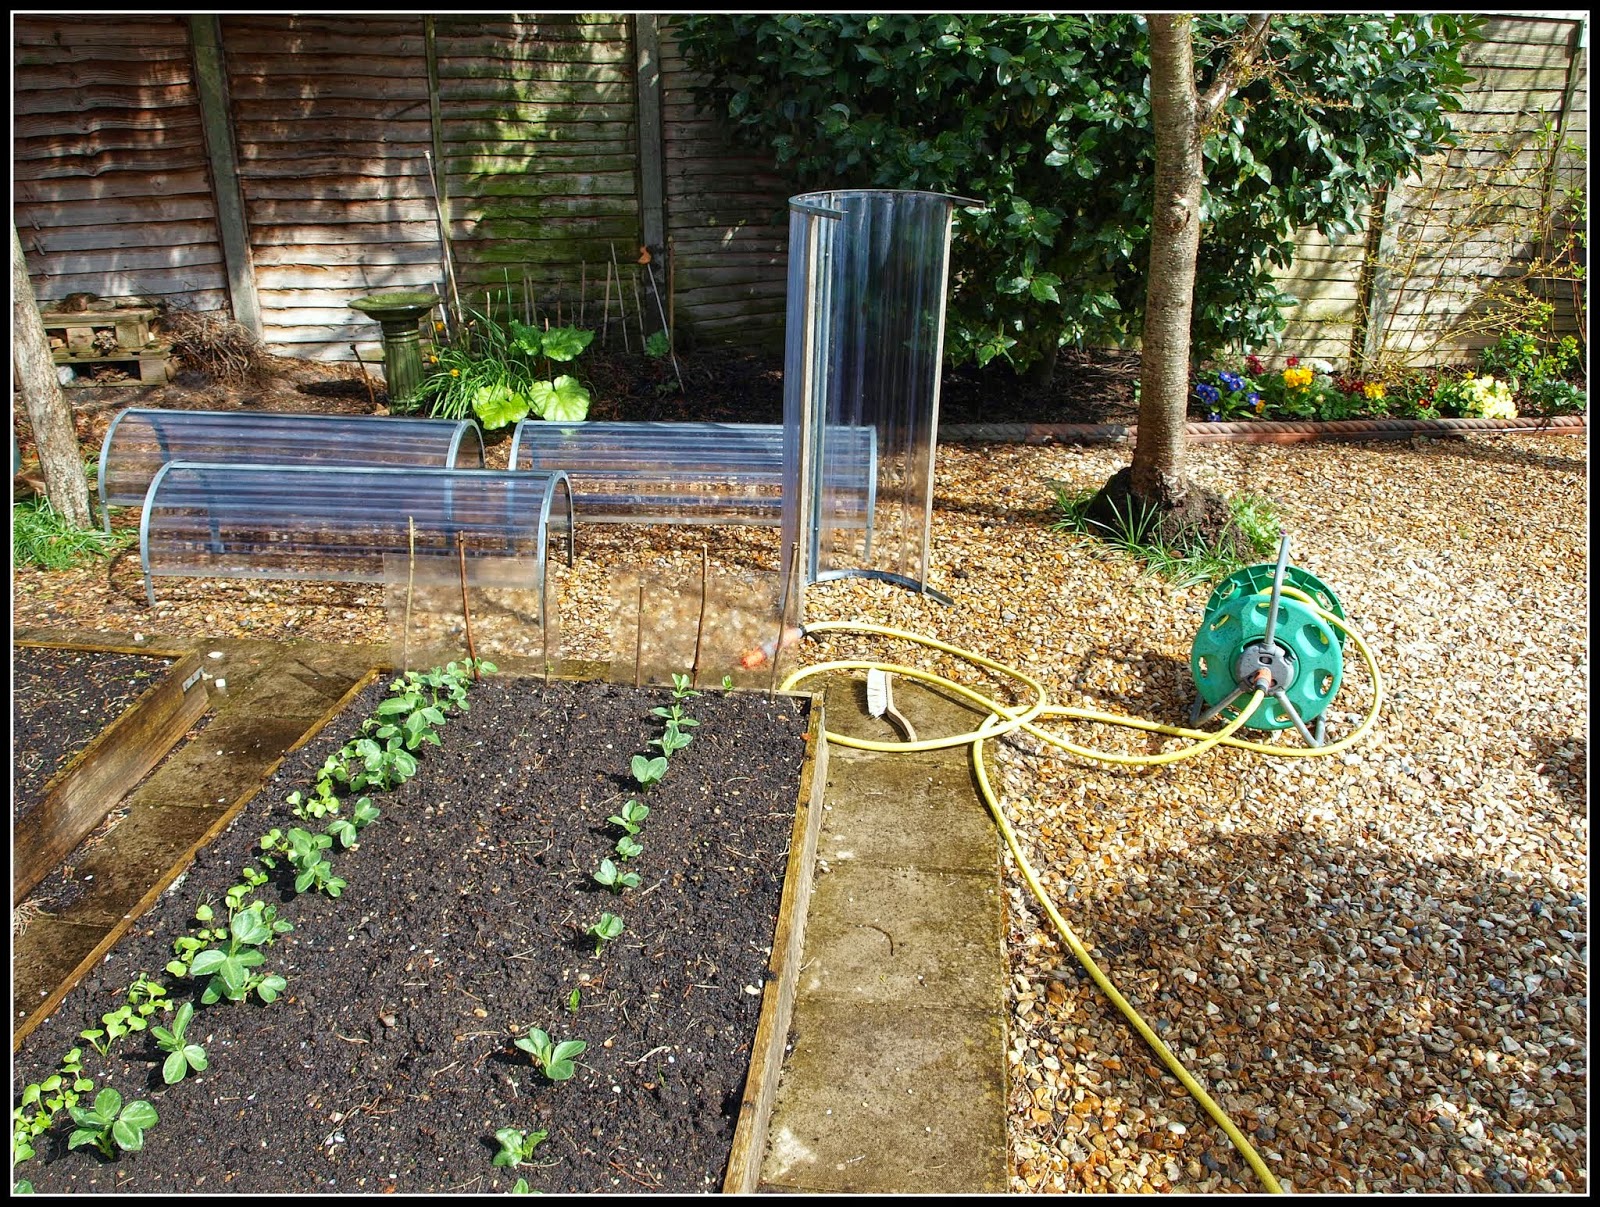
I decided that the time had come to give my "Longrow" cloches a clean, since they were were dirty and covered in green algae. Cloches like that don't let enough light through, and are probably doing more harm than good. So out came the hosepipe and brush...

I reckoned that it would be easier to clean the cloches if I took them off the raised bed, onto the shingle. This was a good decision because the cloches proved to be a lot more difficult to clean than I had thought, and I used a fair bit of water.


I had thought that most of the dirt and algae would come off fairly easily, but I was wrong, and I had to do a lot of scrubbing with a stiff brush.

Having removed the cloches I was able to have a good look at the Broad Beans underneath. Both rows are looking pretty good, with no germination failures at all. I wrote a short while ago about replacing a "runt" which had failed to grow at the same pace as its siblings, but other than that everything seemed OK, and I think it is unlikely that I will need any of the spares I sowed at the ends of the rows:

Spare plant at the end of a row (right)
As intended, one row of beans is a lot further advanced than the other. Successional sowing is much better than sowing everything at once - unless of course you are growing for the freezer and actually want all your beans to mature at the same time.


The row in the front of the photo above is comprised of a mix of "Aquadulce" and "Witkiem Manita" beans, both types left over from last year. I was a bit concerned that these might not germinate well, since I had already used the best beans from the packets, and these remaining ones were two years old at least. The plants are a bit variable in size, some of them being quite big already whilst others have only just come through the soil, but that may be all to the good since it may help me to achieve a staggered harvest. The row at the back was the first one sown. It consists solely of "Stereo" beans.

As explained the other day, each row of beans is accompanied by a row of Radishes. The ones alongside the "Stereo" beans are quite big by now, but the ones next to the mixed row are only just breaking through the surface of the soil and are not visible in my photos.


The soil in that bed was very dry, so while I had the hosepipe out, I gave it a good watering. With warm sunshine, a nice long drink and lovely clear cloches to protect them, those beans must be feeling pretty smug now!

Thursday, 3 April 2014

Boosting the borders

As the observant ones amongst you will have noticed, over the last couple of years Mark's Veg Plot has moved a tad closer to Mark's Flower Plot. I have made a conscious effort to include more ornamental plants in my garden - though I have to say these are in addition to the vegetables, not instead of!

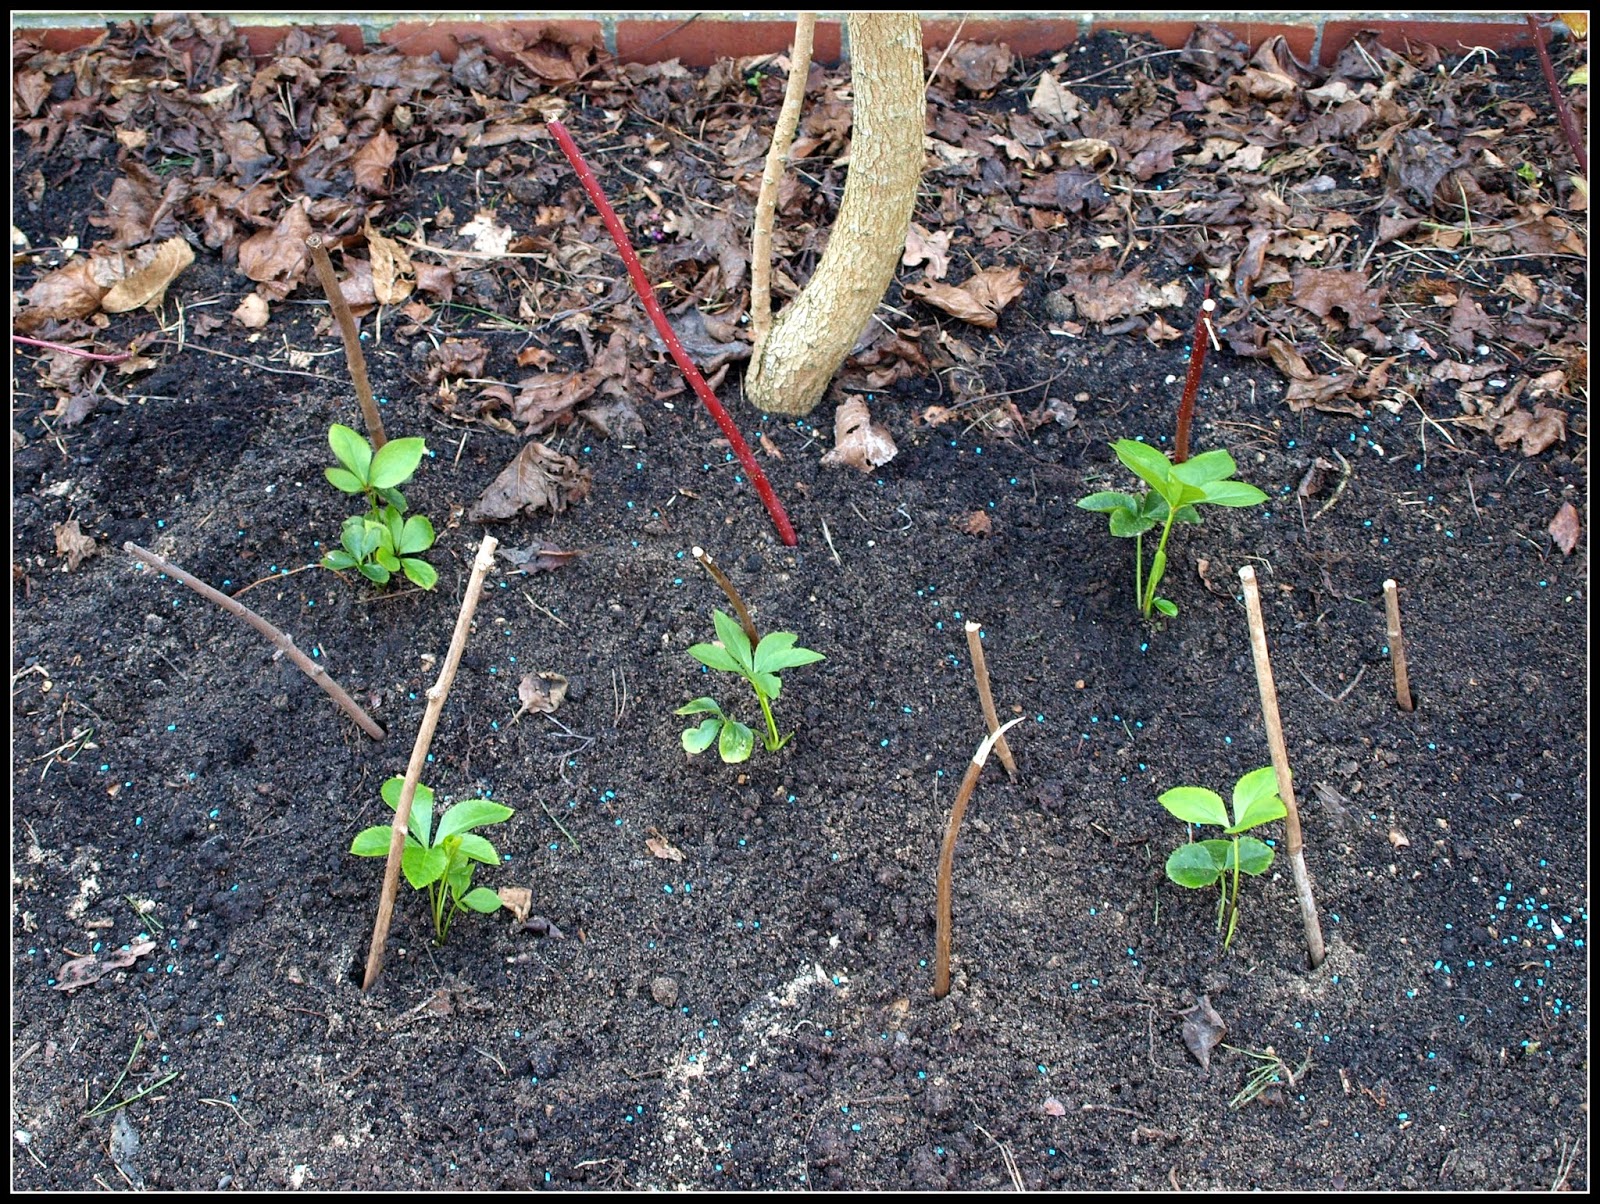
A couple of weeks ago, when I was giving the Dogwood shrubs their annual trim, I removed two of them in order to free-up some space for more flowers, and last weekend I filled the space with Hellebores:


These Hellebores are the ones I bought last Autumn in a set of plug-plants being offered by Hayloft Plants.


The collection has six plants, but one of mine nearly died, and although it is recovering, it is not yet big enough for planting out. These little plants are going to be overshadowed by the Cotinus shrub whose trunk you see just behind them in my photos, but I have researched this and I reckon they will be OK. Hellebores are said to like dappled shade.

In the Autumn I cleared away most of the old and woody Sage plants from this same border, and this has let in a lot more light, prompting some vigorous growth by the Crocosmia:


That Crocosmia has been there for many years, but has never done well because it doesn't get enough light - or didn't. Maybe this year it will be better?

At one end of the border are my Snakeshead Fritillaries. They are not yet in full flower, but there are plenty
of buds. This is one of the purple ones:


And these ones are the white variety:


Around the bases of the mature (3-year-old) plants, there are lots of youngsters:


And all over the place are the tiny seedlings emerging from the seeds which I scattered last year (interspersed with young Wild Garlic plants, you'll notice). This time next year I should have a spectacular display of Fritillaries!


In the border by the shed (at right angles to the one with the Hellebores in it), I have a nice bright patch of Primroses:


Normally this bed would be awash with Euphorbia by now, but this year the Euphorbia is very sparse by normal standards. I don't know why this is. Perhaps it is because of the wet but mild Winter we had?


Wednesday, 2 April 2014

Shoots + leaves = eats!

Do you remember that book called "Eats, Shoots and Leaves" by Lynn Truss? (surprisingly not a book about gardening but about English grammar, punctuation etc). The title of my post today is inspired by that book. Don't be too critical of my grammer and spellig please...

Lots of edible shoots and leaves are popping up. Like this rapidly-expanding clump of Wild Garlic, for instance:


And these young shoots of Golden Hops


They are supposedly edible, but I've never plucked up the courage to try them.

Then there are Rhubarb leaves, like this flamboyantly-coloured specimen:

Rhubarb "Victoria"

It was completely red when it emerged from the ground, but now that it is in the light it is gradually turning green.

I can't resist posting more pics of the PSB, the edible flower par excellence (Sorry, Sue!):

This one is "Red Arrow"
 The different types produce shoots that are often markedly different. Look at the difference between the tight "lollipop" shaped spears of "Early PSB" and the rather looser ones of "Red Spear":-

This one is "Early Purple Sprouting Broccoli"

This is "Red Spear"
This reminds me, I must have a close look at my Leaf Celery plants. I transplanted a load of tiny seedlings into some pots the other day, and hopefully it won't be long before they are big enough to plant out in the garden (and harvest a few leaves from).

***************************************************************************
P.S. I'm commuting to/from London this week, so it's early starts and late finishes for me, which means I don't have much time (or inclination!) for blogging, so I haven't been visiting many blogs or leaving many comments. Back to normal in a couple of days, I hope.

Tuesday, 1 April 2014

The beginnings of a salad

I'm thinking ahead to the "Salad Days" of summer, and sowing seeds for lots of different salad plants. So far I have got 16 Lettuce plants started, each in its own separate pot. They are currently being protected by one of my four plastic mini-greenhouses:


This year I'm growing a few of lots of different varieties, in a bid to have a varied and continuous supply.


Those ones are still very small and will need to double in size before I'm prepared to plant them out.

You will also note that I have protected them with slug-pellets. This is after a recent bad experience with some of my brassica seedlings. Since they were raised up off the ground, on the wire shelf of one of the greenhouses, I foolishly expected them to escape the notice of the slugs and snails. I was wrong, and had to re-sow several of my Brussels Sprouts. So I'm not taking any chances with my precious Lettuces!

As well as lettuces, I have sown seeds for a number of different types of Endive. These include "Romanesca" (not to be confused with the brassica with a similar name), "Pancalieri" and three French types: "de Meaux", "Grosse Pommant Seule" and "Fine de Louviers". So far only a few have germinated and they are still pretty tiny, but they look fine:


At the weekend I also sowed seeds for Rocket (Aragula), Lamb's Lettuce / Corn Salad (Mache) and Land Cress (aka American cress). Put these together with the Tomatoes and Radishes that are already on their way, and the Cucumbers and Beetroot that have yet to be sown and it should produce a fairly respectable salad, don't you think?

Radishes at left, Broad Beans at right