Tuesday, 14 February 2012

A Winter collection

We don't get snow that often where I live, so I have been making the most of the recent opportunity. This post is a selection of snow- and frost-themed photos. I don't think I need to write anything for this one. The pictures say it all!

Anyone for an iced bun?


Frost on one of the mini-greenhouses


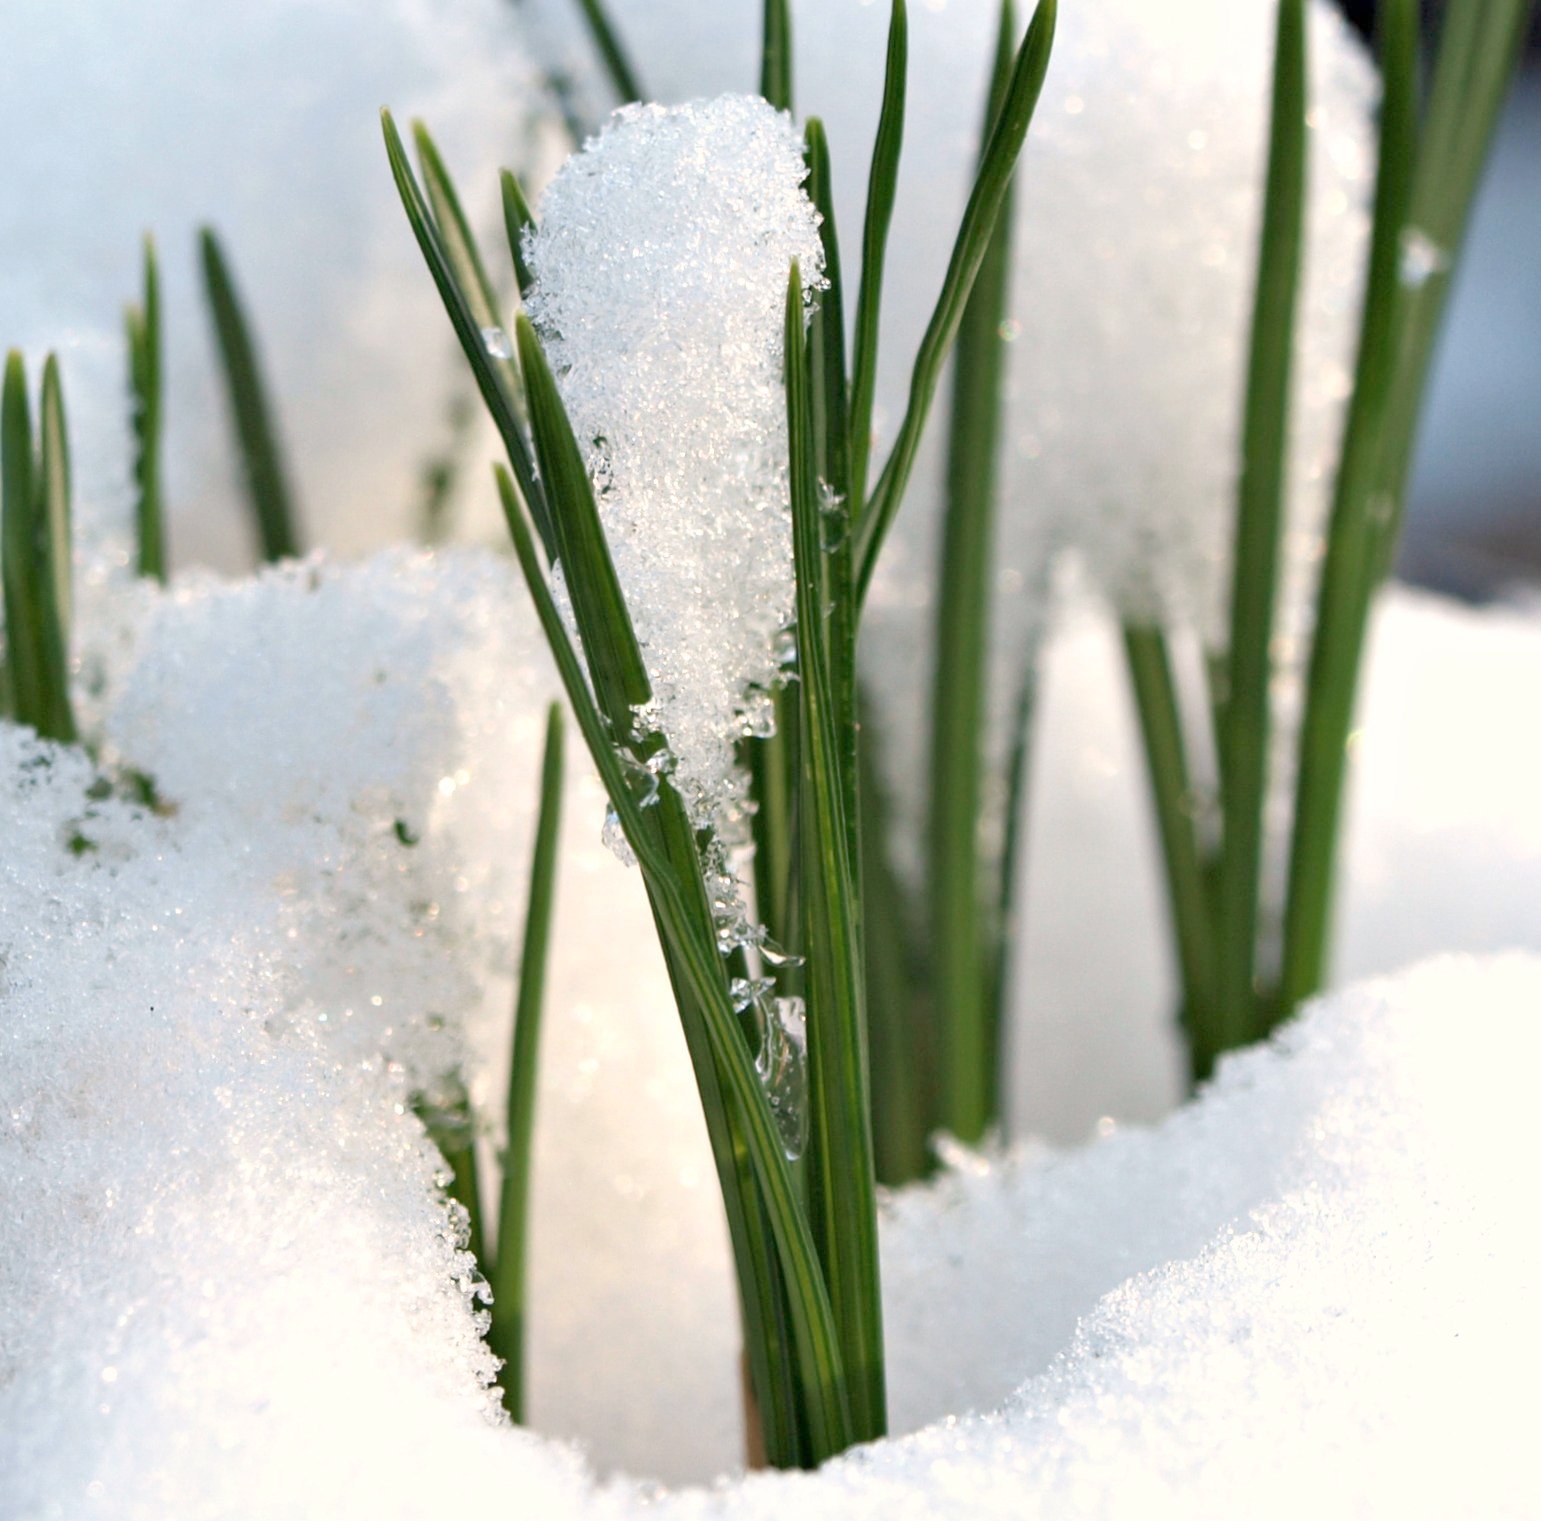
Crocuses


Crocus in close-up


Twin peaks


Stop that Pigeon...


Anyone seen my Asparagus recently?


Thawing a little...

Monday, 13 February 2012

The cross-dressing Minarettes

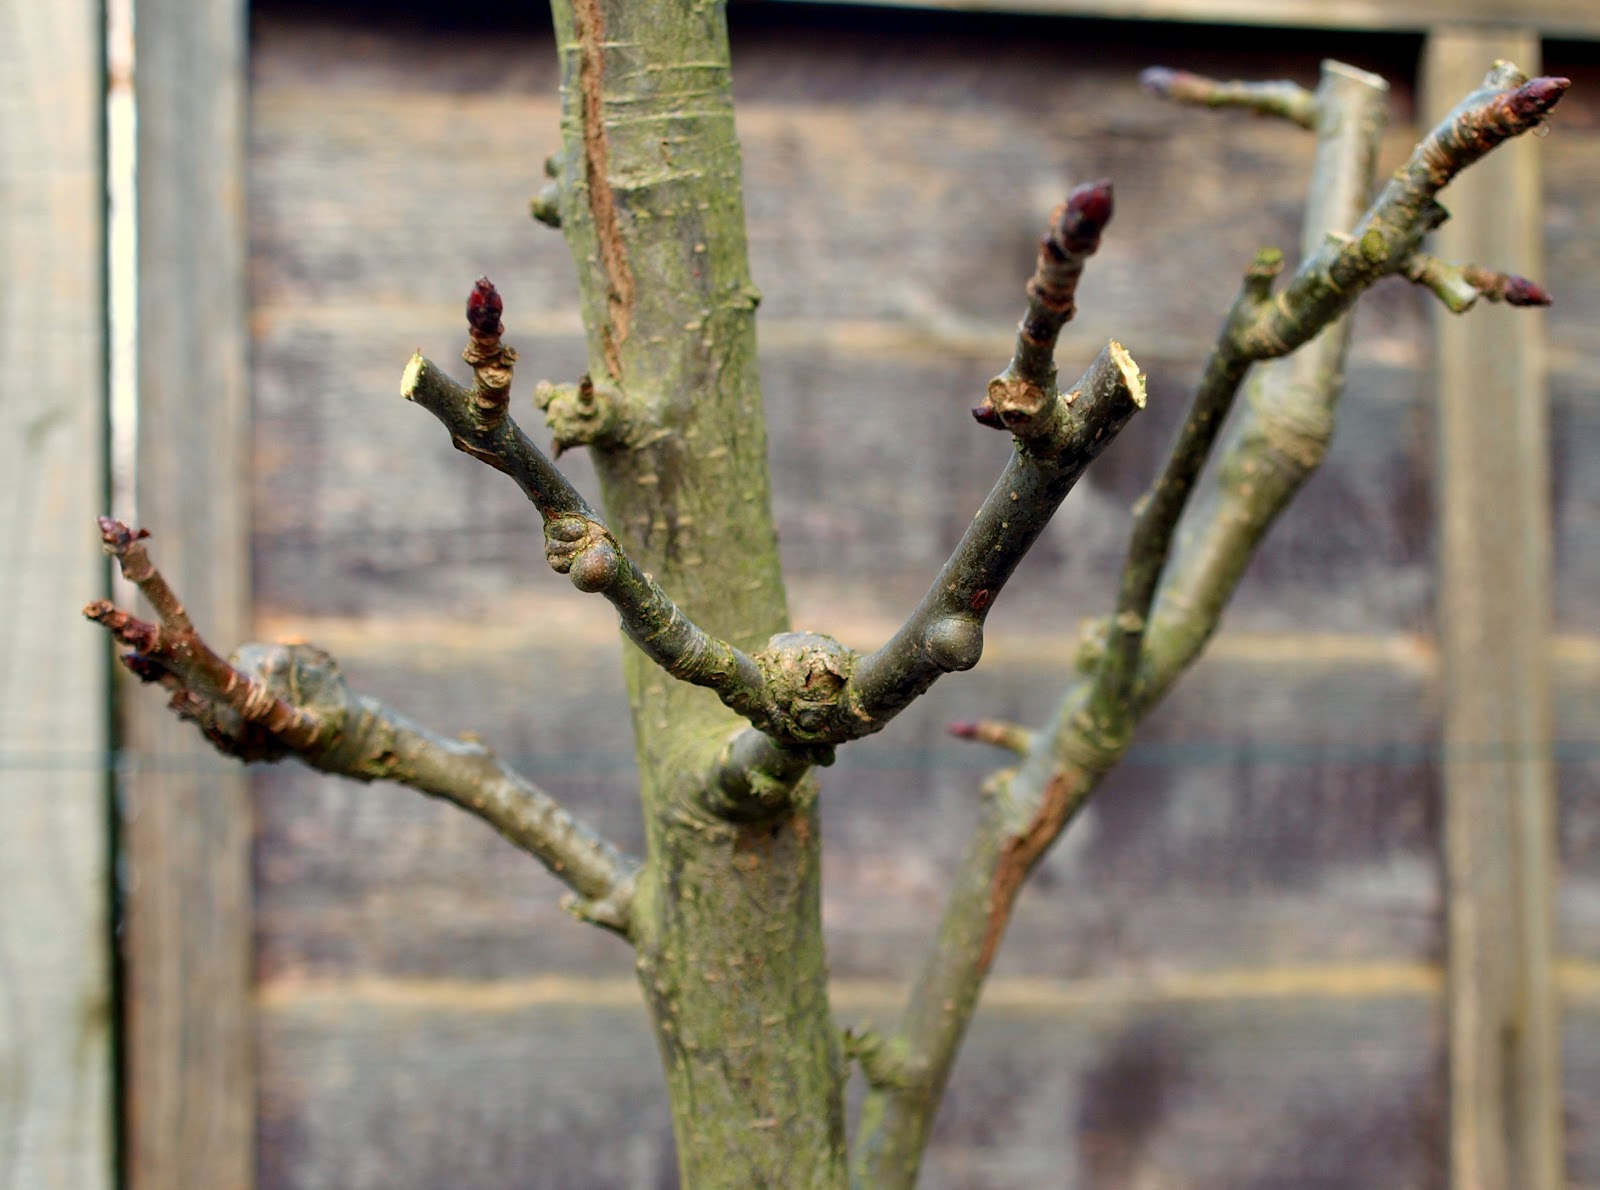
I described yesterday how I pruned the Minarette fruit trees. One of the pictures I took was of this little "fruiting spur":


When I looked at this, it reminded me of a person waving their arms in the air -  maybe a policeman directing traffic - or perhaps a diver just about to dive off a diving-board. Definitely reminiscent of the human form...

So I sent the photo to my blogging friend Sue, who runs Our Plot at Green Lane Allotments, because she has a great talent for "enhancing" photos, and I knew she would be able to do something good with this one. By the way, she is the person who did my Mickey Mouse potato, and Herr Jeeves, the cane-topper duck. This is what she came up with. She couldn't decide whether this spur was male or female. Whichever it is, it's a cross-dresser, that's for sure!

'Ello, 'Ello' 'Ello. What's goin' on 'ere then?

Pretentious? Moi?

I think they are wonderful. Thank you Sue!

On a related theme, Mother Nature enhanced one of my photos for me too.

This


Became this:


So what do you see in this one? Gonzo from the Muppet Show, wearing a white cape? A bride with a very long nose? Or what?

[I wonder exactly what type of mushrooms it was that I ate last night...Magic ones, possibly.]

Sunday, 12 February 2012

Pruning the Minarettes

As most of you will be aware, I don't own an orchard. I have just two fruit trees (used to have 3, but Victoria Plum passed away last year). Both of mine - one apple "Scrumptious" and one pear "Conference" -are grown as Minarettes. That's to say the are not very tall (about 8 feet?) and very slim. This type of tree can be grown at a spacing of only 3 feet from its neighbours. You could even grow one in a large container if you wanted to.

My two are positioned near a fence made of larch-lap fencing, against which I have Raspberries growing. This location is the best I have, since it faces South-East and gets a fair bit of sun.

Apple at Left, Pear at Right
The metal poles you can see behind the trees are parts of two old rotary clothes-driers, which I have re-purposed as stakes to keep some of the Raspberries under control. Perhaps you can also see that the trees are tied to wooden stakes. They are 5-foot stakes, I think, with about 1 foot under ground. When I put the trees in they looked plenty big enough, but in retrospect 8-foot stakes would have been better, since the slender Minarettes benefit from support all the way to the top. The trees put up some very enthusiastic "Leaders" (main growing points), and I have had to keep chopping them back.

A Minarette is supposed to have lots of very short branches radiating from the main trunk, and no really big ones at all. I have to be honest and say that my trees have produced fewer shoots low down on their trunks than I had expected, and a lot more growth up top. Last year the pear put on lots of new growth and looked healthy throughout. It went on to produce a total of 11 fruits. Not a lot, you may say, but OMG they were nice! The apple tree on the other hand did very badly indeed. It suffered from Bitter Pit, which is an ailment associated with being unable to absorb enough calcium during dry conditions. Adding more calcium doesn't help, by the way, you just need to add more water. That tree came within an inch of its life last year: I VERY nearly dug it up, but I decided to give it one more year to redeem itself, and we have made a pact between us: I will keep it well-watered if it promises to give me at least SOME edible fruit!

Last Tuesday I had a day off work, so I did my Winter pruning. The idea is to keep the side-shoots ("Fruiting Spurs") short and compact - approximately 6 - 8 inches in total. In my humble opinion this cluster of spurs on the apple tree looks about right (maybe even a tad too long?)


Using my secateurs and long-handled loppers, I cut back any straggly spurs to just above a bud, like this:


I thought maybe a silhouette view would give a decent impression of the end result. Yes, viewed from here, some of the spurs at the top left do seem too long still... Anyway, what the hell? Just look at the colour of that sky! And it's only February.


OK trees, now this is what we're aiming for - or better - right?

The apple tree in 2010
 

"Conference" pear - 2011


**********************************************************************************
P.S. You remember I wrote about sowing Asparagus seeds the other day? From my "all male" variety Gijnlim. Well, today I have seen that variety described in a magazine as "male dominant". Maybe the producers have been forced to accept that their variety is NOT all-male after all. I'm even more hopeful now that I may be able to get some of my self-saved Asparagus seeds to germinate.


Saturday, 11 February 2012

Sausage and Bean casserole with Chipotle

In the blogging fraternity of which I am a part there has recently been a bit of a surge of interest in cooking with dried beans.


 I still have a few of my home-grown beans left from last year, so I decided to use some to make my own bean-based dish. Of course, I'm not a vegetarian so my dish does have meat in it as well as beans, and I'm a chilli fan too so it also includes some lovely smoky Chipotle. I have to admit that my inspiration for this is derived from blogposts by two fellow bloggers: David Offutt who wrote about Black Beans and Rice with Chipotle Tomato Sauce, and Karen Burns Booth who offered us a Cheat's French Style Cassoulet, and my dish is a combination of some elements of both of these.

Sausage and Bean Casserole with Chipotle

Level of difficulty: Easy.

Ingredients: (serves 2)
  • 100g dried beans (I used a mixture - mostly the big white "Coco Blanc à Rames" aka Lazy Housewife. You could just as easily use tinned ones.)
  • 1 x 250ml tub of home-made tomato sauce (you could substitute this with a tin of chopped tomatoes)
  • 400g good sausages (I used Waitrose own Free Range Lincolnshire Pork ones, but Toulouse ones would have been even better!)
  • 6 dried Chipotle chillis (Adjust quantities to taste)
  • 2 x medium onions, peeled and chopped
  • 2 large cloves of Garlic
  • Approx 500ml of good stock (I used chicken stock made from the leftovers of the previous day's roast chicken)
  • Salt and Pepper
  • Small quantity of vegetable oil for frying
If you haven't tried Chipotle yet, I strongly recommend that you do. The Chipotle is a dried, smoked chilli. It is not hot, but it imparts a wonderful smoky warmth to what ever it is cooked in. You need to re-hydrate them before using them, but please don't discard the water that you use for this, because if you do you will be wasting a lot of flavour. Since the chillis themselves can be a bit fibrous, I tend to use them only as a flavouring ingredient, and I usually leave them whole so that I can fish them out and discard them towards the end of the cooking time.

Yes, they do look like Prunes - but I assure you they taste different!

Method:
  • Soak the beans in water for at least 6 hours, drain, and then cook them thoroughly until soft but not mushy (or use tinned ones!)
  • Soak the Chipotle in warm water for about an hour. Retain the soaking-water
  • Brown the sausages in a frying pan, using a splash of oil. Remove from pan
  • In the same pan, cook the onions over a low heat until translucent but not brown
  • Crush the garlic into the cooking onions and cook for a further two minutes
  • Put sausages and onion/garlic mix into a deep casserole dish
  • Add the re-hydrated Chipotles, along with the water in which they were soaked
  • Add the stock, beans, tomato sauce and seasoning
  • Cook, covered,  in a low oven (I use about 160C) for approx 90 mins, stirring occasionally
  • Check the consistency once or twice, adding water if necessary. You are aiming for a sauce that is not too thick and yet not sloppy.
  • Immediately before serving, remove the Chipotles, if possible
  • Serve with rice, pasta or potatoes, accompanied by a nice fruity red wine!


Note: this is a very tolerant dish. If you fully cook the sausages in the frying-pan rather than just browning them, and use tinned beans and a bit less stock, you could make this dish in about 40 minutes. I prefer to cook it more slowly though. I'm sure it enhances both texture and flavour. And there's something very satisfying about knowing there is a casserole full of lovely things bubbling away gently in the oven, whilst you sip your first glass of wine...


Thursday, 9 February 2012

"Proper" snow

The snow we had last week was pathetic. Last night we had a proper snowfall. We had this much snow:


Or this much:


Or this much:


Snow certainly looks pretty. This is the scene in my garden at about 0800:


The trouble is, it can make a mess of one's plans. I had arranged to have my hedge trimmed and my Crab-Apple tree pruned today, but it didn't happen...

Still, I made the most of the situation and took a few more photos.

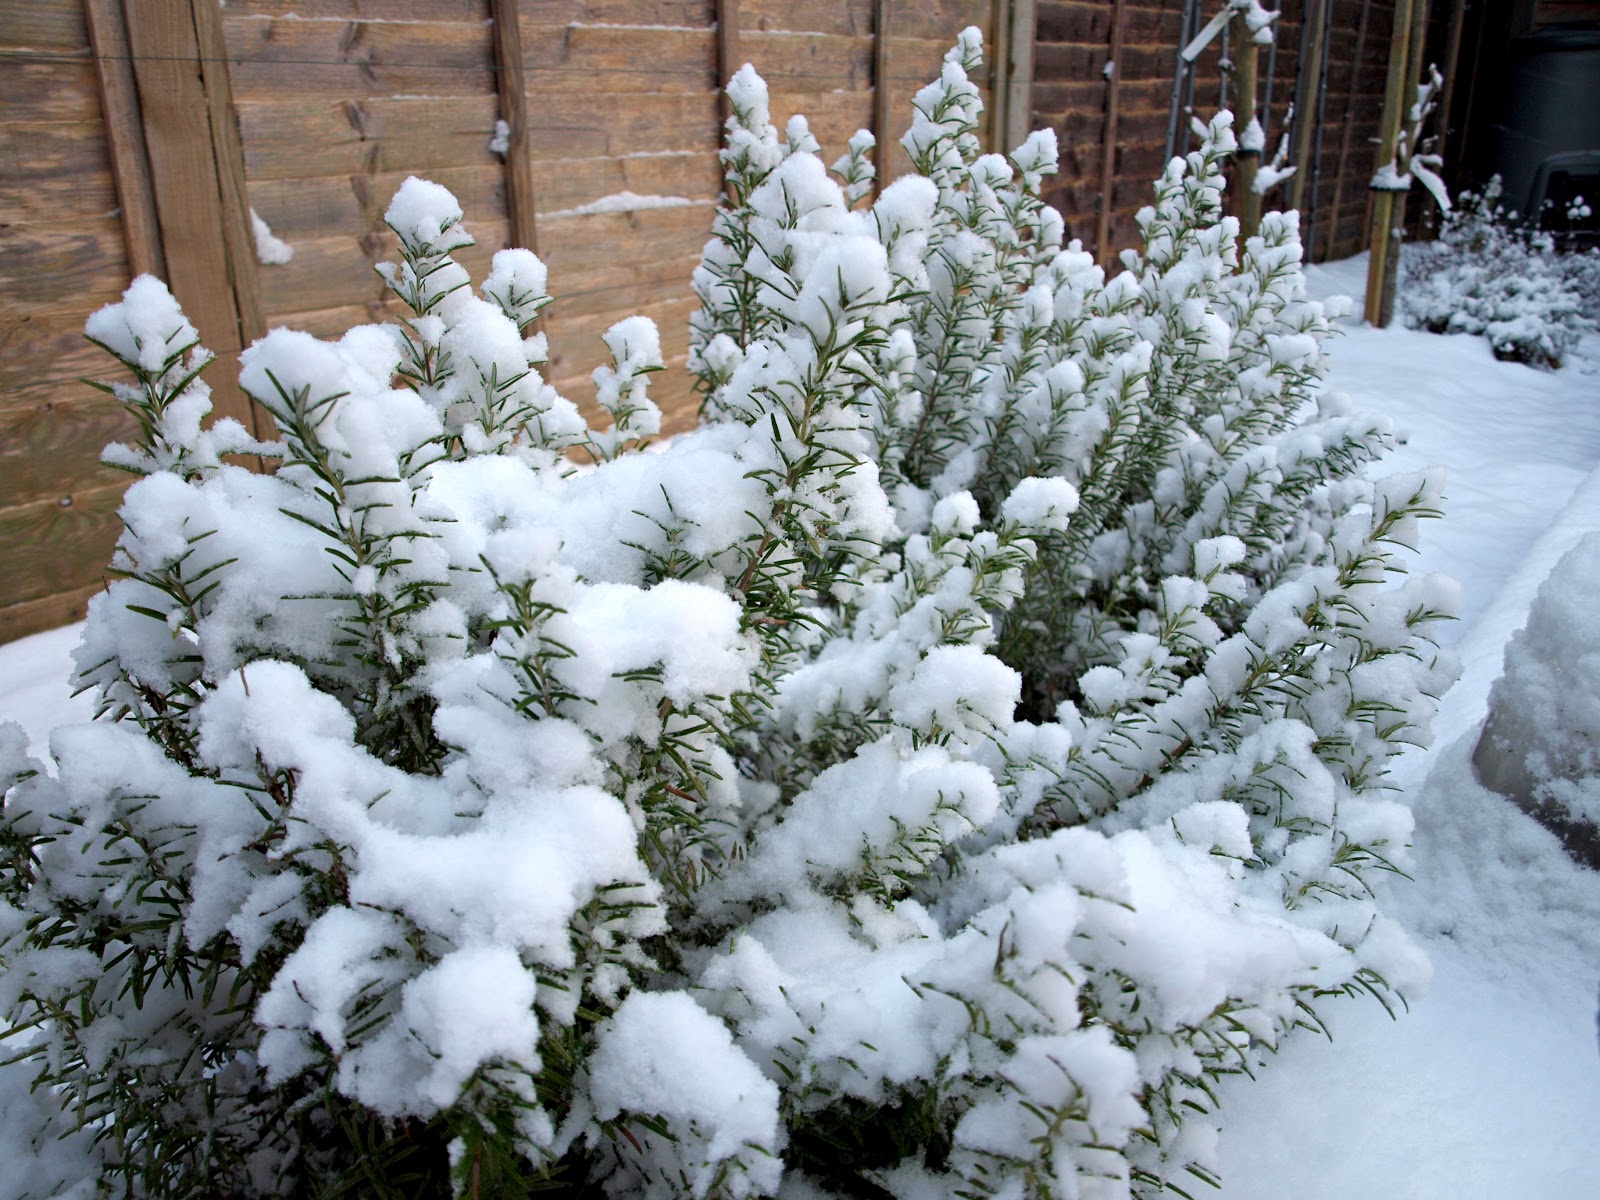
Rosemary

Dogwood

Bay

Netted Brassicas

Sorbet de Creme de Cassis???

Here in Fleet we seem to be getting off quite lightly again, because for most of the day the temperature has been above zero, and a lot of the snow has melted already. I still don't expect to be doing much gardening this weekend though.

Sowing Asparagus seeds

Asparagus is one of my favourite vegetables, and growing it (well) is one of the bigger challenges of the gardener's hobby. It certainly requires more than the usual amount of patience and restraint, simply because it takes a long time to reach maturity. Here in the UK at least, not many people grow Asparagus from seed. They usually buy one- or two-year-old crowns ready for planting out. This is what I did a few years ago. I bought 10 crowns of the variety Gijnlim. It is a supposedly all-male hybrid, but each year, after flowering, some of the plants produce little round red berries, and I have often wondered if they would be fertile. So this year I decided that I would experiment to find out. Who knows where this wandering (and pollen-laden) Bee was just before I photographed him with his nose inside an Asparagus flower? [You will probably tell me now that I'm wasting my time, but please humour me here...]


In the Autumn I picked these berries:


They have been sitting in a corner of the airing-cupboard ever since, drying. Now, never having done this before I wasn't sure how to go about sowing Asparagus seed, but my opening gambit was simply to push a few of them into a pot of moist compost, because this is pretty much what would happen "in the wild" as it were.


But as I was handling one of them, it split open. I realised then that the dry red casing was really just a seed pod, and the actual seed was inside. I cracked a few open and found that each dry red berry contained one small seed, which looked very much like a Tomato seed:

Seeds at bottom right
When I zoom-in (sorry, but this makes the photo a bit fuzzy) you can see that these seeds have a second, fibrous, coating. The seed itself is presumably the tiny black thing inside.

Why am I thinking of Sweet & Sour Pork Balls in batter...?

So plan B was to extract a few of the seeds from their outer casings and sow them in moist compost too. As you can see in the next photo, I left the secondary casing intact- removing it would have been far too fiddly for my shaky eyesight to cope with!


After I took this photo I pushed the seeds further into the compost so that they were completely covered.
The last element of the job was to cover the pots with small plastic bags to help retain humidity, and then the tray of pots went back into the propagator (aka airing-cupboard).


You can hardly see it in the photo, but I put a red plastic bag-tie into the one pot which had the complete berries in it, so I can tell it apart from the two which had just seeds in. I don't know if any of them will germinate, but it's worth a go I reckon. (I just need ONE to germinate really. Of my original 10 plants, one died in the first year, and I could do with a replacement to fill that lonely gap!)

I'm already imagining this (although it's probably 3 months away still):


I live more in hope than in expectation!

Wednesday, 8 February 2012

Pork Chops with Sage, braised in cider

I'm re-publishing this post in order to enter it into the Herbs on Saturday blog-hop hosted by Karen on Lavender and Lovage. If you haven't discovered this yet, why not take a look?


*********************************************************************************

The usual way to cook Pork Chops is to grill them, but if the chops are quite thick I find they can sometimes go quite dry and tough on the outside before being properly cooked on the inside (and no-one likes pink pork!). An alternative cooking method is braising, which is slower, but keeps the meat moist. It involves quick browning of the meat, followed by slower cooking in liquid. My variation on this theme is Pork Chops braised in cider. Roast pork is often accompanied with apple sauce, so I thought the cider would be an appropriate continuation of this theme.


Here's how I made the dish:-

Step 1: marinate the meat.
I lightly scored the surface of the meat with a very sharp knife, then I worked into it some crushed garlic, black pepper and chopped fresh Sage (from the garden), held in place with a tiny quantity of olive oil. I then let the meat stand, covered with clingfilm, in the fridge for six hours to let the flavours permeate.


Step 2: Brown the meat.
About an hour before cooking time, I lifted the meat out of the fridge, to allow it to come up to room temperature. Meat cooks better if it is more relaxed and not too chilly! I also scraped off most of the sage used in the marinade, which had gone quite black by this stage, its job done.

I then briefly cooked the chops in a frying pan with some hot oil, turning once or twice to make sure both sides were done. If you omit this stage, the meat will look very pale and anaemic - less attractive in my opinion.


Step 3: Braise the meat.
I poured a 500ml bottle of dry cider into a deep sauté pan, along with about 5ml of concentrated chicken stock, added the chops and brought the pan up to a gentle simmer.


I covered the pan and left it to "tick over" for about 45 minutes. Cooking time depends a lot on how thick your chops are. Mine were about 2.5cm thick, and the pair of them weighed about 400g.


Step 4: Make the sauce.
When the meat was cooked (Test its texture with a sharp knife when you think it should be ready. The meat will probably still be firm, but the knife should pass through fairly easily), I removed it from the pan and put it on a plate in a very low oven to keep warm.
I made the sauce by first reducing the cider by boiling it hard for about 5 minutes, then simply adding about 100ml of cream, (I used Elmlea Light - a low-fat version)  and stirring it to emulsify it and heat it through.


Step 5: Serve.
When everything was ready, I plated the chops, accompanied by some Charlotte potatoes tossed in parsley, and some Tenderstem broccoli, and then spooned the sauce over the top. I added another sprig of Sage as a garnish.


et Voilà...

I don't think it would win me a Roux scholarship, but it's not bad for an Everyday supper.

Wine recommendation.
Domaine du Grand Mayne (Côte de Duras) Rosé, 2010, served chilled.