Saturday, 27 June 2015

West Green House revisited

This week we made another visit to West Green House, near Hartley Wintney. It's only 20 minutes' drive from our house, so we really should go more often, but we hadn't been since this time last year. At this time of year the gardens are absolutely teeming with flowers of all descriptions, so my camera was busy!

This is my favourite spot in the gardens, by a fair margin!


If you stand with your back to the archway pictured above, you see this:


A stream enters the garden at the ornamental "shrine" at the top of the slope, and is then led over the stepped waterfall, before being channelled along both sides of a path made of lovely old bricks with an inset granite millstone.


The two slender rivulets converge once more and disappear underground at the foot of the circular archway.


Visitors are not allowed inside the house, of which you can only get glimpses:


What you can see demonstrates that the house is a substantial one, constructed mainly of the beautiful mellow brickwork which is so common in our area (Hampshire).


The gardens are a mix of many different styles, some of them formal, like this "Knot garden" sub-divided by a multitude of neatly clipped Box hedges.


This very geometrical courtyard is just by the tearoom, where we had a very nice Ploughman's Lunch - which included not only bread and cheese but also a mini pork pie, some salami, salad, pickles and chutney, served on a wooden board lined with vine leaves!


 At the other end of the property they are establishing a Topiary garden with yet more Box, though I noticed that a lot of the bushes have already been attacked by the Box Blight disease and have big brown patches, which is such a shame when the staff have gone to a lot of trouble with clipping the bushes so nicely. (Notice the tall spiral one in the distance at far right.)


Whoever designed the garden evidently like the long views. So do I. This path is lined with Catnip - feline heaven, surely?


In the central walled garden, which in times gone by would have been the kitchen garden providing fruit and veg for the house, the beds are planted-up Potager-style, with flowers and vegetables mixed in together, and the veg are clearly chosen at least partly for their ornamental qualities.


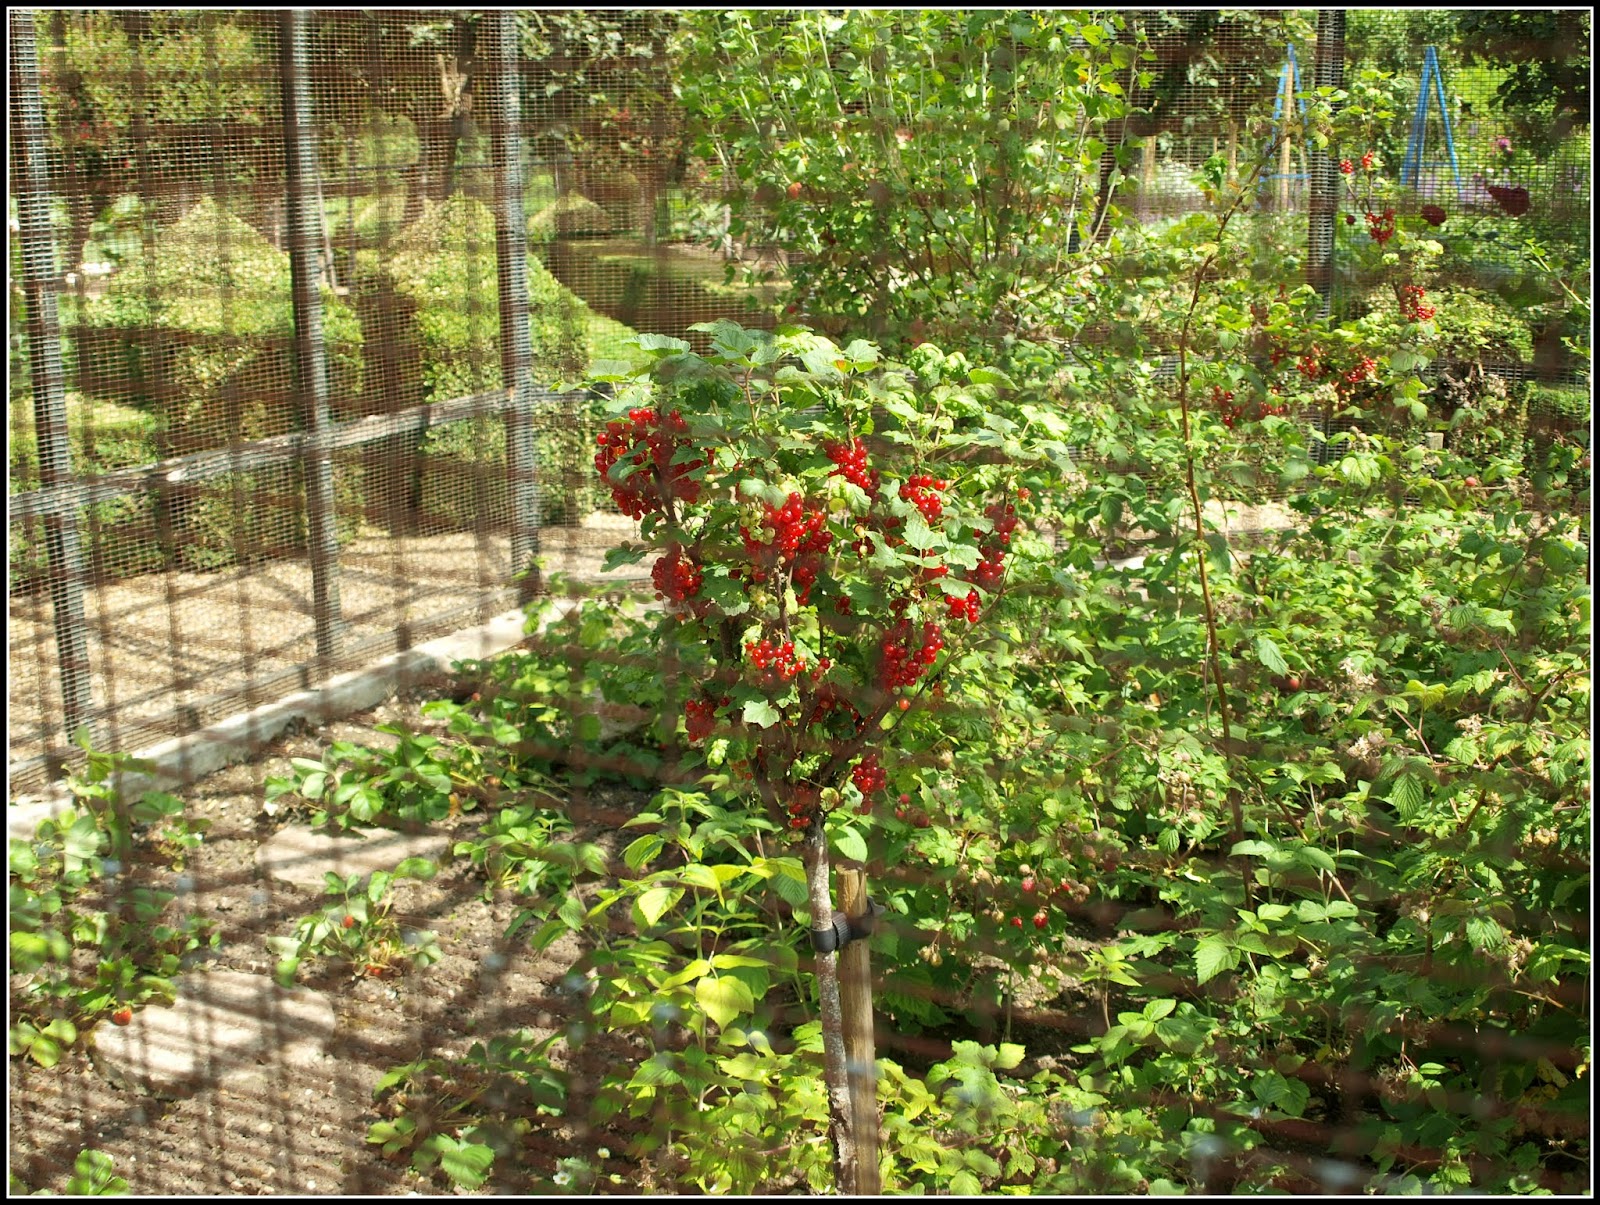
In he centre of the walled garden, with paths radiating out from it, stands a big hexagonal fruit cage, full of luscious fruit - strawberries, raspberries, gooseberries and currants. Even though this next photo is taken through the wire, you can still see how much gorgeous fruit there is on this standard-trained Redcurrant bush:

Elsewhere, there are plenty of informal areas, many of them full of wild flowers. We noticed several patches of grass like this one, left unmown. Closer inspection reveals the reason - the grass is full of little orchids.


This post is already pretty long, so I think I'll finish here, but I will do another one to show off some of the flowers.

Friday, 26 June 2015

Broad Beans - are they ready yet?

At last, my Broad Beans are ready to harvest (well, a few of them, at least...)


My beans were sowed on February 23rd. They are "De Monica", and "Imperial Green Longpod".

Gently squeezing the pods, it felt as if there were reasonably-sized beans inside, so I tentatively picked just one pod to see what was inside:


The pod was about the same length as my secateurs. It was one of the "De Monica" ones. The "Imperial Green Longpod" are longer and slimmer.


Inside I found five beans. Three were of a decent size, but the other two were still very tiny.


I'm sure they would all have grown bigger if I had left them, but I am not in the business of growing vegetables for huge harvests - I prefer small and tender - so I judged that it would be OK to pick a few more pods.


There are plenty more where they came from:-


I will write about the ones I picked and how they were eaten, in a day or two, but let me end this post by showing you the symptoms of another very common disease of beans - Broad Bean Rust:


The rusty red spots surrounded by a lighter halo are very characteristic of this fungal disease. It is unsightly, but rarely very damaging. It seems to attack only the leaves, not the pods. Fortunately my plants are not badly affected. The recommended advice is to remove the affected leaves and burn them. It's best not to put them in the compost, because the spores may survive and go on to affect more plants next year when you distribute the compost around your garden.

Thursday, 25 June 2015

Runner Beans - more intelligent than you might think

Many plants have a remarkable ability to adapt to trauma and adverse conditions. Today I want to demonstrate this in respect of the Runner Bean.

Normally a Runner Bean produces one stem which is the clear "leader" - like this:-


In the axil between the main stem and each leaf a small shoot grows, but it normally remains insignificant unless the main shoot is pinched-out or damaged. In fact some growers advocate deliberately pinching-out the growing-point in order to stimulate the production of side-shoots. I generally only pinch-out my Runners when the stem reaches the top of the cane.

Sometimes the leading shoot runs into trouble, like this one. It has just stopped growing for some reason (pest-related, maybe). It has gone brown and is beginning to shrivel.


However, when this happens, the plant responds by switching its energy to the secondary shoots, ones which would normally remain insignificant. It's the same principle as cutting the main head of a Broccoli plant to stimulate the formation of side-shoots. That's what has happened here. The two shoots next to the bottom pair of leaves have put on a burst of growth.


In this next shot you can see the original main shoot wrapped round the cane at the right, whilst a second one is racing to catch up, and thrusting out strongly towards the cane.


This particular plant won't win the race to the top of the canes, but it may very well turn out to be the most productive plant of the batch.

Wednesday, 24 June 2015

Netting

Last weekend I re-arranged almost all my netting. Many of the plants had grown so tall that the original arrangements were no longer suitable.

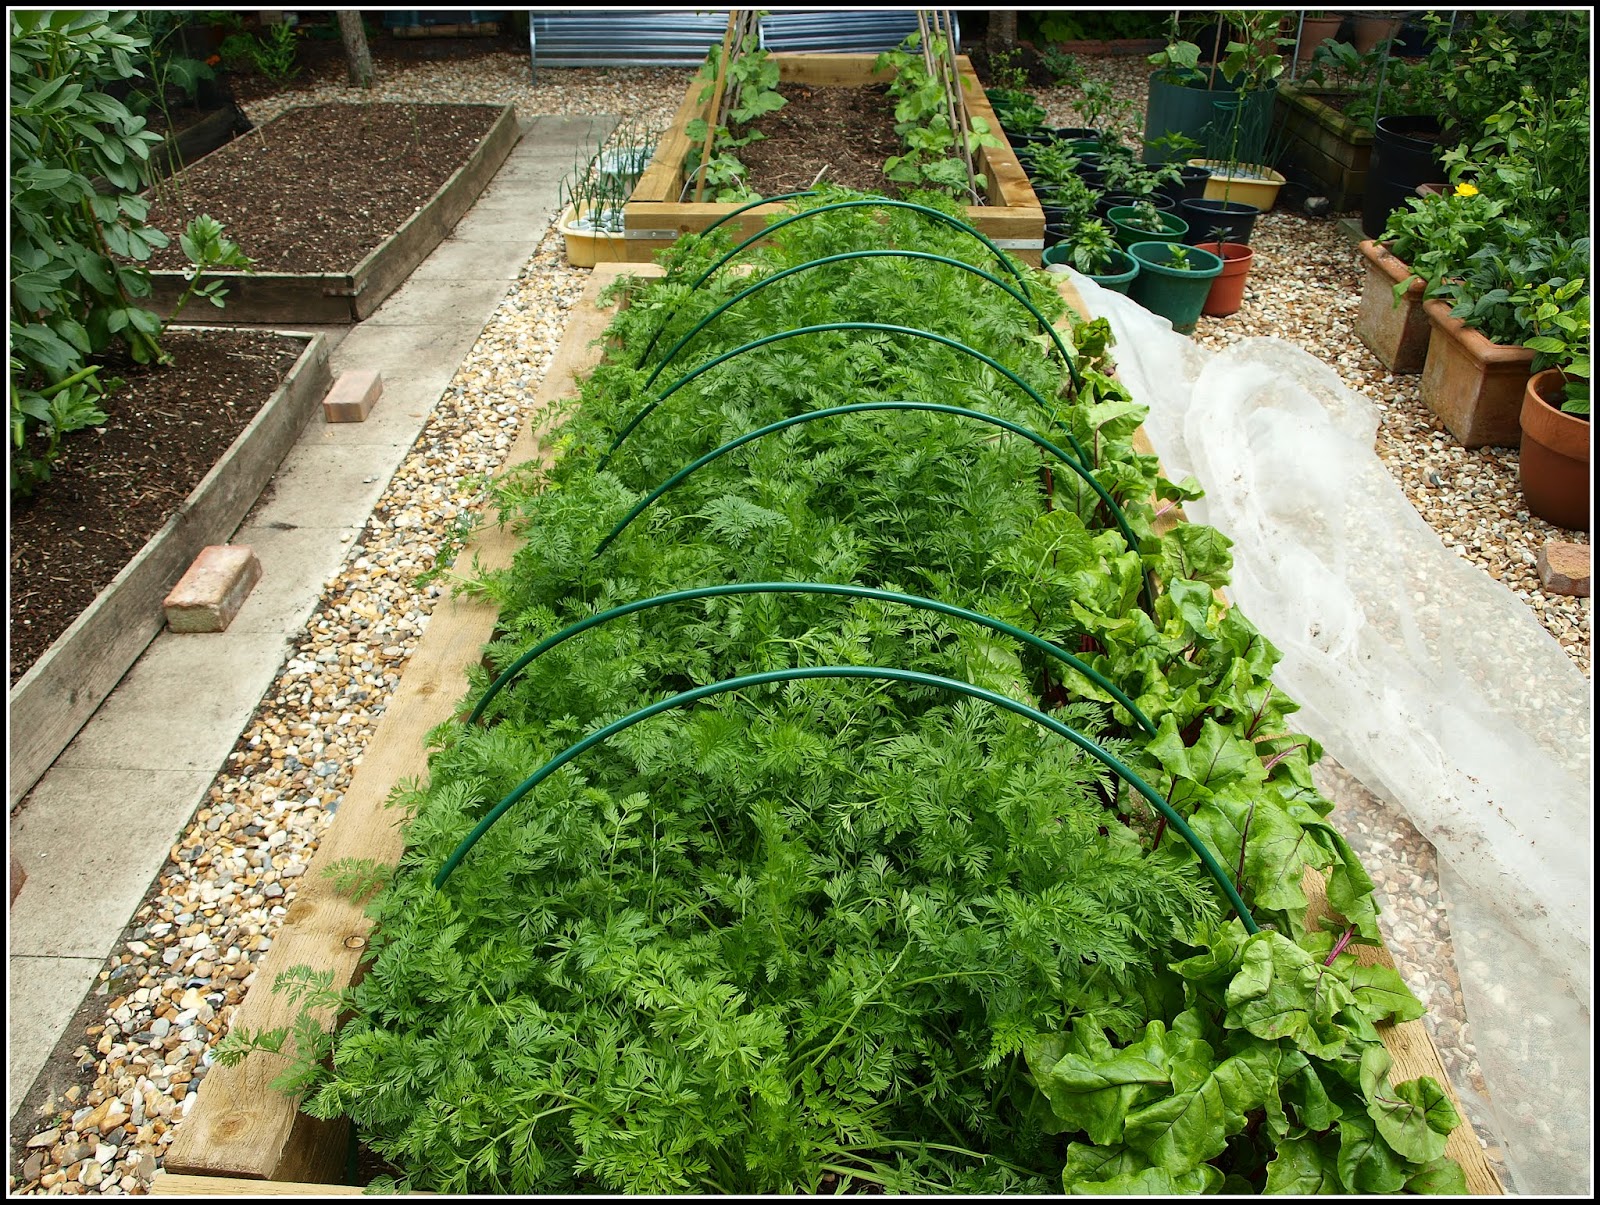
The Carrots and Beetroot in one of my new deep raised beds are growing very luxuriantly and their tops were beginning to push up against the Enviromesh supported on those plastic hoops:


The hoops have now been replaced by aluminium rods and "Build-a-Ball" balls, making a much taller structure with room for the plants to breathe more easily.


As you can see, the excess Enviromesh is held down by some bricks. The Enviromesh is a huge piece, allowing me to build a very tall structure if required - e.g. to protect brassicas.

Meanwhile, I have raised the height of the Brassica cage, using some longer aluminium rods slotted into the ones that were already there. You can buy rods that are "swaged" (in other words thinner at one end) so that they can be joined to the ordinary rods.


Unfortunately the net I am using here is square, so it only just reaches the ground at the sides although there is lots of spare material at the ends, which has to be bunched up. You will probably say "Why don't you reduce the height a bit to make it easier to position the net?", but believe me, the Brussels Sprouts in the middle of this bed will soon get very tall and it won't be long before the cage looks only just big enough!

In this next photo you can see the Salads bed in the foreground, with the tall Brassica cage behind it.


The netting over the salads has a large mesh-size and is really just to keep animals from trampling over the crops, whereas the net over the brassicas is intended to keep out the white butterflies, and has a much smaller mesh-size.

Trespasser caught on camera!


My local bird population seems to be very keen on these structures, seeing them as convenient perches from which to survey the surrounding area:


Actually, the birds (particularly the Robins) enjoy perching on ALL the garden structures from time to time. Here's one on the bean-poles.


Robins are amongst the easiest birds to photograph, because they are not frightened of humans and don't fly away at the slightest hint of danger like most others do. This rather grumpy-looking Robin is perching on the container in which my Sweet Potatoes are growing.


This next one is a very poor photo, very hastily taken, but it shows a Nuthatch investigating one of the Build-a-Ball balls - presumably it was harbouring some little creatures that could make a meal for a small bird.

Tuesday, 23 June 2015

Bean problems

I'm a lover of the bean in any form, so I grow lots of them in my garden. Over the years I have learned through experience (by that I mean Trial and Error) a fair bit about how to grow them successfully, and today I am going to write about some of the problems that have beset the ones in my garden this year.

This is the first problem - Blackfly.


Although Blackfly do infest other types of bean, their favourite is the Broad Bean. They cluster on the stems, particularly at the growing-tip of the plant where it is softest, and suck the sap. To be honest, the damage they cause is rarely very serious, but it's certainly unsightly, and in severe cases may stunt the growth of the plant. The time-honoured solution to this problem is to pinch-out the tips of the plants once the flowers begin to fall and pods begin to set. After this time the plant is unlikely to get much taller even if not pinched-out. Personally, I'm not convinced that pinching-out makes much difference. In my experience the Blackfly just migrate lower down the plant. A more effective solution (if it's practical) is to wash the insects off the plants with a hose set to fine spray. If you're not bothered about being organic, there are many chemical sprays available that will kill Blackfly.

Here's another problem. Maggots that eat the roots of the plants. These are the larvae of various types of fly. The visible effect of these is a plant whose leaves droop and which grows very slowly - if at all - like the one nearest the camera in the photo below.


By the time it reaches this state it may be too late to save the plant, but it's not necessarily doomed. I used these nematodes to counter-attack the maggots.


Nematodes are like very tiny worms. They attack and kill the maggots which would otherwise destroy your plants. Of course, they are best applied proactively, before the maggots attack your plants. This may be an expensive solution though. The suppliers recommend treating your growing area at intervals of 2 weeks throughout the growing season. Each pack treats 60 square metres and costs approximately £6.50. My garden is so small that one pack is enough for all of it.

This is another problem that I have been facing recently - weedkiller contamination:


This is only a mild case, but even so you can see how puckered and distorted the leaves of these French Beans are.

Beans are amongst the plant types most badly affected by the aminopyralid weedkillers used in agriculture and animal husbandry, as well as the clopyralid types often used in domestic lawn-care products. Despite allegedly stringent controls, these extremely powerful and long-lasting chemicals regrettably find their way very easily into commercial compost. Affected plants become distorted, thin and stunted, and produce little or no useable yield. This spoon-shaped leaf is a very characteristic symptom.


Last year my garden was very badly affected by weedkiller contamination, and I think that this year's symptoms may perhaps be caused by residues from last year. Certainly they are not so severe. My beans look as if they will be OK.

This is a Broad Bean plant affected by the weedkiller. The leaves are very thin and "fern-like". They have also rolled inwards on themselves.


For comparison, this is a plant of the same variety, showing normal leaf structure.


Unfortunately it is very difficult for the consumer to detect (or avoid) weedkiller contamination in the commercial compost sold in our Garden Centres. Big compost suppliers make huge quantities of the stuff and whether you get a good bag or a bad bag is very much a matter of luck. The only way to be sure you are not affected is to make your own compost! Since these chemicals are so powerful I would have thought it would be reasonable for the suppliers to be obliged to carry out tests to ensure their products are not contaminated, but that's not the way it works. The big multi-national corporations seem to be able to get away with anything they like, whereas we poor consumers seem to have no rights at all!

[If you are interested in this particular subject, please visit Sue Garrett's blog "Our Plot At Green Lane Allottments". Sue has accumulated a wealth of evidence and information about the issue.]


Monday, 22 June 2015

Harvest Monday - 22 June 2015

This past week saw me harvesting the first of my Strawberries.


I only have a few Strawberry plants, growing in some plastic crates, so I am never going to get a huge crop, but My Goodness they are nice! We ate this first half-dozen mixed in with some bought Raspberries and the contrast was very marked. The Raspberries had been refrigerated, which kills off some of the flavour, whereas the Strawberries were eaten about an hour after being picked, and had not been refrigerated. Their flavour was really intense.


This is another batch, picked a couple of days later:


Naturally, I have harvested more Lettuce this week (my plan is to keep doing so throughout the summer months). This one is a "Cervanek", a very handsome lettuce:


It looks just like the picture on the packet! (These are seeds kindly sent to me by a blogger in the Czech Republic).


The Asparagus season is just about finished. Most of the spears coming up now are quite thin and spindly, which is an indication that the plants are getting tired (and who can blame them?). It's tempting to keep on cropping, but the plants need a few months rest in order to regain their strength for next year. These four spears will therefore probably be the last ones I pick this year. You see them alongside the first head of Broccoli.


This is a piece of Broccoli from one of the "De Ciccio" plants. Unfortunately there was only one piece that was ready (the other plants are some days behind), so I just cut it down the middle and steamed it alongside the Asparagus.

 
Then there were these "Vales Emerald" potatoes.


That's 28 useable potatoes (558g) from one seed tuber, grown in this 12-inch container:


This is them washed and ready for cooking:


In my opinion, this is the stage at which new potatoes should be harvested. These are First Earlies, not Maincrops, and they are not intended for long-term storage, so there's not much point in leaving them until they get huge. Eat them young and tender, I say.

I'm linking this post to Harvest Monday, over on Daphne's Dandelions....