Tuesday, 11 April 2017

Watercress

A few days ago we bought a punnet of growing Watercress from a local supermarket. It was very reasonably priced (£1), and provided us with a decent amount of salad material. We are not normally very impressed with the thin weedy stems found in those ready-cut bags of Watercress that are so often the only option; we prefer the big sturdy stalks you can sometimes buy in our Farmers' Markets. This living Watercress seemed like a reasonable compromise. Furthermore, I saw its future potential...


With the punnet of cress nearly finished, I commandeered it to make my own Watercress bed. Many people think that Watercress has to have running water to grow in. Not true. Yes, it will grow better in running water (e.g. the chalk streams of the Meon Valley in Hampshire), but it can manage OK in still water or very wet soil, as long as you top up or change the water fairly frequently.

This is how I made my Watercress bed.

First, find a suitable (watertight) container. I used this slightly damaged black plastic storage-crate, but I'm sure you could easily find something suitable at your Recycling Centre, or even in a nearby skip!


I half-filled it with large stones. This is basically because I wanted to economise on the amount of soil I was going to use.


I covered the stones with a layer of ordinary garden soil about 4 or 5 inches deep.


I added a copious amount of water, making the soil extremely wet - basically mud.


A sprig of Watercress can be successfully rooted in a jar of water in just a few days, but mine already had a mass of roots, and it was only necessary to simply carve it up into suitable chunks.


My chosen container was quite big, so it was easily able to accommodate five of those "chunks".  Planting them was a bit like I imagine planting rice is - just push it into the gloopy mud!


So there you go - I now have an ultra-low-cost Watercress Bed.


I'm hoping the Watercress will soon spread out and take over the whole of that container, allowing us to have our own source of fresh cress just outside the back door. I'll let you know how it goes...

Monday, 10 April 2017

Successional sowing

Even with a small garden like mine, unless you plan what you are going to grow, and sow accordingly, it is likely that you will end up with shortages or gluts. Jane and I are not particularly keen on freezing vegetables (we much prefer eating them fresh), so I try hard to make sure that I grow the right amount of each.

This year I have two rows (each of 12) of Broad Bean plants, sowed about a month apart. Hopefully the earlier ones will be just finishing when the later ones come to maturity. This photo shows the difference in size:


The later batch will probably catch up to a degree, since they have not had to cope with any really cold conditions, as the first batch did. The fact that the beans are of two different types will also help with achieving different harvest times.


In retrospect I wish I had sown the beans differently - with the later beans on the right, not the left. The reason I say this is that most of the direct sunshine these beans receive comes from the direction which is to the right in these photos, so therefore the taller beans may end up overshadowing the shorter ones. I didn't think of this until it was too late. It probably won't be a major issue, but it's just one more factor to think about when deciding what to plant where.


As you can see, I sowed a row of Radishes alongside each row of beans, on the outer side. Last year in similar circumstances I sowed a third row of Radishes too, between the rows of beans, and they failed dismally due to lack of light. Lesson learned!

Failure to sow vegetables at the correct spacing, or failure to thin them sufficiently after germination is another very common cause of poor crop performance. Seen below are some newly-germinated Beetroot seedlings, which look nice and evenly spaced. This is because the Beetroot seeds were big enough for me to have been able to sow them individually, in exactly the right place.


However, it's not as simple as that. Each Beetroot "seed" is actually a cluster of several seeds, and they often all germinate. The cluster on the left in the photo below has at least 4 plants in it - three of which need to be removed if I am going to get decent-sized Beetroot. Notice that the cluster on the right has an impostor too - a stray Tomato seed, presumably one that came from my home-made compost.


A couple of tips on thinning:

1. Water the row of seedlings half an hour before you start. This will enable you to remove the surplus seedlings with minimal root-disturbance of the ones that are to remain.
2. Place a finger on the surface of the soil close to the clump of seedlings, in order to help stop too much soil coming up as you pull.
3. Save the surplus seedlings and use them as salad ingredients.
4. Water again after thinning, to re-settle the soil around the remaining seedlings.

By the way, if you don't like thinning (or haven't the time for it), you could always use Seed-tapes, in which the seeds are pre-positioned at the correct spacing in a reel (tape) of bio-degradable material.

My next subject has nothing to do with thinning, but I suppose it is vaguely related to Successional sowing...

This year's crop of Purple Sprouting Broccoli is coming to an end. I have had a good crop over a period of several weeks, so I am well pleased.


All that is left on the plants now is a mass of tiny (stringy) tertiary shoots, which are not very pleasant to eat, so I am leaving them to develop into flowers - for which the bees will no doubt be grateful.


The next crop I will grow in the bed currently occupied by the PSB is Runner Beans. These beans are frost-tender and our last frost date is usually about Mid-May, so I haven't sown the beans yet. This means that I have 3 or 4 weeks grace in which to leave the PSB to flower, before it needs to be removed.

At about that time I will sow the seeds for next year's PSB. So the cycle continues...

Saturday, 8 April 2017

Pricking-out tomato seedlings

My Tomato seedlings were getting a bit overcrowded in their little pots, so I have been busy "pricking them out" - in other words separating them into individual plants and putting each one in its own pot.


This is the "Before" state - with 5 or 6 seedlings in each pot


This is the "During" stage

The tomato seeds were sown in John Innes No.1 seed compost, which is very light, and now the little plants have been transplanted into pots of John Innes No.2, which is a bit more substantial and has nutrients enough to keep the plants supplied for several weeks without additional feeding.


This is the "After" state - with each plant in its own pot

You'll notice that each pot has a label, because it is all too easy to lose track of which type is which. At this stage they all look very similar!


I now have 45 tomato plants left. Yes, I did discard nearly as many. It grieves me to throw away perfectly viable seedlings, but I really only intend to grow 15 plants, so with 45 that's one to keep and two spares of each variety.


I'll be bringing the little plants indoors at night-time for the time being, and keeping them in the mini greenhouses during the day, or perhaps out in the open if the weather is warm enough. I reckon that once the night-time temperatures are 10C or over, it will be OK for the tomatoes to stay out in the greenhouses without being brought indoors.

Friday, 7 April 2017

Lemongrass

Some readers might remember that last year I grew some Lemongrass plants from seed. They grew quite well, but didn't reach a harvestable size before Autumn, so I decided to experiment with over-Wintering. I kept two pots in the unheated but frost-free garage, and two pots indoors on the windowsill in a spare bedroom.

I was fairly sure that the indoor ones would be OK, but I wasn't sure whether the ones in the garage would survive. As it happens, they didn't:


The leaves dried out completely.


You can't really see it here, but the roots had also withered away. The plants were definitely dead.


The plants kept indoors are fine.


They have stayed green all through the Winter and have continued to produce new leaves. In fact they are looking quite luxuriant.


If they continue to grow like this I think I may soon be able to use some of those swollen leaf-stems.


During the Winter I watered the plants in the garage "sparingly" (perhaps about once a month), but the ones indoors needed a lot more water and I gave them a drink every 4 or 5 days. I think my experiment just shows that Lemongrass - being a plant of tropical origin - is not going to survive a UK Winter unless it is given artificial heat. Anyway, I know what to do for next Winter...

Thursday, 6 April 2017

Planting onions

As I said the other day that I was going to do, I have now planted out my clumps of "Long Red Florence" onions.


Onion "Long Red Florence"

Each clump contains about four seedlings.


In my usual fashion I have not planted them ALL at once. I had 9 pots, but I have only planted 6. I'll keep the others in reserve (under cover when necessary) until I'm sure that the 6 have established themselves successfully.


The sticks are there to dissuade animals from digging up the onions, and the green metal grilles (shelves from my mini greenhouses) are to deny cats the opportunity to use the vacant space as a toilet!


In due course the vacant space under the grilles will be filled with a row of Leeks. I think the Leeks could do with being a little bit bigger before I plant them out. I'll probably leave them another 10 days or so.


Leeks "Musselburgh" and "Winter Giant"


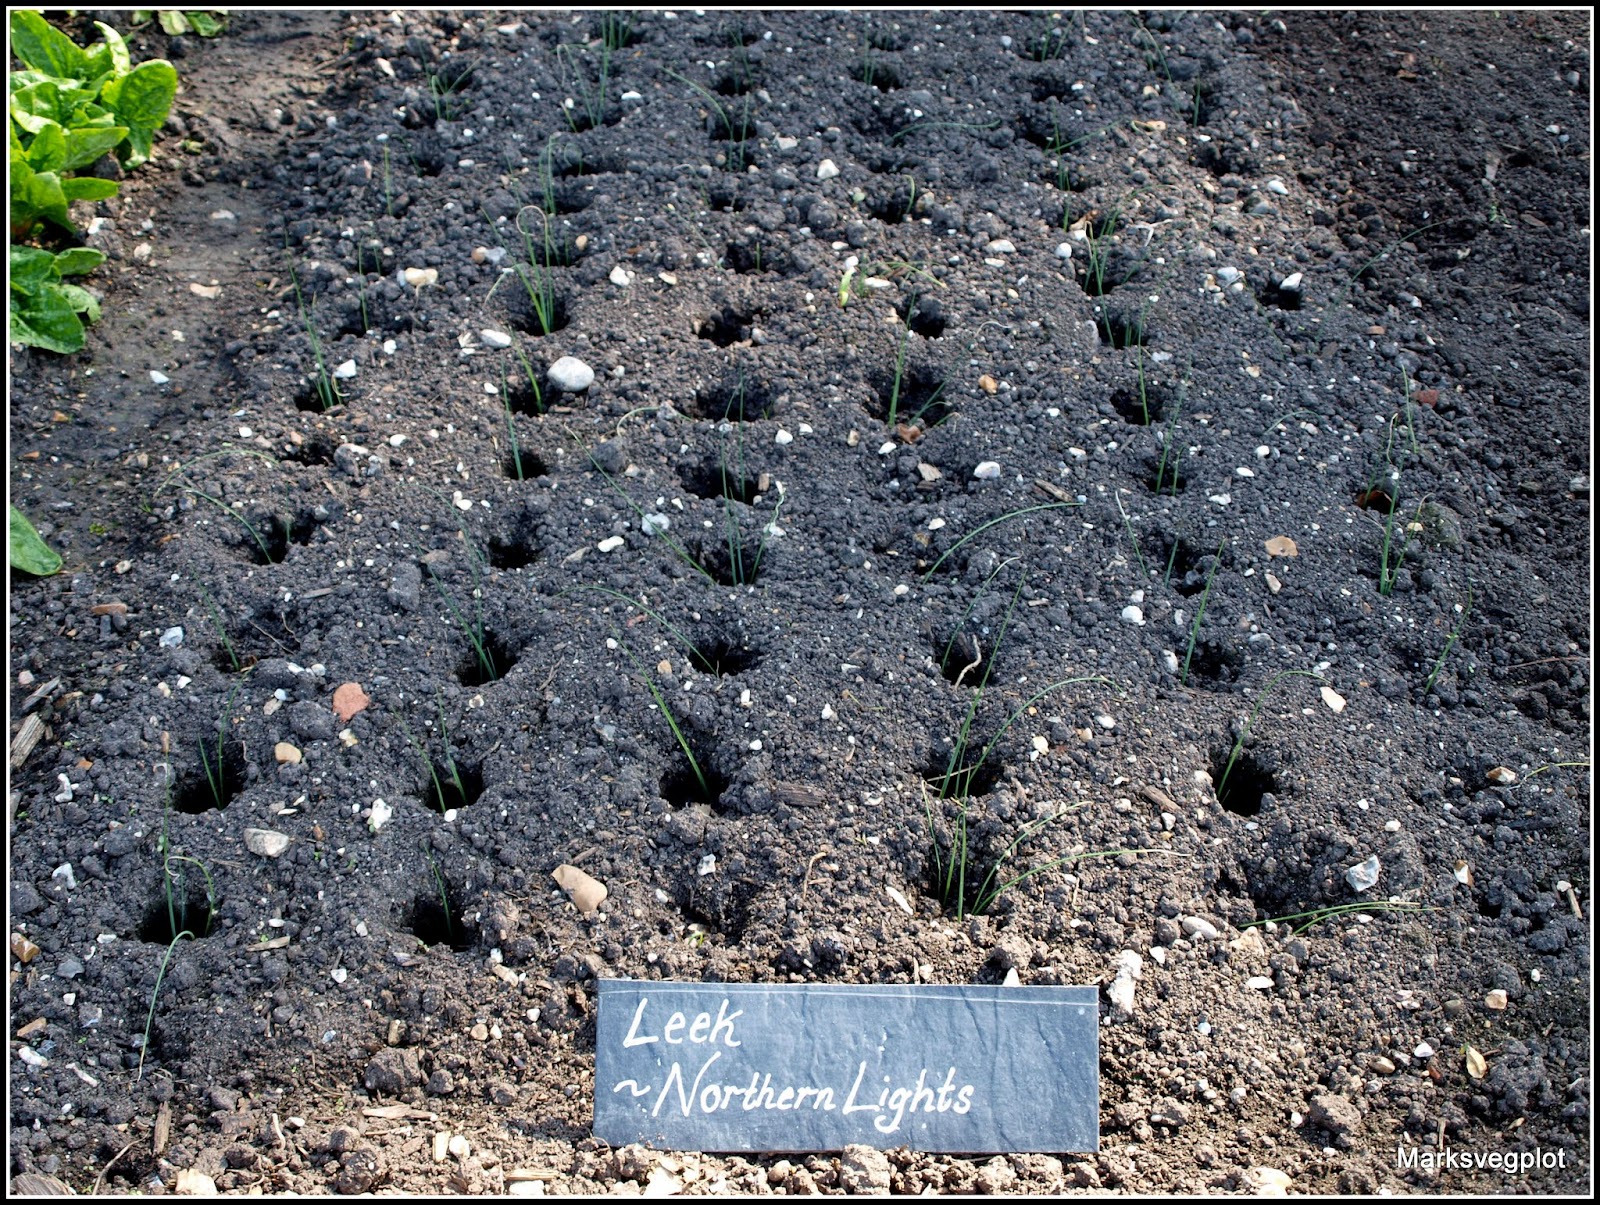
I'm progressively thinning them, discarding the weaker ones, because I will only have space for about 15 or so. When I do plant them, I'll be emulating the technique seen here. The young Leeks are just dropped into holes about 6 inches deep, spaced about 6 inches apart. They are watered in, but the holes are not backfilled.


Wednesday, 5 April 2017

The Pig

We recently had the pleasure of dining and spending a night at The Pig at Brockenhurst, in the New Forest.


As you may gather from the words on that sign, this is a small hotel - more of a restaurant with rooms - that specialises in food emanating from two sources: the animal pig, and the vegetable garden. This is one of a number of establishments that have recently become very popular in the UK, where the gardener is considered equally as important as the chef. The chef asks the gardener to grow certain ingredients he needs in his dishes, but the gardener also puts in front of the chef some interesting ingredients that maybe he hadn't previously considered... Sounds good, eh? Oh, and by the way, more than 85% of the ingredients used in the restaurant are produced (or foraged!) within a radius of 25 miles, in other words mostly from the New Forest.


The hotel was lovely, with a friendly welcoming atmosphere. Although part of a chain (5 hotels) The Pig at Brockenhurst is small enough to offer the personal touch, and not be part of a faceless corporate juggernaut.


Think cosy armchairs in front of a crackling log fire. The public rooms are decorated with what I'd call Bric-a-Brac, and I think the restaurant was equipped on a similar basis - no two items of crockery, cutlery or glassware were the same. This could easily make the place seem like a junk-shop, but it doesn't, it feels quirky but it works! Likewise the bedroom we had was in a detached chalet about 50 metres from the main building, but it was lavishly equipped and decorated extremely tastefully in the so-called Shabby Chic style. Since it is April we weren't able to avail ourselves of this feature, but the room opened out onto a beautiful secluded garden fully furnished with tables and chairs. I imagine this would be an idyllic spot to sip a Sundowner cocktail on a Summer evening, or a cup of tea at 6.00 a.m. while listening to the Dawn Chorus!


The hotel encourages guests to explore the extensive kitchen garden, from where many of the ingredients of their meals will be sourced:


It's big. It continues beyond the opening in the wall you can see in the distance.


Just about every type of vegetable you care to mention is grown here. The only notable exception being the potato. I had a long chat with two of the garden staff who were planting lettuces, and they told me that there just isn't enough space here to grow as many potatoes as the restaurant requires. Other than that though, they seem to have something of everything. Since it is the beginning of April, most of the Winter brassicas were (unsurprisingly) looking quite tired, like this 6-foot-tall red Kale:


There were several beds of Spinach, Leeks and Chard:


Of course I took a very close interest in their PSB, and was surprised to see that it had not been staked, but just left to flop:


Apparently this is because in the past it has frequently been blown over (snapped in half) by strong winds. They said it did well enough without staking.


The garden has a greenhouse, which as well as being used for starting off young plants is also used (especially during the Winter) for growing Baby Leaf Salads of various sorts:


Red-veined Sorrel, "Bulls Blood" beetroot and Nasturtiums

We can vouch for the fact that these make very nice salads!


Oriental mix, with Pak Choi, Mizuna and Red Mustard


All round the garden was that mellow brick wall, covered in carefully-trained fruit trees. It was perhaps significant that the height of the wall had been extended all along one side by a beautiful slatted wooden fence, presumably to lessen the effect of the wind.


In one place we saw this little cubby-hole, designed to contain refreshments for the gardeners!


With such a wonderful range of fresh ingredients close at hand (did I mention the free-range chickens?), it is hardly surprising that we had a fabulous dinner. Star of the show for me (and epitomising the hotel's ethos and style) was my Main course, which was Loin of Pork coated in a crispy herb crumb, served with Purple Sprouting Broccoli and semi-pickled Portobello mushrooms, garnished with spicy baby Nasturtium leaves. Here's a rather grainy pic of it...


Note the appropriate piggy decoration on the plate!


It's not something that particularly appeals to me, but I feel it's appropriate to mention that the hotel also offers a range of spa treatments, and I have it on good authority that they are very relaxing and therapeutic. Some of them take place in this charming little cabin at the far end of the kitchen garden:


The Pig is not a cheap place to eat or stay, but in my humble opinion it is worth the money. 24 hours spent here is a thoroughly restorative and pleasurable experience - the sort of thing that I am prepared to "push the boat out" for, once in a while.


I'm going to finish my post today on a lower note. I want you to see this piece of porcine garden sculpture. I hope you will forgive me / us for dubbing it "The Crapping Pig"!   :-)


Sunday, 2 April 2017

In the mini greenhouses

Today I just want to show off what I have growing in my three mini-greenhouses. At this time of year I couldn't manage without them!


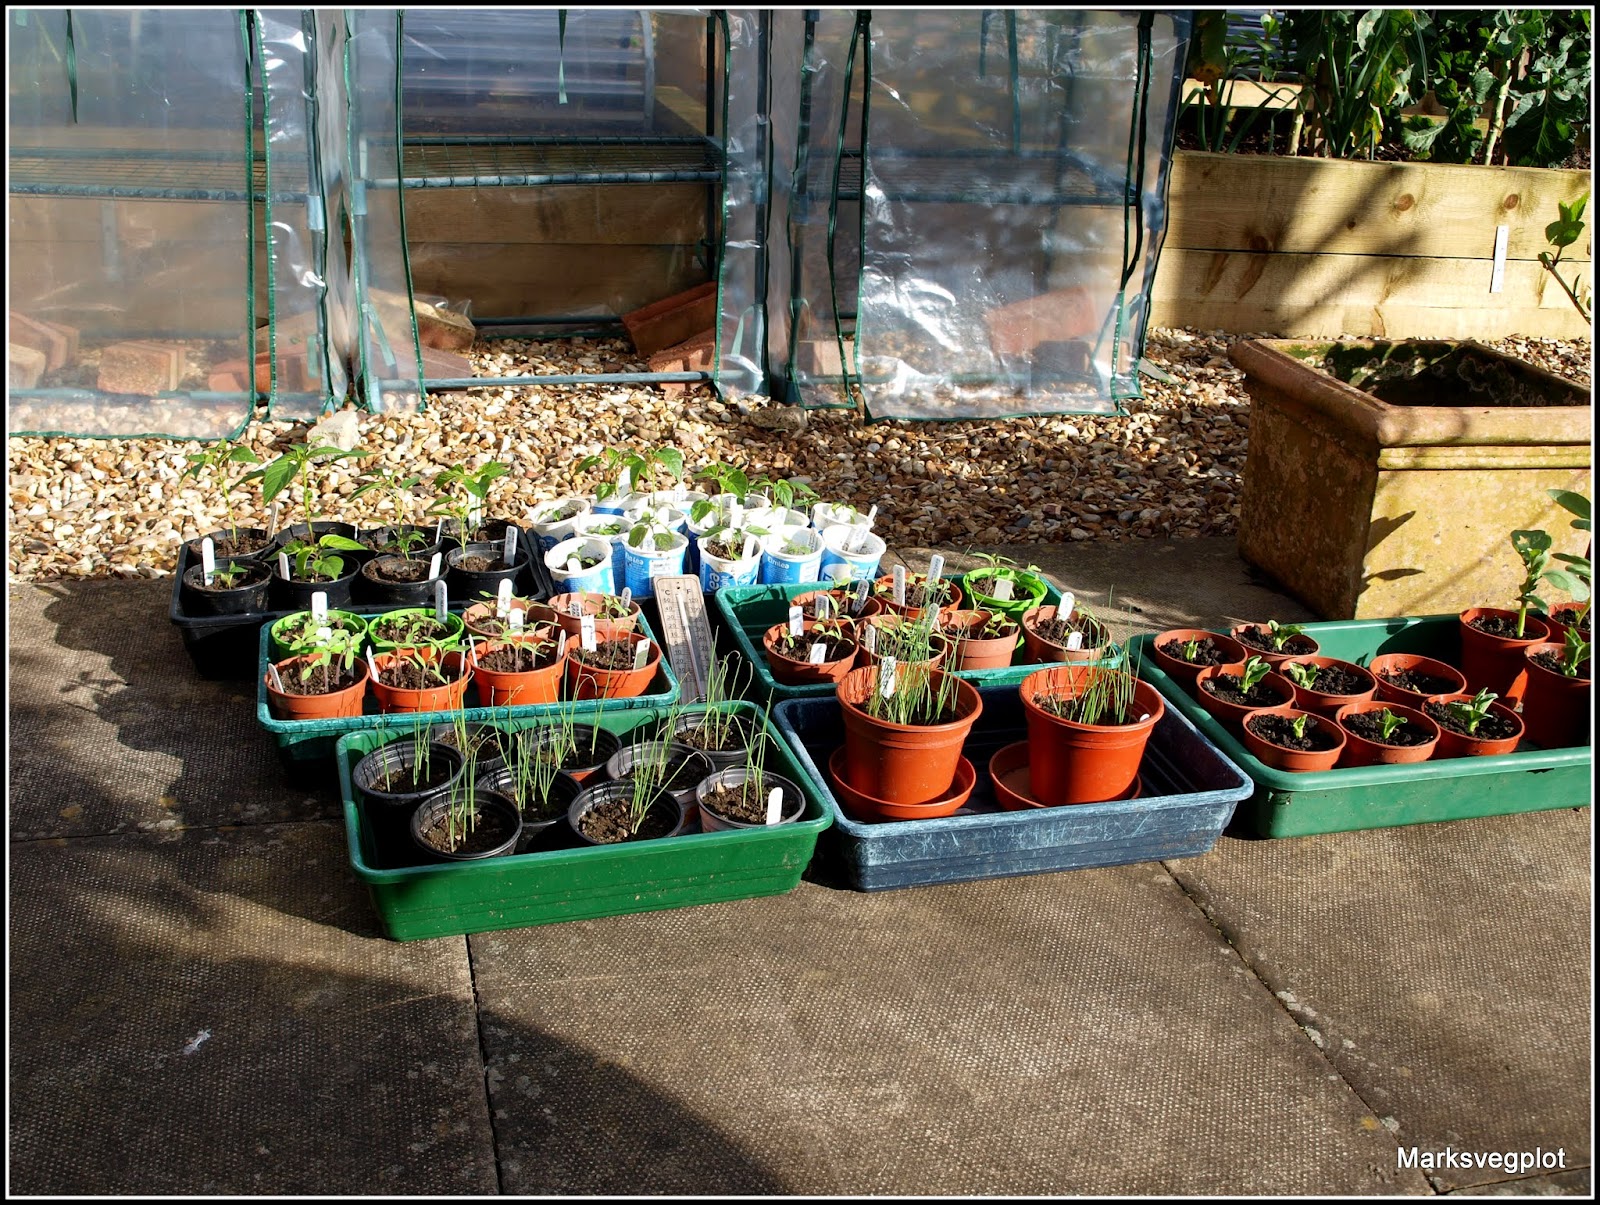
Our weather at present is (and has been for the last couple of weeks) what I would call "typical April weather" - in other words, sunshine and showers with quite strong winds. Temperatures during the day have normally been in the low to mid-teens (Celsius) and at night-time about 5 or 6. This means that delicate little seedlings need to be protected most of the time. During the warmest, sunniest parts of the day I have been able to leave the trays out in the open for an hour or two, soaking up the rays, but the rest of the time they have been under cover. At night-time I am still bringing indoors the tender chillis and tomatoes.


Some of the chillis are looking fairly good now. They are all different sizes because I have several different varieties growing.


And the tomatoes are mostly just beginning to develop their first proper leaves.


Most of the pots have 5 or 6 seedlings in them. In a few days' time I will pot-on the best 3 from each into individual pots, and discard the others. I know it seems a shame to get rid of perfectly viable seedlings, but it's the old "Survival of the fittest" thing you know...

Tomato "Costoluto Fiorentino"

These are some of the Leeks. I'll let them grow on in that pot until they are about twice as big as they are now before planting them out. I'm progressively thinning the weaker ones, because I want to end up with only a dozen or so.

Leeks "Musselburgh"

These are the "Long Red Florence" onions. My plan with these is to plant them out in clumps, without separating them into individual plants. I have read several blogs where this technique is recommended, so let's see how it works for me.

Onion "Long Red Florence"