Anyone who has read my blog recently can hardly fail to have noticed that I am in the process of building some new raised beds. I thought this might be an opportune moment to write a bit more about Raised Beds in general...
Regular readers understand that my garden has to be "Just so". I have a strong OCD streak in me!
Over the years I have progressively upgraded my raised beds, and one day maybe they will be perfect. Yeah,
maybe... In the early days, the edging of my beds was made from bits of scrap wood gleaned from old packing-cases and pallets. This was before I took up photography, so I don't have any pictures of that stage.
Then I forked out some money and made some proper beds with planks and nails. Those ones lasted a few years, but when the wood rotted I replaced them again in similar fashion but made them stronger, with steel angle-brackets at the corners.
Those early beds were quite good, but not good enough. For one thing, they were only 6 inches (15cm) tall.
Then I got the Woodblocx bed, which was a big improvement. Hard work to assemble, but definitely worth it. Nice and deep too.
Last year (2015) many of the beds needed replacing again and I decided on a pattern that has a depth similar to the Woodblocx one - 40cm. It also has the benefit of simplicity of construction, which the Woodblocx bed definitely did not have.
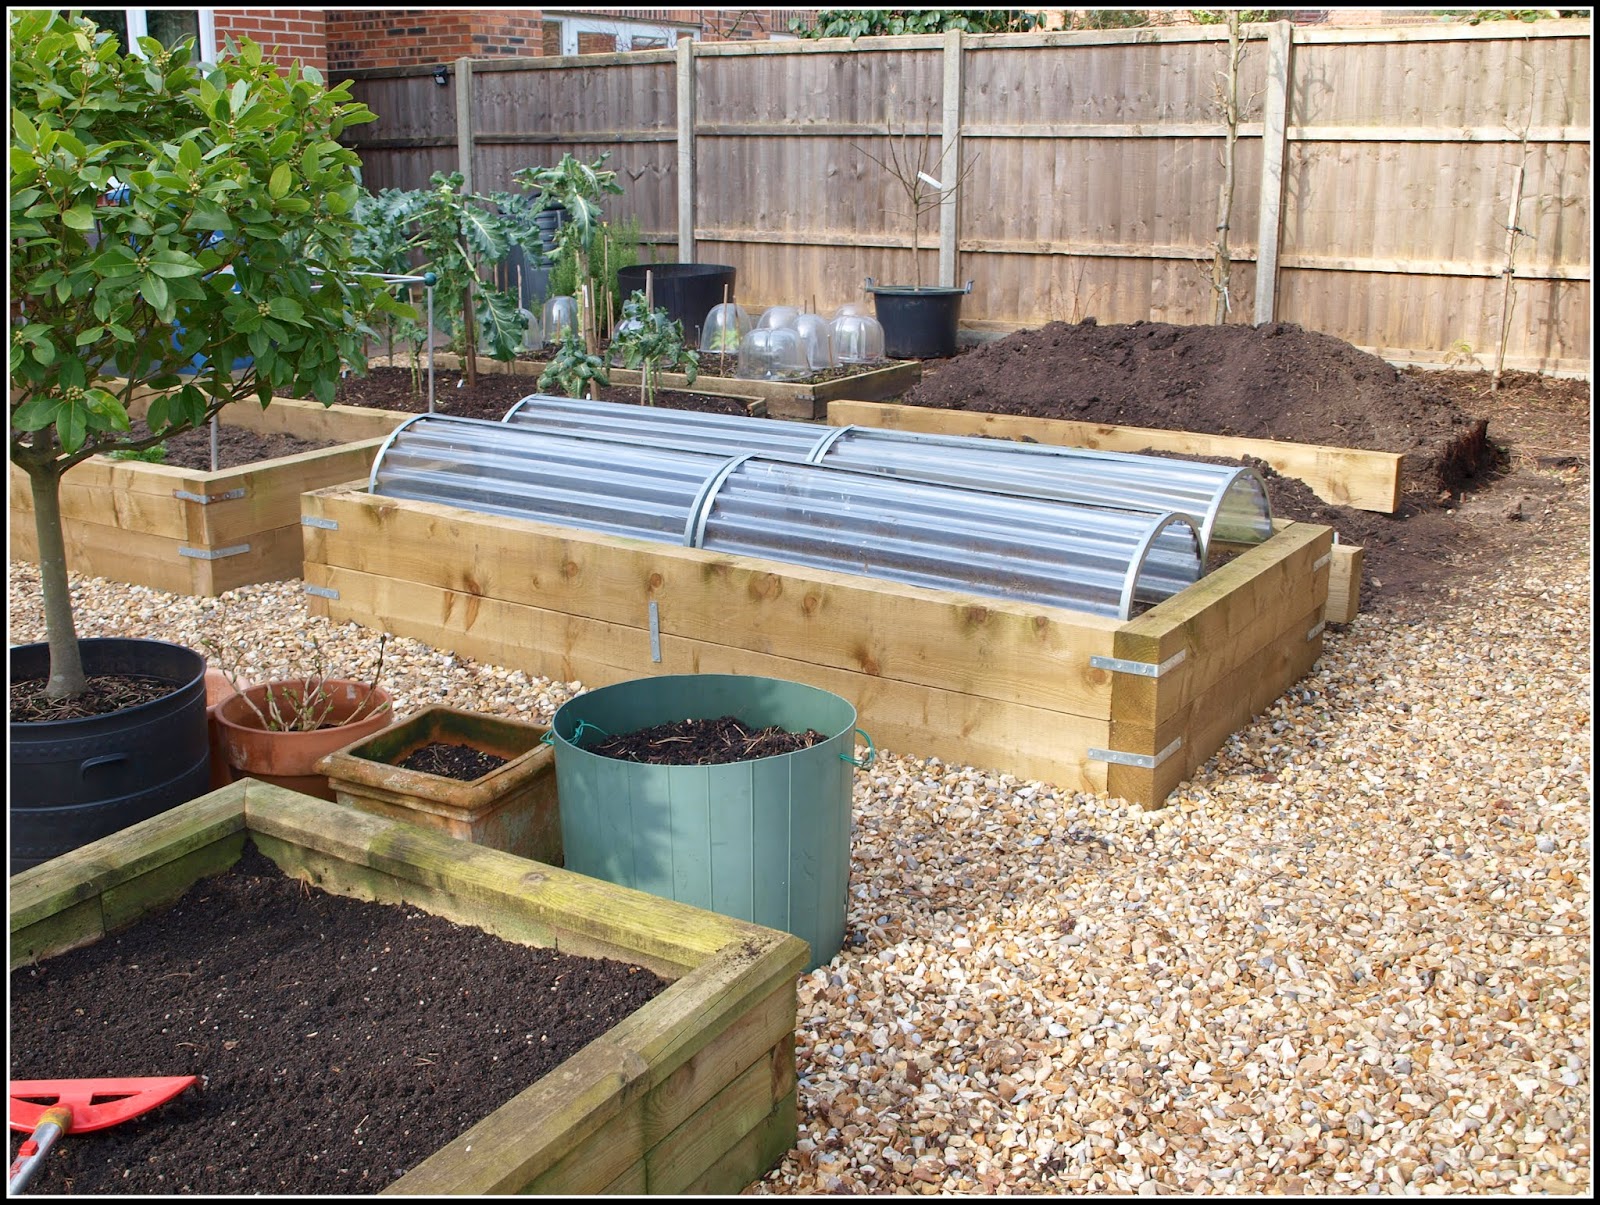
The timber is supplied as "sleepers", each 240cm x 20cm x 10cm. It is still softwood though, not like the iron-hard stuff that proper old railways sleepers used to be made of. I made two of these beds last year. They performed very well. The one in the photo above produced the best crop of carrots I have ever had. Of course part of the success was due to the Enviromesh cover which I put over the bed.
The regular shape of the beds and the tall sides make it easy to erect a suitable framework for the netting:
The framework is made from plastic "Build-a-Ball" balls, with lightweight aluminium rods purchased from a company called
Gardening Naturally. This has proved to be a very efficient and versatile combination.
Coincidentally, the dimensions of the beds are perfect to accommodate my four "Longrow" tunnel cloches:
This year, as you know, I have committed to building another two of these big deep beds.
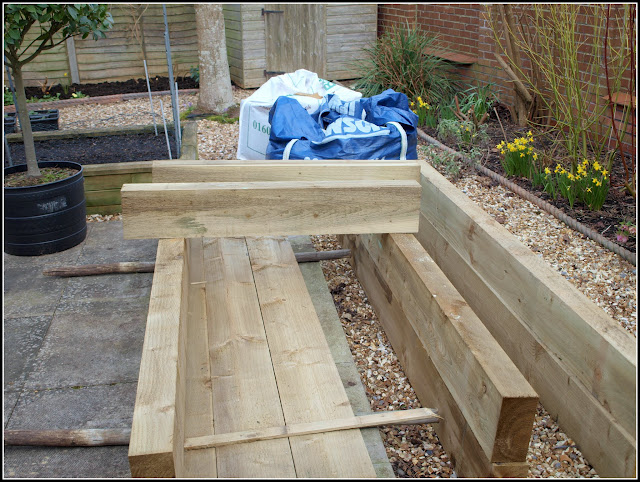 |
| Some of the sleepers have to be cut in half to make the end pieces. |
I'm not sure yet what is happening about the remaining two. Maybe I'll do them later this year (I'll have more time to spare after I retire), or maybe I'll leave them till next year. Finances are a consideration too: each of those beds comes in at about £157, and I may not be able to justify spending that sort of money when my income drops dramatically! [If you want to see the exact costings, I wrote about these last year,
HERE.]
Anyway, I've just remembered that I was supposed to be saying
why I like raised beds so much, so here goes:
1. They keep the garden neat and tidy (in particular, they stop the Blackbirds kicking compost all over the place!)
2. They allow me to concentrate all available compost / fertiliser / water etc on the productive parts of the garden, without wasting any on unproductive areas
3. The added depth gives the vegetables more room to put down big roots
4. The soil in the beds warms up quicker in the Spring
5. Being above ground level, the beds never get waterlogged
6. It is easier to protect plants in the beds, using nets, mesh, fleece etc supported on the sort of framework described above