Tuesday, 6 August 2013

Rudbeckia "Goldsturm"

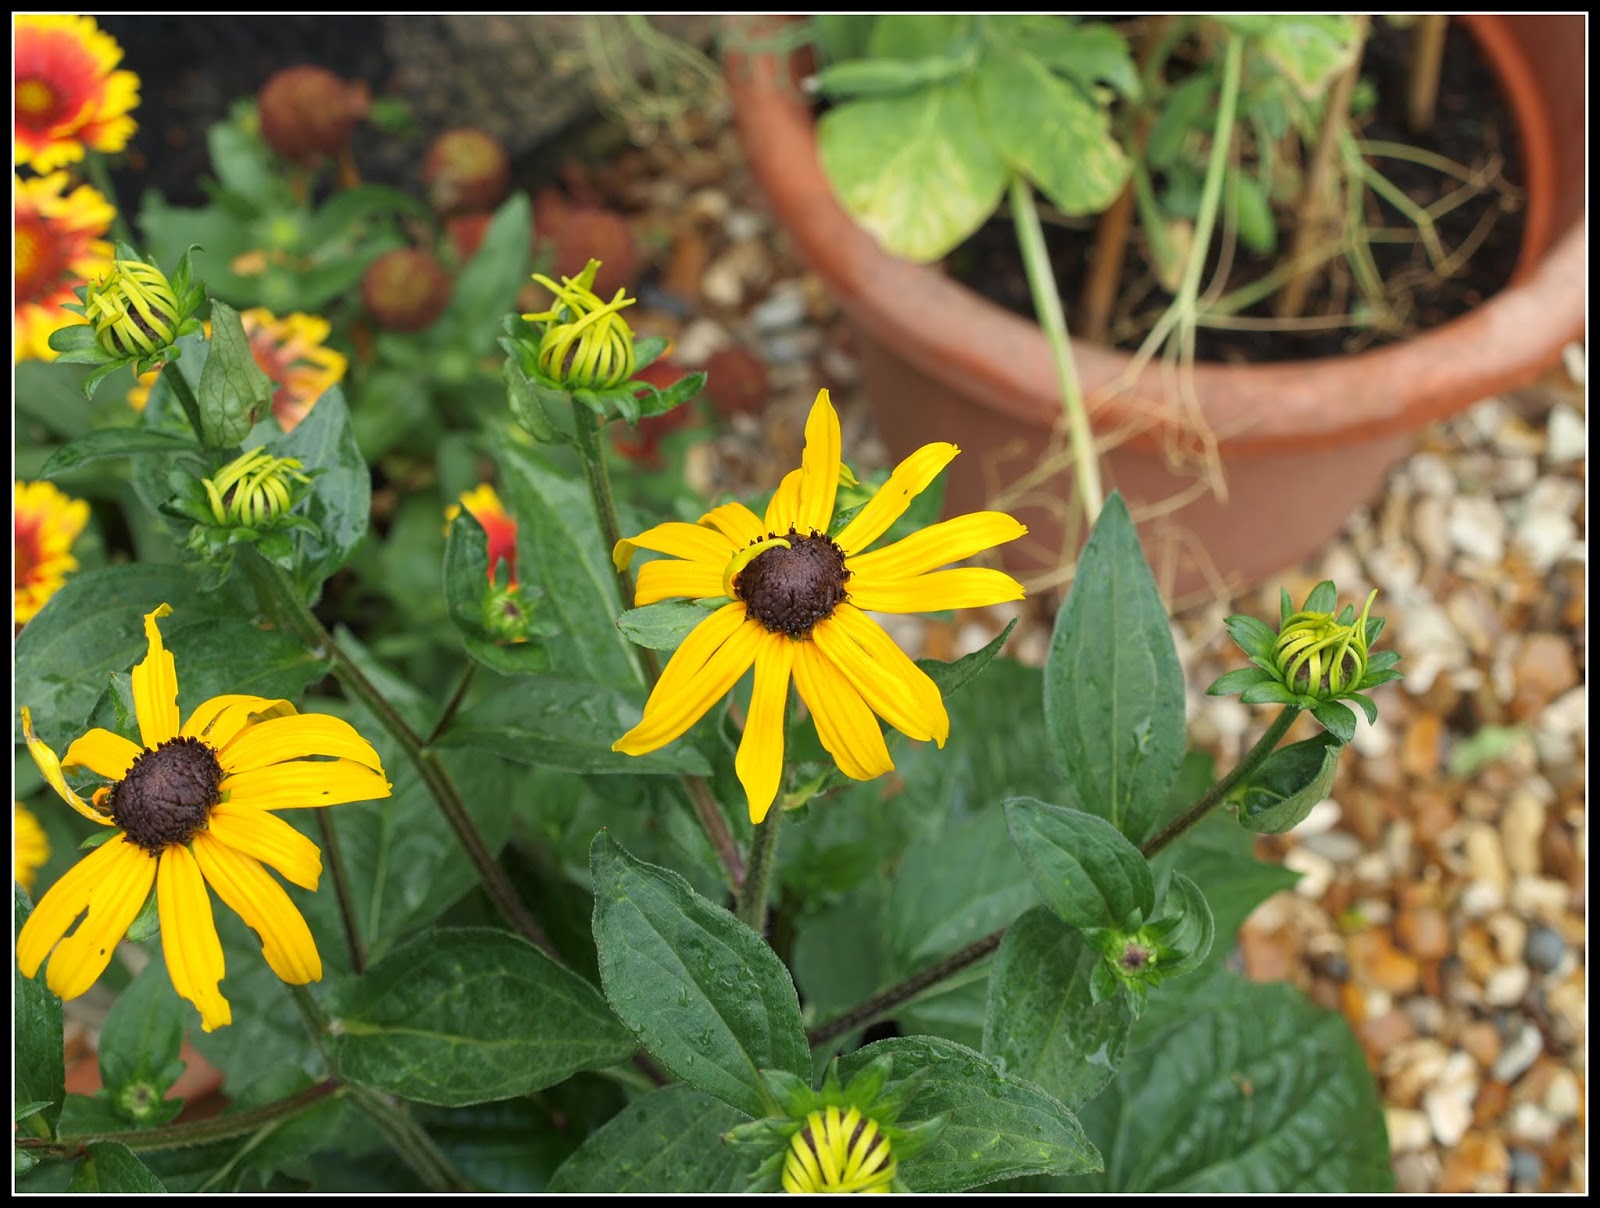
Here is another of the perennials I bought in the Spring, to add some colour to my garden. It is Rudbeckia Fulgida "Goldsturm".


I think you will agree that it is "fit for purpose"!


In this picture you can see it next to the Gaillardia "Arizona Sun", together adding a great splash of "sunshine" to the otherwise mostly green Mark's Veg Plot.


Even before they are fully open, the flowers of this plant are very interesting.


From an initial  criss-cross configuration, the petals unfold one by one.


One of the best aspects of a plant like this is that it produces multiple blooms - very different to the one-off blooms of, say, the Daffodil. I'm hoping that these flowers will keep on coming until late September at least.


Monday, 5 August 2013

Harvest Monday - 5 August 2013

July has gone and we're into August now, so the growing season is well advanced. Activity in the garden is now more concerned with harvests than with sowing or planting. I love this time of year for the sheer variety of good things I can pick:


In my photos here you can see Beetroot ("Boltardy"), Runner Beans ("Scarlet Empire"), three little tomatoes (2 "Sungold" and 1 "Maskotka"), two green peppers (type unknown - from seed brought back from holidays in Turkey), Carrots ("Mignon"), French Beans ("Cobra"), and a few Peas ("Boogie").


I also picked the good-looking cucumber that featured in my post about the Woodblocx raised bed, and there are lots more like it nearly ready too.


I also harvested this cucumber, which was a bit less "regular" in shape:


 The potatoes are still going strong too. These are "Ratte":-


I'm putting this post forward for Harvest Monday, hosted by Daphne at Daphne's Dandelions where you will find lots more posts about what people have been harvesting this week.

Sunday, 4 August 2013

Thinking ahead

Despite the fact that August has only just started, I'm thinking ahead to Winter! As I wrote in one of my recent posts, gardening is in some respects like Project Management - you have to plan what you are going to do, well in advance. If you leave things to the last minute, chaos will ensue. For this reason I have been giving thought to my Brassicas. The Brussels Sprouts are well advanced now, and tiny sprouts are beginning to form in the leaf axils:


In order to keep the Brussels Sprouts in good condition I have done the following:
  • Fed them a couple of times with proprietary plant-food
  • Picked off as many butterfly eggs as possible
  • Tied them to their supporting stakes with soft string
  • Removed lower leaves that have gone yellow and/or fallen off


 Meanwhile, I have planted six miniature Broccoli plants ("Matsuri"), four of them at the corners of the bed in which the sprouts are growing:


You can see why I have only put these broccoli seedlings at the corners: they wouldn't get enough light elsewhere, particularly since I have the chillis lined-up alongside the Brussels Sprouts. The broccoli plants will mature pretty rapidly, and I think they will probably be ready in about late September.

The Cavolo Nero seedlings that I planted out a few days ago seem to have established themselves all right and are beginning to grow.


They have no doubt been assisted in this by the vast deluge of rain that we had last Monday. The rain on that occasion was truly torrential - probably the heaviest rain I have seen EVER - and I have lived in the tropics for a fair portion of my life! In fact I feared for the safety of many of my smaller plants, like the Lettuce seedlings. The rain shredded many of their leaves to a pulp, and I thought they would probably die. Fortunately most of them seem to be recovering and producing new leaves.

Both the Cavolo Nero and the PSB seedlings (the latter still awaiting planting) have been the subject of much attention on the behalf of the Cabbage White butterflies.


Despite my efforts to remove eggs before caterpillars have the chance to hatch, some caterpillars have emerged and my seedlings are therefore looking somewhat ragged.


With the need to make frequent visits to the hospital to visit poor Jane, I have had less time than usual for gardening, but she is home now and trying to take it easy and build her strength back up, so we will be staying firmly at home for a few days - therefore I will have no excuse to avoid picking off caterpillars!

Saturday, 3 August 2013

Beans, Turnips and an empty space

I have been harvesting more Turnips:-


They are past their best now, so I'm trying to use them up before they go woody. I don't think they have enjoyed the very hot dry weather. They are OK, but not as nice as the ones I was harvesting a couple of weeks ago.

The Turnips have been joined in my basket by beans of two different types - the last of the Broad Beans, and some of the first of the "Cobra" French Beans:


None of the Broad Beans were very good this year, despite the fact that I sowed three different varieties, and this little batch was the final harvest. They were mostly small pods with only two or three beans in them. Some had only a single bean. Most disappointing. Still, the climbing beans are looking pretty good. I have 12 plants of "Cobra" so I am already getting a fair few pods, and they've hardly started yet!


But look at this. An empty space - something you don't see very often in in Mark's Veg Plot! This is where the Turnips came from:


Actually it is no longer empty. I can't bear to see space being un-utilised, so I have sowed some Radish seeds and transplanted a few Parsley seedlings. The Radishes will mature quickly at this time of year, and will give me a yield within about a month, by which time I will need that space again for growing Radicchio and Autumn-harvesting Endives.

Here is another "not empty" space - the place which until very recently hosted the Broad Beans.


Those plants you see around the edges of the bed are mostly Cavolo Nero, with a couple of "Matsuri" miniature Broccoli. The main part of the bed will soon have PSB in it, but the seedlings are not yet big enough for transplanting.

 Running a garden like mine, where space is at a premium, is like organising a Project. You have to think ahead a lot, judging when to sow seeds so that they will be ready for planting as soon as a vacant space becomes available. I usually get two (different) crops from each of my raised beds each year - with the exception of the perennial Asparagus which remains in place all the time.

Friday, 2 August 2013

The Woodblocx raised bed

Do you remember that last Autumn Woodblocx kindly gave me a kit to make a raised bed? Well, that bed is in Full Production mode at present. I have filled it with cucumbers, tomatoes and sweet peppers.


The bed is very deep - a lot deeper than my other raised beds - and the plants are obviously enjoying this. The cucumbers are climbing up their supports at an amazing pace. The plant seen in the right foreground below is the only one from the original batch of six to have done well (two more have survived but are not very enthusiastic), but the ones from the second sowing are catching up fast.


Most of the fruits from these so-called "cocktail cucumbers" are straight and pretty regular, but the occasional one bucks the trend by being curved:


This one is a fine specimen:


But this is one that is not so picturesque! It nearly got overlooked altogether and I only found it when I was furtling round picking some of the "Maskotka" tomatoes. It had been laying on the surface of the compost, and the slugs had had a good nibble at it.


Anyway, looks are not everything. After being peeled, it was just as good as its siblings.

Thursday, 1 August 2013

Cane-supports. Trial results

Some time ago I wrote about purchasing a couple of gadgets for supporting bamboo canes, for use with my tomato plants. This is a follow-up, reviewing how they performed.

The supports that I have used for several years now performed best by a long way.


They are the only ones that proved strong enough to support a cane fit for a big tomato plant. In comparison with these the others were simply pathetic! Regrettably I only have six of them. I would dearly love to get some more...

Earlier this year I bought some cane-supports that sounded as if they might be similar, but when they arrived they were obviously much flimsier.


Seen below are the two types side-by-side. You can see how very different they are in terms of size:-


The smaller items were soon overwhelmed, and their canes slowly sagged over at a crazy angle. I had to lean the canes against the wall of the house, otherwise they would have toppled over completely.


To be fair, I should point out that these items are intended to support canes used in conjunction with Grow-bags, so presumably for much smaller plants than the monster 6-foot-tall "Orkado" and "Ferline" tomato plants that I wanted them for!

The simpler type of cane-support which is just a short plastic tube on a rectangular base (see second photo) was equally inadequate for my needs. They might suffice for a lightweight plant of about two feet tall, but for a 6ft tomato? - No way!  I can't show you these in use because they sit on the floor of the container, underneath the compost.

With my tomato plants getting ever heavier with the weight of their burgeoning fruits I had to resort to emergency measures. I used garden twine to tie the canes to the down-pipes of my guttering!


And I also tied the tops of the canes to their neighbours, for mutual support.


At present, this is proving sufficient. Let's hope it can keep things going until harvest-time.

Well, the trials have convinced me more than ever that this (below) is the ideal setup for growing tomatoes:-


A big "self-watering" container complete with reservoir and drip tray, along with one of the really sturdy cane-supports and a pretty thick bamboo cane.  I just need a dozen more like that. If anyone recognises the cane-support in this last picture, or knows where I can get some, please tell me!

Wednesday, 31 July 2013

Shallots "Longor"

Back in March this year I wrote about planting Shallots, and just the other day I wrote about harvesting Shallots. The very hot dry weather we have had recently has been ideal for getting them dried. They have enjoyed basking in the sunshine for several hours every day, while I have been at work enduring a stuffy classroom and wishing that the aircon was a bit more effective! Some of the places I have to go in the course of my duties leave a LOT to be desired. One place I went last week I had to prop the window open with a whiteboard eraser, because the fastening was broken, and there was no other way of getting any air into the room - certainly no aircon. Why don't employers realise that if they want their staff to be properly trained (and motivated to learn) they need to provide suitable working conditions??


Anyway, the Shallots are dried!  I'm sure most of you will know this, but for the sake of any beginners who may be reading this, drying Shallots "cures" the outer skins and thus preserves them for future use. Once dried, Shallots will keep for months if stored in the right conditions (dry and relatively cool). You need to dry them until the leaves wither completely and fall off. The remaining bulbs will have papery golden-coloured skins. Discard any that feel soft - or use them immediately if they look OK inside and don't small musty.

This is the complete harvest. Not a lot of course, but that is the norm in my plot - small quantity, but big quality!


The total yield amounts to 1.4kg.  I think that about half of these will eventually be pickled in spiced vinegar, but the rest (the bigger ones) will be used as general-purpose culinary shallots. We use quite a few of them in things like French Dressing.


I took lots of photos of the Shallots. To me they are things of beauty! The russety paper-like outer skins barely conceal the rich purple inner layers.


Although my crop has not been huge (the return was about three times what I planted), I have learned a lot about growing Shallots this year. The wider spacing I used this time (25cm) has definitely made a diference. Last year the yield was only twice what I planted, which is a marginal result - almost not worth the effort. Of course the weather may have had an influence too, and that is infinitely variable.

One other thing I learned is that growing Shallots in pots is definitely possible.


When I planted the main crop sets, I had 8 left over (the smallest ones) and I put them into two big flower-pots. Despite the reservations I expressed at the time, they did OK. They were perhaps not quite as good as the ones in the main bed, but certainly worthwhile. If you don't have space in your garden or allotment for growing Shallots, I would therefore say it is worth considering growing some in pots.