Friday, 13 December 2013

Sweet Peas

Is anyone else growing Autumn-sown Sweet Peas? The other day I found a pack of Sweet Pea seeds that had come as a freebie with some magazine or other, and I thought I might as well try them. I haven't grown Sweet Peas for many years. I think I probably only tried them once or twice (with seedlings purchased form a Garden Centre), and they weren't particularly successful. But then in those days I was much less knowledgeable about gardening than I am now, so I might do better this time. (Here's hoping...)

The other day, when Sarah Raven sent me some Lettuce seeds to give away on my blog, I also received a booklet with lots of gardening advice in it, one part of which was about growing Sweet Peas, so I am using this as my guide.


The variety in my little packet was "Fragrantissima" (no illustration provided). It only had 14 seeds in it, so I sowed them 3 or 4 to a 3-inch pot, filled with multi-purpose compost, planning to separate them when bigger. I covered each pot with a small plastic bag and left them on a bedroom windowsill to germinate.


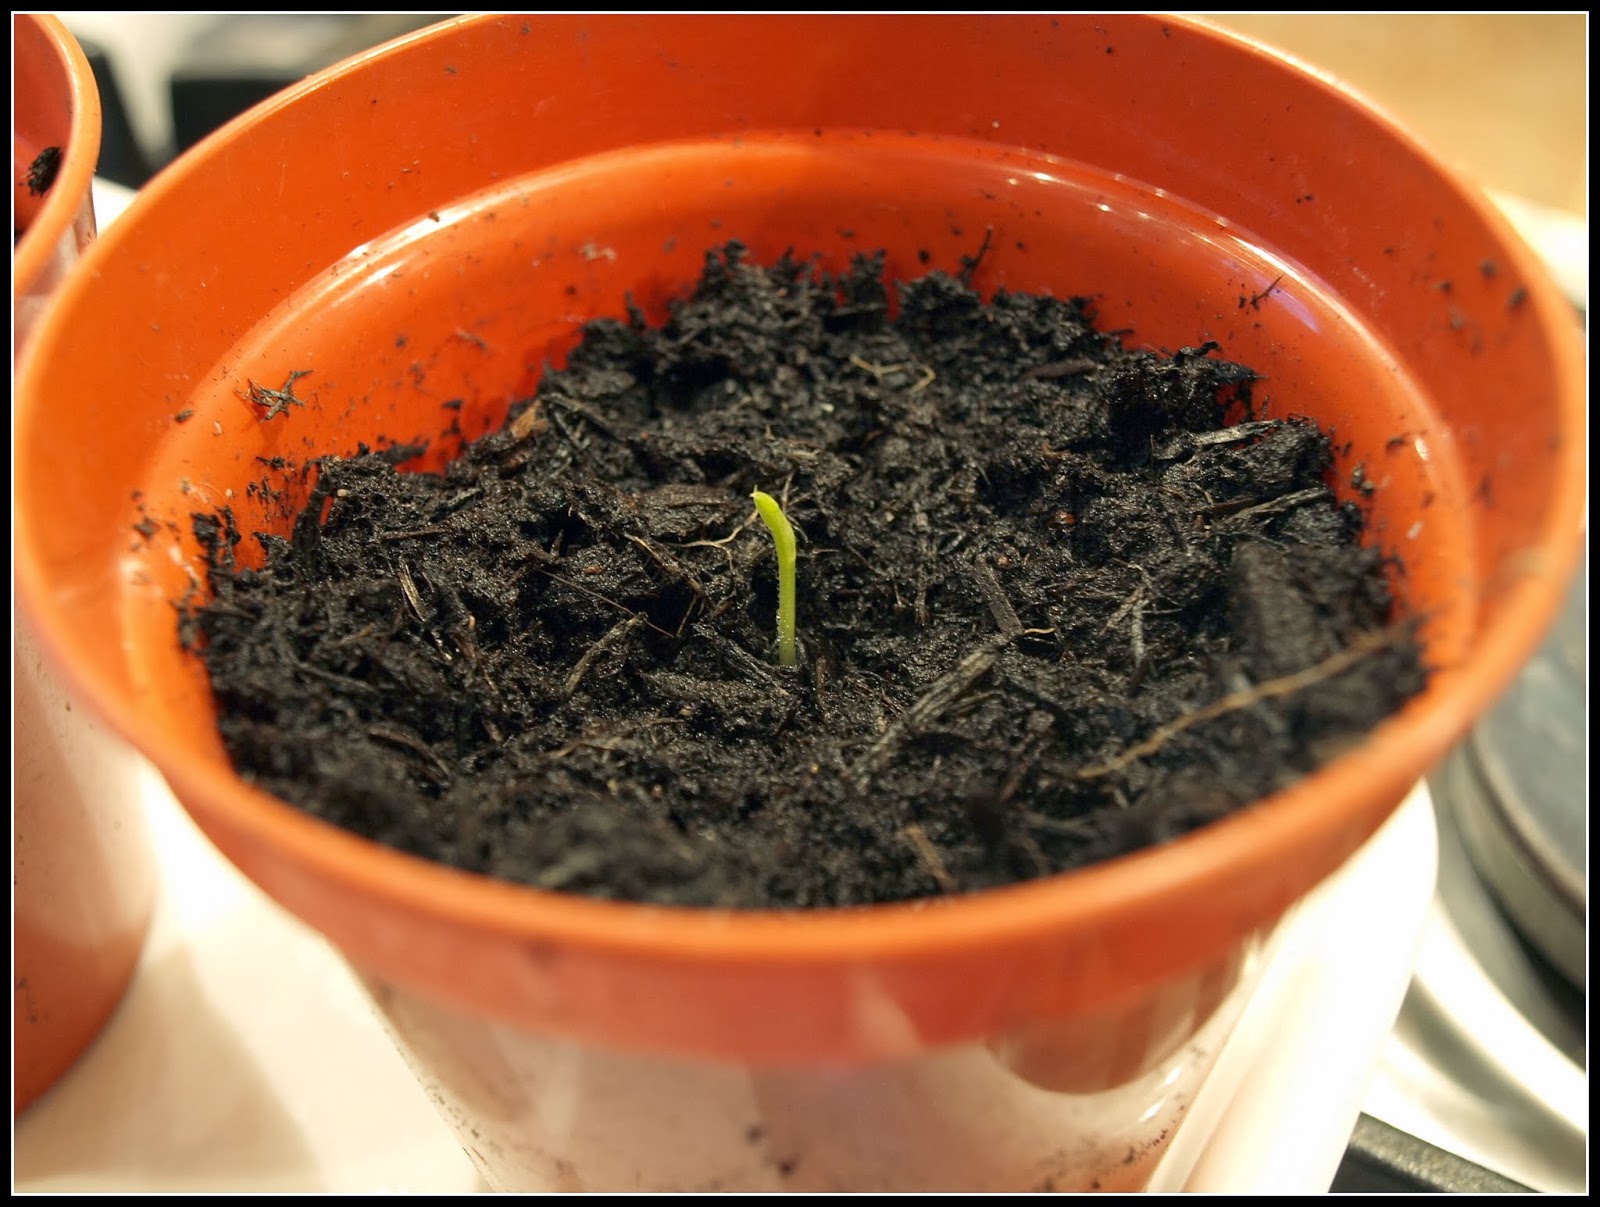
Germination took only a week. I was surprised by this. Sweet Peas are supposedly often hard to germinate, and pre-soaking them is often recommended. In fact, to be totally honest, germination may have taken place in less than a week, because when I checked them a week later several seeds had already germinated. I hurriedly removed the plastic bags and put the pots outside in one of my plastic mini-greenhouses. The Sarah Raven book says to put them in a coldframe or unheated greenhouse, with a temperature of 5C being ideal.

If I were to keep the Sweet Peas indoors they would go too leggy - I mean even leggier than they already are, like this one:


They really need to be under cover outdoors to encourage them to put on root-growth instead of stem-growth. When they have made three pairs of leaves I will pinch out their growing tips to force them to put out sideshoots so that I get sturdier plants with more stems.

This one is probably just about right:

How come these ones are so close together? I'm sure I sowed the (big) seeds evenly spaced around the pots. Can they walk?


So far 8 seeds have germinated, so there are theoretically 6 more to come. Even if they all grow, it won't be a lot, so I will probably transplant them in the Spring to a large pot and keep it on my patio. If the name is anything to go by, they should have a nice strong perfume, so hopefully we will be able to bring a few bunches of them into the house so that we can enjoy their fragrance at close quarters. That's still a long way off though!

Thursday, 12 December 2013

Dogwood

My Dogwood shrubs are sporting their Winter colours now. I just love them!


The variety in the photo above is one that during the Summer has plain mid-green leaves, so not particularly exciting, but when Winter strips off those leaves, Wow!  I don't know what its official name is, because I have grown it (several specimens) from some cuttings I pinched from the side of a road in Milton Keynes a few years ago. For this reason I refer to it as "Cornus Alba Milton Keynesii".

At the base of one of the other Dogwoods there is currently an area where something has cleared a little open space about 3 feet square amongst the fallen leaves. I don't know what has done this, but it reminds me a lot of the "dance floors" that Birds of Paradise make for their courting rituals! (Not that I think we have any Birds of Paradise here in Fleet!)


It has the definite look of having been either danced upon or slept upon, because it is very flattened.

Elsewhere, The Dogwood "Midwinter Fire" is currently shedding its yellow Summer livery in favour of Winter pink.


Hopefully it will go darker than this when we get some proper (cold) Winter weather.

Here are some more Wintry colours / Christmas decorations seen in the garden...

Christmas-tree baubles?
Chilli "Christmas Bell"

The vegetable equivalent of tinsel?

Water droplets on a Broccoli leaf


Wednesday, 11 December 2013

Lavender cuttings

Back in the early Autumn I had occasion to get rid of an old potted Lavender plant that had become very leggy. When disposing of it I tore off a few sprigs of foliage and stuck them carelessly in a pot of spent compost which had formerly housed some potatoes, in the hope of getting some new plants. I didn't really expect them to root, since in the past I have been less than successful with Lavender cuttings, but I thought it was worth a try - I had nothing to lose after all. Guess what? Most of them seem to be alive still and several of them are showing signs of new growth. Some things seem to thrive on neglect!


This is how you are supposed to take cuttings:

1. Pull off (as opposed to cut) from the parent plant some non-flowering shoots, about 5 or 6 inches long, preferably with some of the bark of the parent plant still attached (the "heel"). The heel contains a lot of growth hormones and is more likely to produce new roots than the softer parts of the shoot.
2. Strip the leaves off about two-thirds of the lower length of the shoots.
3. Dip the heels of the shoots in Hormone Rooting Powder is you have any (not vital).
4. Push the shoots into a pot of moist compost, so that the remaining leaves are just above the surface, arranging them around the perimeter of the pot. Don't ask me why this works, but it does seem to work better than if you place the shoots in the middle of the pot.
5. Stick the pot somewhere reasonably sheltered and forget about it for a while. If you keep the pot indoors you can cover it in a plastic bag to increase humidity, since the air in our houses is often very dry, but I have found that this can encourage mould. Instead, I keep my cuttings outside, but in a sheltered position and uncovered so that they can benefit from rain when it falls.
6. With a bit of luck some of your cuttings will take root and form new plants. You can tell that they have rooted when new leaves appear on them, like this:


I'll leave these to grow stronger, and in the Spring I will pot them up into separate containers. Maybe next year I will have a decent display of Lavender...

Tuesday, 10 December 2013

How to make a bird-feeder

Looking at the bird-feeding equipment on sale at our local Garden Centre the other day, I was struck by how much of an industry this has become. Judging by the amount of stuff on offer, this must be a big market sector by now. And a big revenue-generator too, if the prices of these things are anything to go by! I decided I would have a go at making a bird-feeder myself, out of "odds and ends"...

This is it:-


It is basically a used plastic water-bottle through which I have made a series of holes, using an electric drill.
Through the bottom pair of holes I threaded a metal rod from my "Spares Box", to serve as a perch. This could equally have been made with a length of wooden dowel, a pencil, or even just a straight twig.


Towards the top of the bottle I made another pair of holes and threaded through them a length of nylon string to act as a hanging-loop. The string is secured with large knots, inside the bottle:


About the height of a small bird (!) above the perch I cut two holes about an inch in diameter, to act as the feeding apertures. This was the trickiest bit of all, because the plastic was hard to cut without cracking. I made a small hole first, with the drill, and then used scissors to cut a bigger hole. I think this part would be easier if the bottle were thicker. The flimsy "crackly" type of plastic in the bottle I chose was very hard to work with.


Still, I ended up with a reasonably serviceable bird-feeder for next-to-nothing. I learnt a bit about technique too, and if I do a Mark 2 version it will be better! For instance - those seeds at the bottom of the bottle are inaccessible, so maybe I should think of a way of blocking off the part below the perch; or maybe I should just fill the lower bit with ballast?

Monday, 9 December 2013

Harvesting leaves

As I described a few days ago, the very strong winds we experienced last Thursday did me a favour by sweeping up all the fallen leaves.


At the weekend I used my electric leaf-blower / sucker to suck up these leaves so that I could put them in bins and use them for making leaf-mould. The machine performs a dual service in that it not only sucks the leaves up into a bag, but also roughly chops them, which aids decomposition and reduces their overall volume. Even so, I now have two containers full of leaves:


One of these is a conventional "Dalek-style" compost bin, with a lid;


The other is the remains of an old compost bin that was destroyed in a storm a few years ago. I salvaged the bottom half of it, so it is just a bottomless ring of plastic, but it will serve well enough for making leafmould:


You'll notice that I watered the leaves. This helps them to rot down quicker. I won't need to do this with the open ring, which is exposed to the elements, but in the case of the other bin I will remove the lid every so often and add more water.

I thought you might like to see what else is in that rather un-picturesque corner of the garden, other than leaf-bins...


Well, firstly there is another - yes another - plastic compost bin. This one is used conventionally, for making compost. Notice the line of bricks at the base, vainly attempting to discourage wildlife burrowing for worms. And then there is my log-pile and insect hotel:


They are scruffy, that's for sure, but the bugs will love them all the more for that!  The idea is to provide somewhere undisturbed for the tiny creatures at the bottom of the foodchain to live. The little creatures provide food for bigger creatures like birds, hedgehogs, shrews and frogs. For me as a gardener certain species, such as molluscs and aphids, are "beyond the pale" and are to be exterminated wherever found, but I consider most others - like beetles, Ladybirds and spiders - to be beneficial, so I am doing my bit to keep them happy. Notice that on top of the pallet that forms the insect hotel there is part of an old bird-bath. I keep this filled with water so that any creatures that need it can always get a drink.

*******************************************************************************
P.S. I'm not entering for Harvest Monday this week, because I haven't harvested anything - unless you count fallen leaves, of course!

Sunday, 8 December 2013

Pork Meatballs in tomato sauce

On Friday I made some meatballs. This is another first for me (I'm steadily gaining experience in the kitchen, but I have a lot of catching-up to do!).


Before starting I read a few recipes on various websites (including a beautifully described one by Nigel Slater, whose writing I always enjoy), but I found them all to be quite different. Well, I suppose there were actually three common ingredients: meat, cereal and flavourings. The proportions and the cooking advice varied widely, so I had to resort to my instincts. I chose to do Pork meatballs, with bread to bind them, some milk to soften them, and onion, garlic, dried oregano and fennel seed to flavour them. I also decided I would serve them with home-made tomato sauce from the freezer.

Several hours before serving-time I made the meatballs and put them in the fridge to firm-up and to allow the flavours to infuse the meat. My technique was simple: put all the ingredients in a food-processor and zuzz them up until fully blended, then shape them into walnut-sized balls:


The amount of mixture I had was enough to make 25 balls - far too many for two of us to eat in one sitting, so I decided to cook them in two batches and freeze one for later use. I shallow-fried them in vegetable oil, browning them carefully, turning them over every now and then to ensure they were evenly cooked. When ready, I drained them on kitchen paper. To be honest, they didn't lose much fat or absorb much oil during the cooking. I had expected them to shrink considerably, but they didn't. The bread in them retains the fat from the meat and keeps them moist.


One of the meatballs was consumed immediately - a "tester", don't you know - 12 went into the freezer, and 12 became our dinner. I put our 12 into a deep pyrex dish, in a single layer, like so:


I then added the tomato sauce, which included a special ingredient - some of my recently-made home-grown paprika / chilli powder! I know some of you will be grimacing at this point, but believe you me, the chilli did add something good to the sauce. It was not overpowering; in fact you didn't notice it while eating the sauce, but afterwards you could feel just a little tingle on your lips.


Then into the oven, covered in foil. Meanwhile, I was making the accompaniments. Our carbs came in the form of tagliatelle (straight from a packet, I'm afraid). The vegetables were "January King" cabbage and Swede turnip. I parboiled the cabbage and stir-fried it with some smoky bacon lardons:


The Swede was cut into chips, lubricated with olive oil and flavoured with a generous scattering of crushed fennel seeds. Swede turnip is not particularly fully-flavoured and I think it needs a bit of help! The chips were then roasted in a hot oven to give them some colour:


They are very pale for Swede chips, aren't they? They look just like potatoes.
All that remained now was to assemble the various components at the appropriate time, and serve them:


If I did this again, I think I would make a bit more sauce, but I was very happy with the meatballs. Their texture was soft and tender, not hard or chewy, and the flavour - particularly the fennel seed - was really nice.

For those of you who might want to try "my" meatball recipe, here are the ingredients:
(To make approx 25 meatballs)
400g minced pork
1 onion, peeled and roughly chopped
2 large cloves garlic, peeled
3 slices white bread, crusts removed, or approx 100g breadcumbs
100ml milk
1 tsp fennel seeds
1 tsp dried oregano

Method: See above!

Saturday, 7 December 2013

Hellebores

For a long time now I have been hankering after some Hellebores. Lovely flowers; shame about the price. In our local Garden Centre they are usually offered at about £12.99 to £15.99 for a one-litre pot, and I'm not prepared to pay that much. Recently however, one of my blogging friends - Sue from Our Plot at Green Lane Allotments - published a link on her page to a special offer on Hellebores being run by Hayloft Plants. They were offering 6 Hellebore plants for £10, and I thought this an offer too good to miss (Thanks, Sue). Isn't the internet wonderful sometimes??

My plants arrived this week, about 10 days after ordering. They are what is known as "plug plants" - in other words they are quite small - but they look very healthy and have well-established root systems.


I didn't know when ordering what varieties would be in the collection, but they are all named on the pack, and I have been able to look them up on Hayloft Plants' well-illustrated website. This is what I got:


As many of you will know, I'm no expert on flowering plants, so I can't say whether these are good varieties or not, but I'm well satisfied. I plan to find out more about Hellebores. What little I know about them tells me that they ought to add a bit of colour to my garden at a time when not much else will be flowering, which will be very welcome.

On Friday afternoon I paid a visit to the Garden Centre mentioned above. I studiously avoided looking at any potted plants (e.g. Hellebores) and headed straight for the compost aisle. A short while later my new Hellebores were potted up into 5" pots:


A few months ago one of my other blogging friends, Elaine from Ramblings From Rosebank kindly sent me some seeds from a lovely dark-coloured Hellebore which she has in her garden. I sowed some of them back in July but none of them germinated, so I have recently sowed a second batch. Maybe I'll be lucky this time. I'll probably end up with more Hellebores than I have room for!