Thursday, 7 February 2013

The Broccoli nears harvest-time

My "Rudolph" Purple Sprouting Brooccoli is described as an Extra Early variety. With a name like that most people probably expect it to be ready in time for Christmas (I wish!), but no such luck. However even if it's only going to be ready in mid-February it will still be very welcome. Here in the UK the main season for PSB is probably more like March and April, although these days new varieties have been bred to extend the harvesting season and reduce the so-called Hungry Gap, when few fresh vegetables are ready for picking.


I have my PSB covered with netting just to ensure that the pigeons don't tuck into it, and foxes don't dig it up, but at the weekend I temporarily rolled back the netting so that I could give the plants a dose of Growmore fertiliser - a boost of energy to get them sprinting to the finishing-line - so I siezed the opportunity to take a few photos.


This is a vegetable that is undoubtedly just as handsome as any flower!


Can you see how the underside of the florets is a creamy colour, rather than purple like the bit that is exposed to the light?


Meanwhile, the "Red Arrow" plant next door to Rudolph is a lot further away from being ready, which is just what I wanted.


If you grow plants that are all of the same variety they will probably all mature at about the same time (especially if they are F1 varieties). Of course if you are growing for the freezer, so to speak, it may be that you do actually want them to mature all at the same time... I have six plants, three of each of the two types mentioned above, so I will have a harvest spread over several weeks. (Soon!)

Wednesday, 6 February 2013

Beans galore!

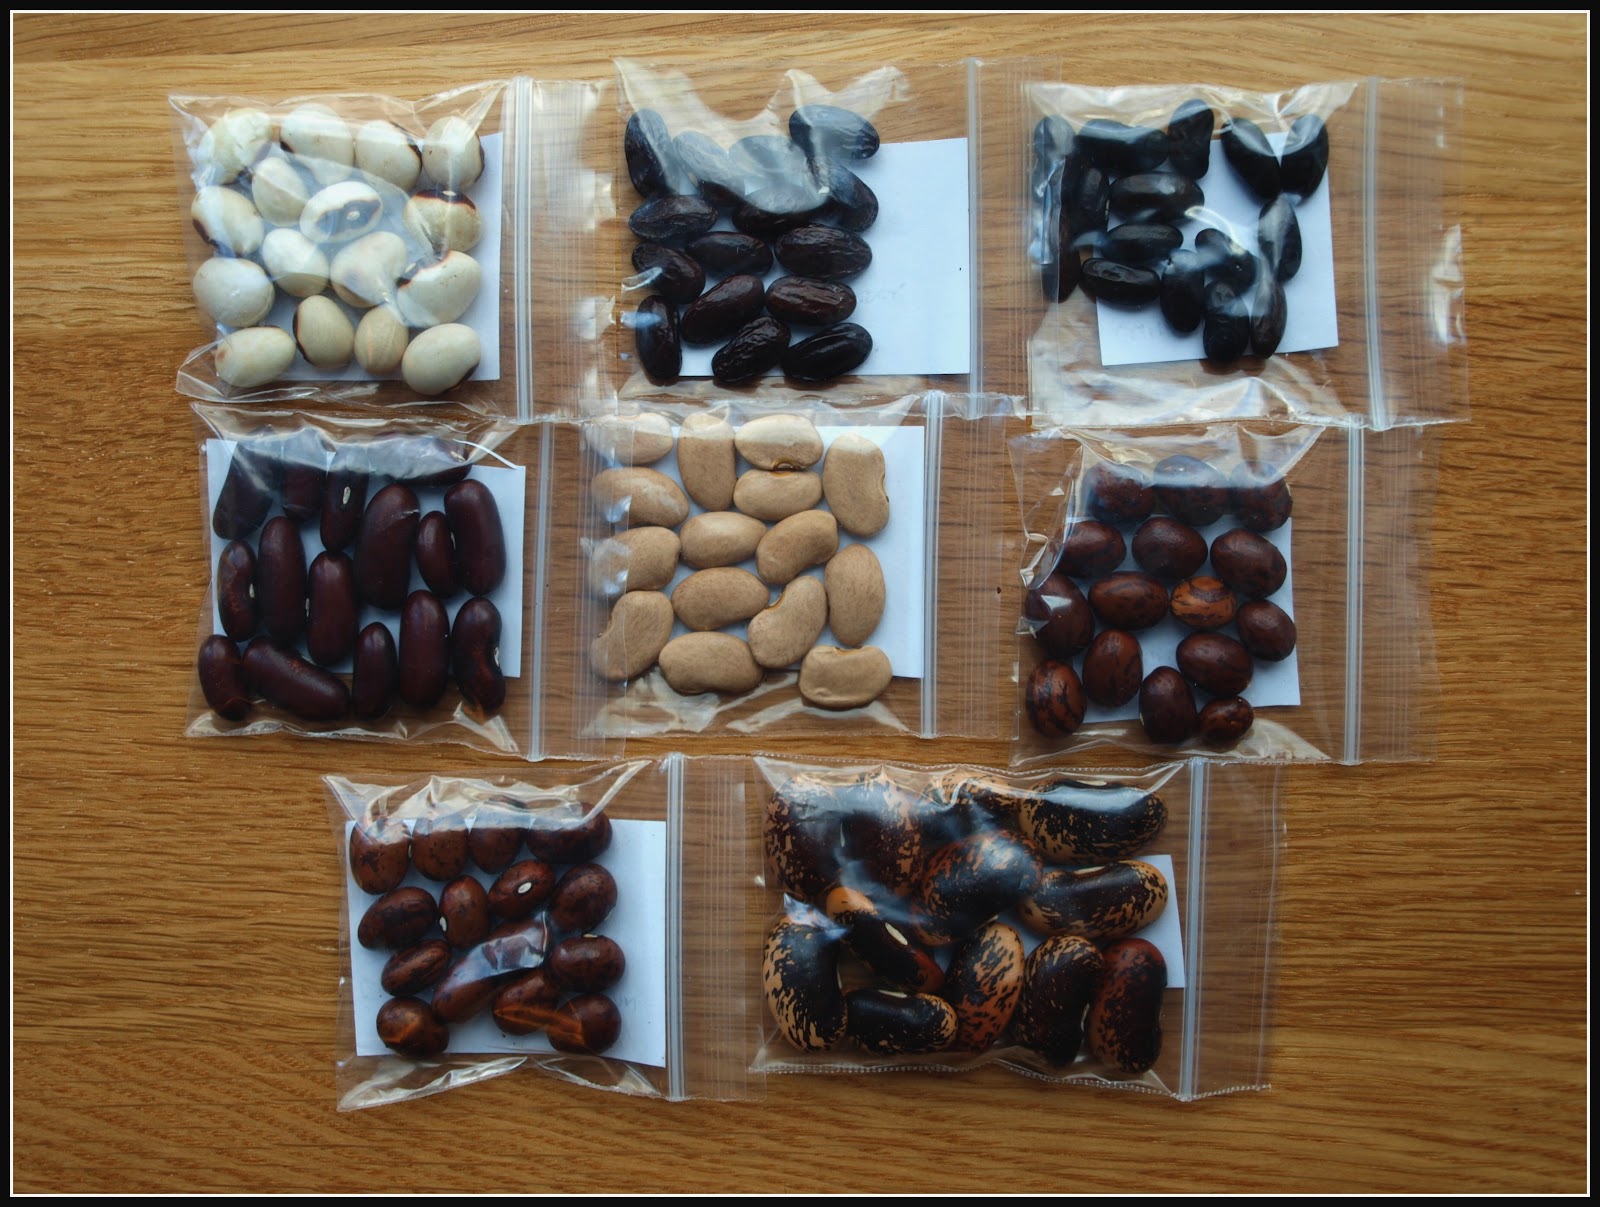
The other day I received an email from a lady asking whether I would be able to give her some seeds of the climbing bean "Selma Zebra", which I had written about some time previously. I did have a few seeds of that variety left and I had no immediate plans to sow them, so I sent them off to her. In return she sent me a huge selection of beauties from her "extensive" collection of beans.


I was taken aback by her generosity! After all, I had sent her perhaps 25 seeds of one single variety, yet she sends me 15 each of 8 different varieties. Wow, what am I going to do with all these?

The selection includes varieties I had never even heard of. Well, come on, have you heard of a bean called "District Nurse"? I like the sound of "Kew Blue" too - it rolls nicely off the tongue.


I had been planning to play safe this year and grow only Runner Beans and my favourite climbing French Bean "Cobra", but I think I have changed my mind. Last year the "Cherokee Trail of Tears" did well and produced a good crop of compact shiny black beans which I have really enjoyed cooking and eating, particularly in Mexican-inspired pork casseroles:


but I'm very tempted by the description of "Veitch's"  - ideal for chilli (con carne). Back to the drawing-board for the garden plans...

For the record, this is what the "Selma Zebra" beans look like. [Photo from 2011]. They are the darker-coloured pods, bottom left.


And this appears to be the only photo I have of some actual (shelled) Selma Zebra beans. They are the speckly ones, bottom right here (shown at the "green" stage, before drying).


I asked this lady (she's called Judith, by the way) if she has a blog or website where I could learn more about her bean collection, but regrettably the answer was "No". Still, I might just try to persuade her to write a guest post for my blog. I reckon there are a lot of people out there who would be interested. And maybe we could organise an even more ambitious seed-swap? If you're into shelling-beans, maybe you'd like to have a look HERE at a post I published back in 2011? I had forgotten how attractive the Yin Yang beans are...

Tuesday, 5 February 2013

Potato Frittata

What is the difference between a Frittata and a Tortiilla? Not a lot, as far as I can see. Both are variations on the omelette theme. Anyway, never having done this before, I wanted to make one...

My version used very simple ingredients - eggs, cooked potato, shallot, cheese, parsley.  To bulk-up the meal a bit I also decided to server the Frittata with a salad and some fried Clonakilty White Pudding, some slices of which we had in the freezer, left over from a previous occasion.


In true Marksvegplot style I didn't follow a recipe for this, I just used the general guidance from recipes seen on a number of websites I had visited in order to research the subject. Anyway, this was my method:

  • Heat the grill (broiler) on the oven
  • Mix 3 eggs in a large bowl with a thinly-sliced shallot and some diced cheese (I used about 25g of firm blue cheese), and about 2 Tbsps cold milk.
  • Heat a small amount of oil in a suitable frying-pan or skillet
  • Pour into the heated pan about one-third of the egg mixture, and immediately add the sliced cooked potato, quickly arranging it in roughly horizontal layers.
  • Cook for about a minute or so - until the egg is beginning to set.
  • Add the remainder of the egg mixture, and scatter the parsley on top of it.
  • Transfer the pan to the grill.
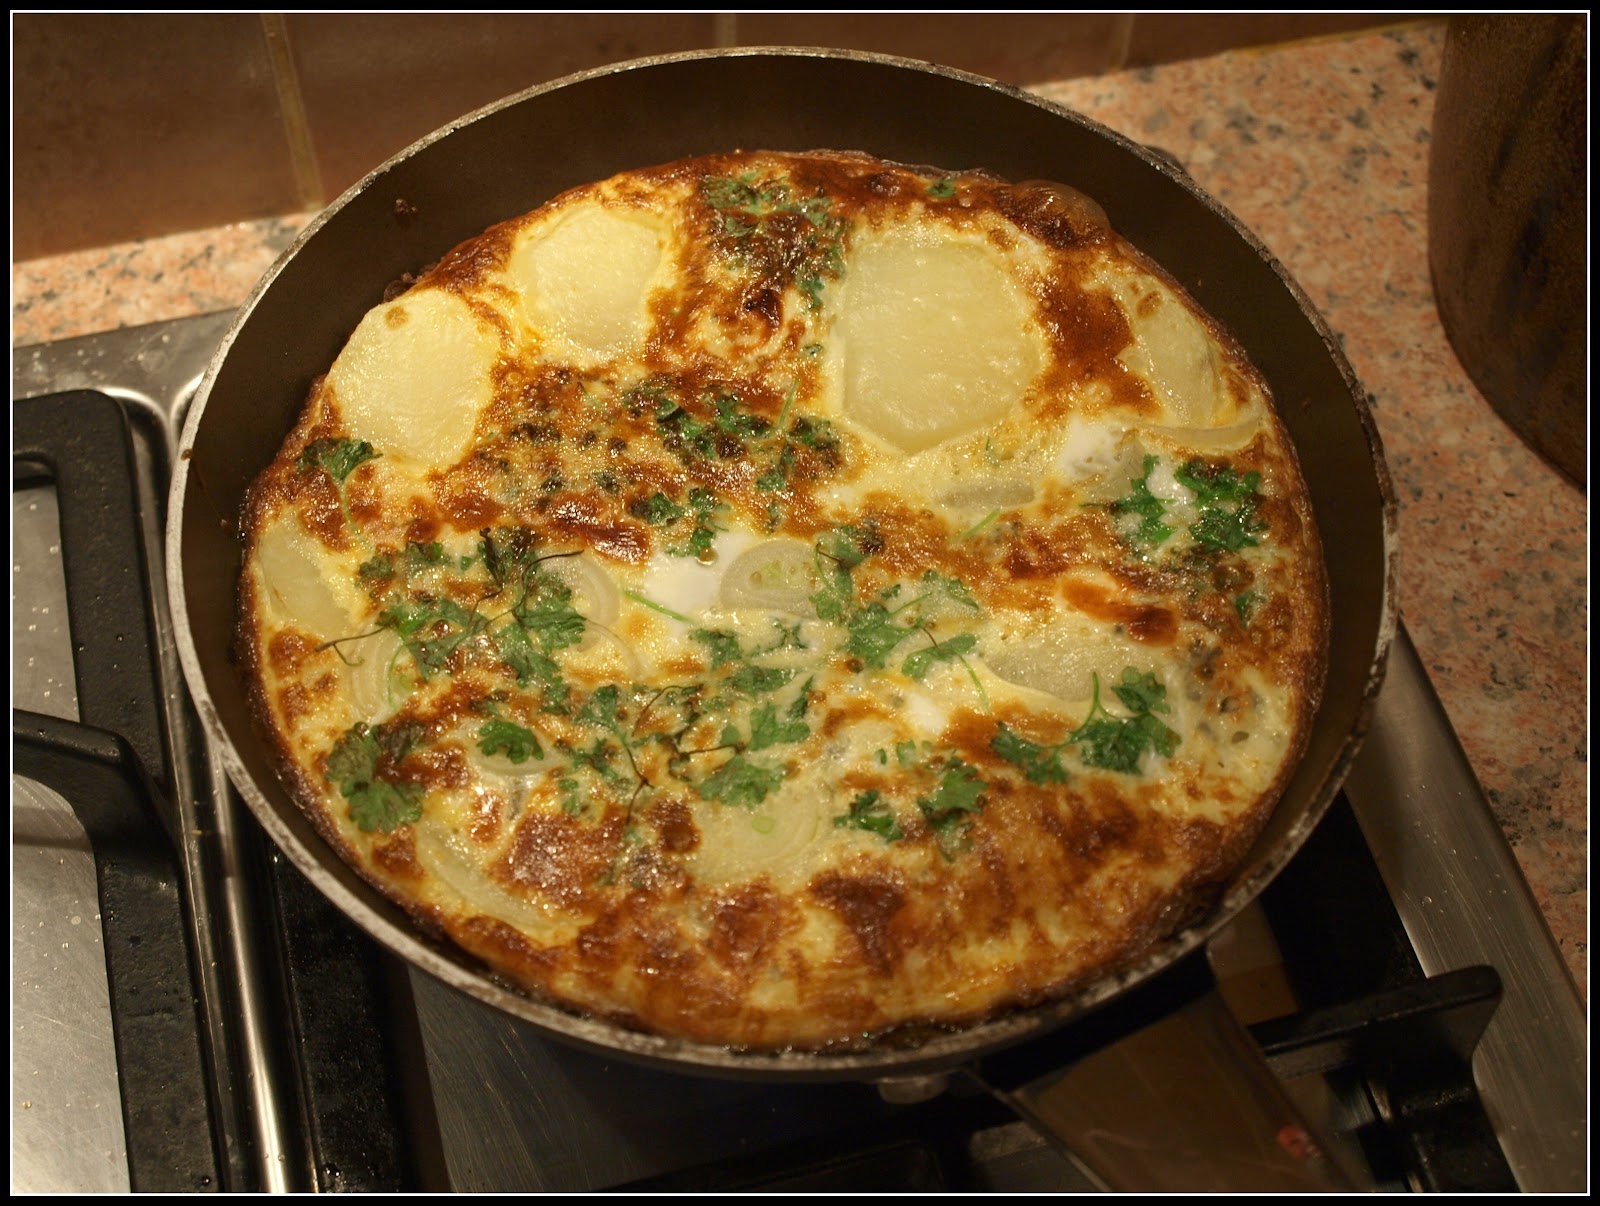
  • Cook for another 3 - 5 minutes - until the egg is set and the top of the Frittata is golden brown - like this: 

  • Remove the pan from the heat and allow to cool for a minute or two.
  • Invert the pan over a large plate and tip out the Frittata (did I mention you ought to use a non-stick pan?)
  • Then you have this: 

Frittata can be served hot, cold or tepid. I decided that ours would be the latter, so I left it about half an hour before serving. A few minutes before we wanted to eat I fried the White Pudding briefly in some oil, (about one minute per side is enough). I forgot to take any photos of the finished meal, but here is what the Frittata looked like just before adding the White Pudding:


To be honest, I think it was slightly on the runny side. It would have benefitted from another minute of cooking time. If I cook this again I'll bear that in mind. And here's our salad - lettuce, endive, radicchio and cherry tomatoes.


I was pleased with the result. Certainly a quick and easy dish with a very good Effort-to-Results ratio! One to add to my repertoire.

Monday, 4 February 2013

Peashoot update

I wrote the other day about growing peashoots simply by putting peas on a piece of damp kitchen paper. I suspect that some people thought this method probably wouldn't work, but I know it does because I have used it before, and I want to prove it by by showing you some photos.

Here they are then, posed by the food-processor to give you an idea of scale.


It's interesting to note that not all the peas germinated. I think in retrospect that I sowed them too thickly, and some of them didn't get enough moisture. Even so, there are enough in this little tub to make a very respectable addition to a salad - and they taste fantastic.


I couldn't resist doing an arty shot, with the peas glowing in the weak Winter afternoon sunshine...


Here they are after snipping:


In close-up they look even more appetising.


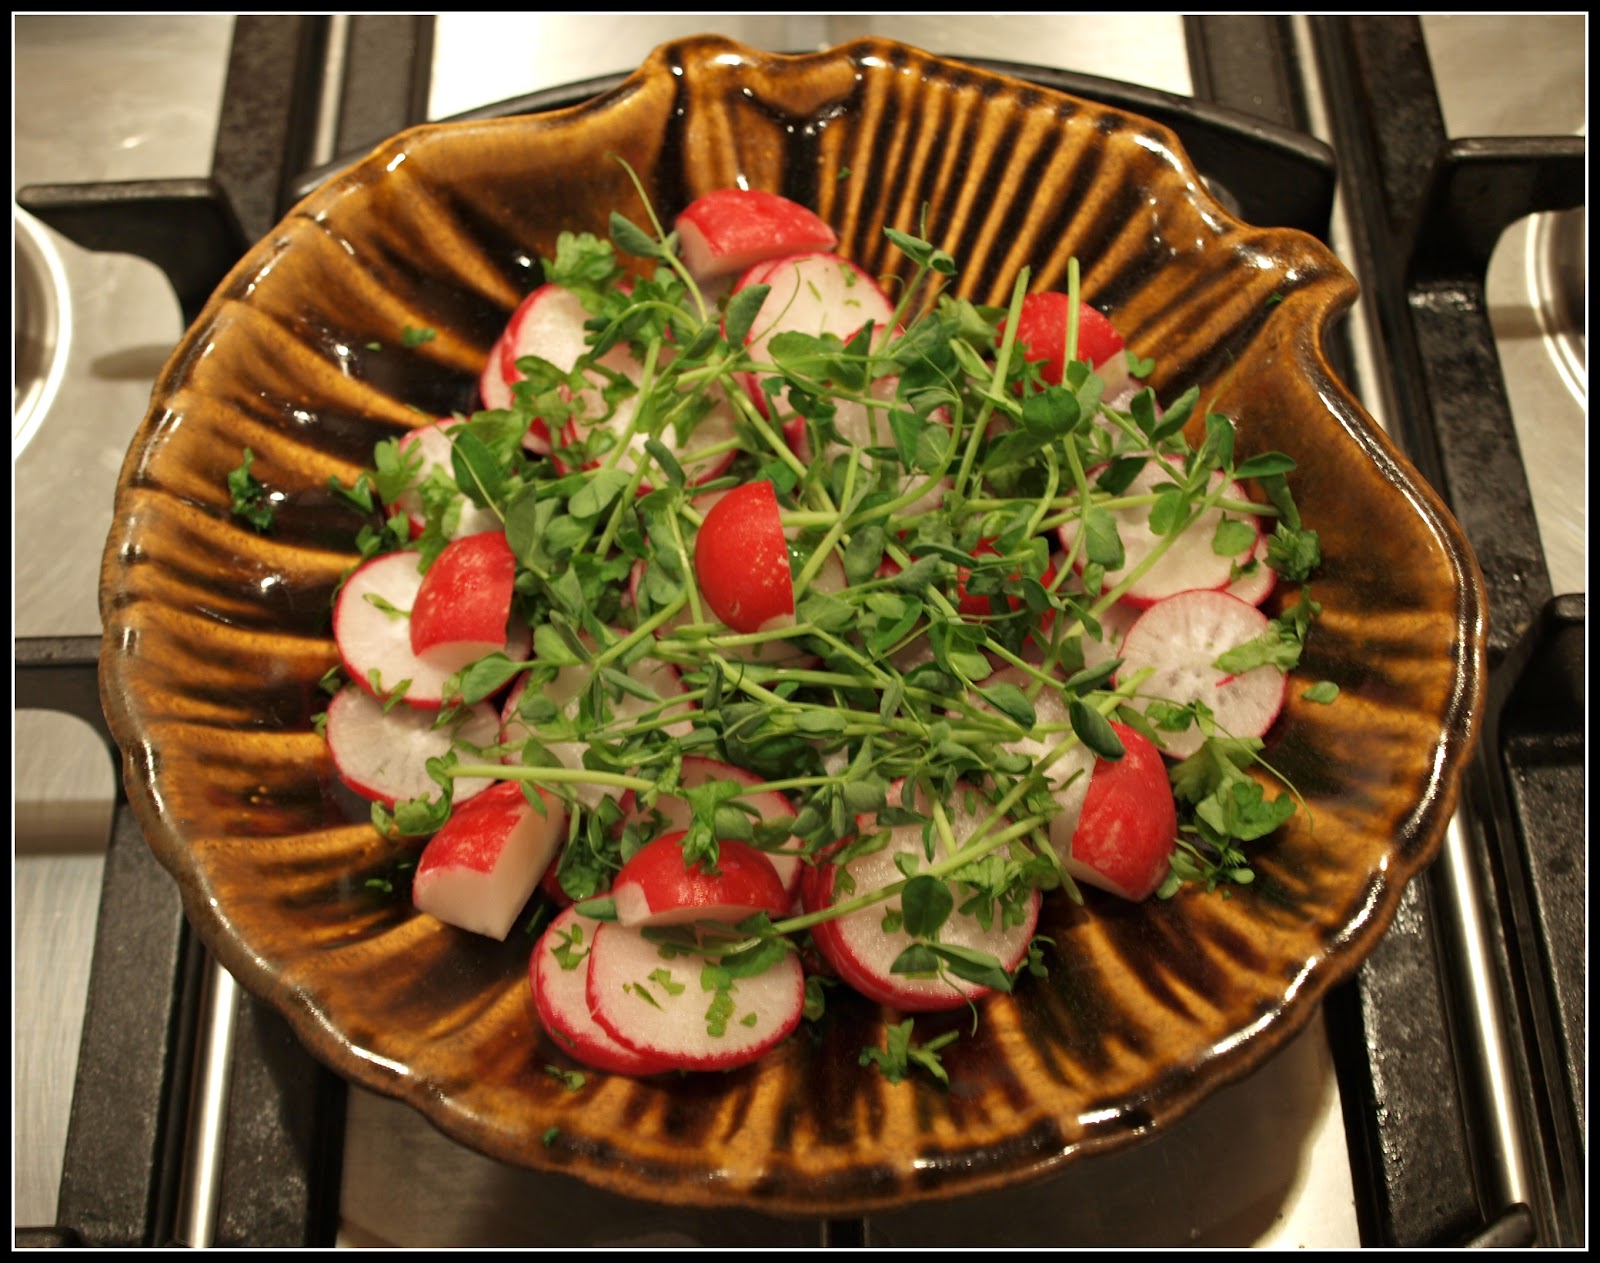
Finally, the peashoots are added to our salad. This one is made with Radishes and Parsley - and topped with the peashoots, of course.


I had been intending to dress the salad with a tiny drop of Sesame oil, but I forgot!

I know that a handful of peashoots is not much of a harvest to brag about, but as the saying goes "if you pick it, you can count it!", so I'm submitting this post to Harvest Monday, hosted by Daphne at Daphne's Dandelions.


**********************************************************************************
P.S. An announcement.

I am happy to announce that Liz from Suburban Tomato has become the latest winner of the Mark's Veg Plot Chilli Award.

Liz's blog is informative, interesting, often amusing, and always beautifully illustrated. Furthermore it is reliable, and looks to me as if it will be around for a fair while. If you haven't yet discovered this blog, you really should pay it a visit.

Sunday, 3 February 2013

First colour

On Friday I managed to get home a bit early. Arriving home before it was dark meant that I saw the first few Iris Reticulata flowers sticking up out of the soil around the base of my Crab Apple tree at the front of the house, so on Saturday morning I was out there with the camera...

This one is called "Pauline"


I always welcome these Irises because they are the first plants of the new year to flower, and thus remind me that we have "turned a corner" and Spring is not too far off. I know we are only just into February and there could be a lot more cold weather (maybe more snow) to come, but the situation is very much different to what it was before Christmas.


This very pale one is a variety I have not had before. It is called "Katherine Hodgkin".


I don't know what type this plain blue one is. It is definitely not one of those I planted last Autumn. This particular flower is very small and I suspect that this is because it is from a very old bulb that has lost its vigour. Every year I plant a few more bulbs around the base of the Crab Apple tree, but it still doesn't look over-crowded, so presumably some of them die off.


I found it quite difficult to photograph the Irises today. Despite it being sunny for most of the day, there has been a very strong breeze, and the flowers wouldn't (couldn't) stand still!

Saturday, 2 February 2013

Seed potatoes

I had a very welcome, and much-anticipated, postal delivery this week:


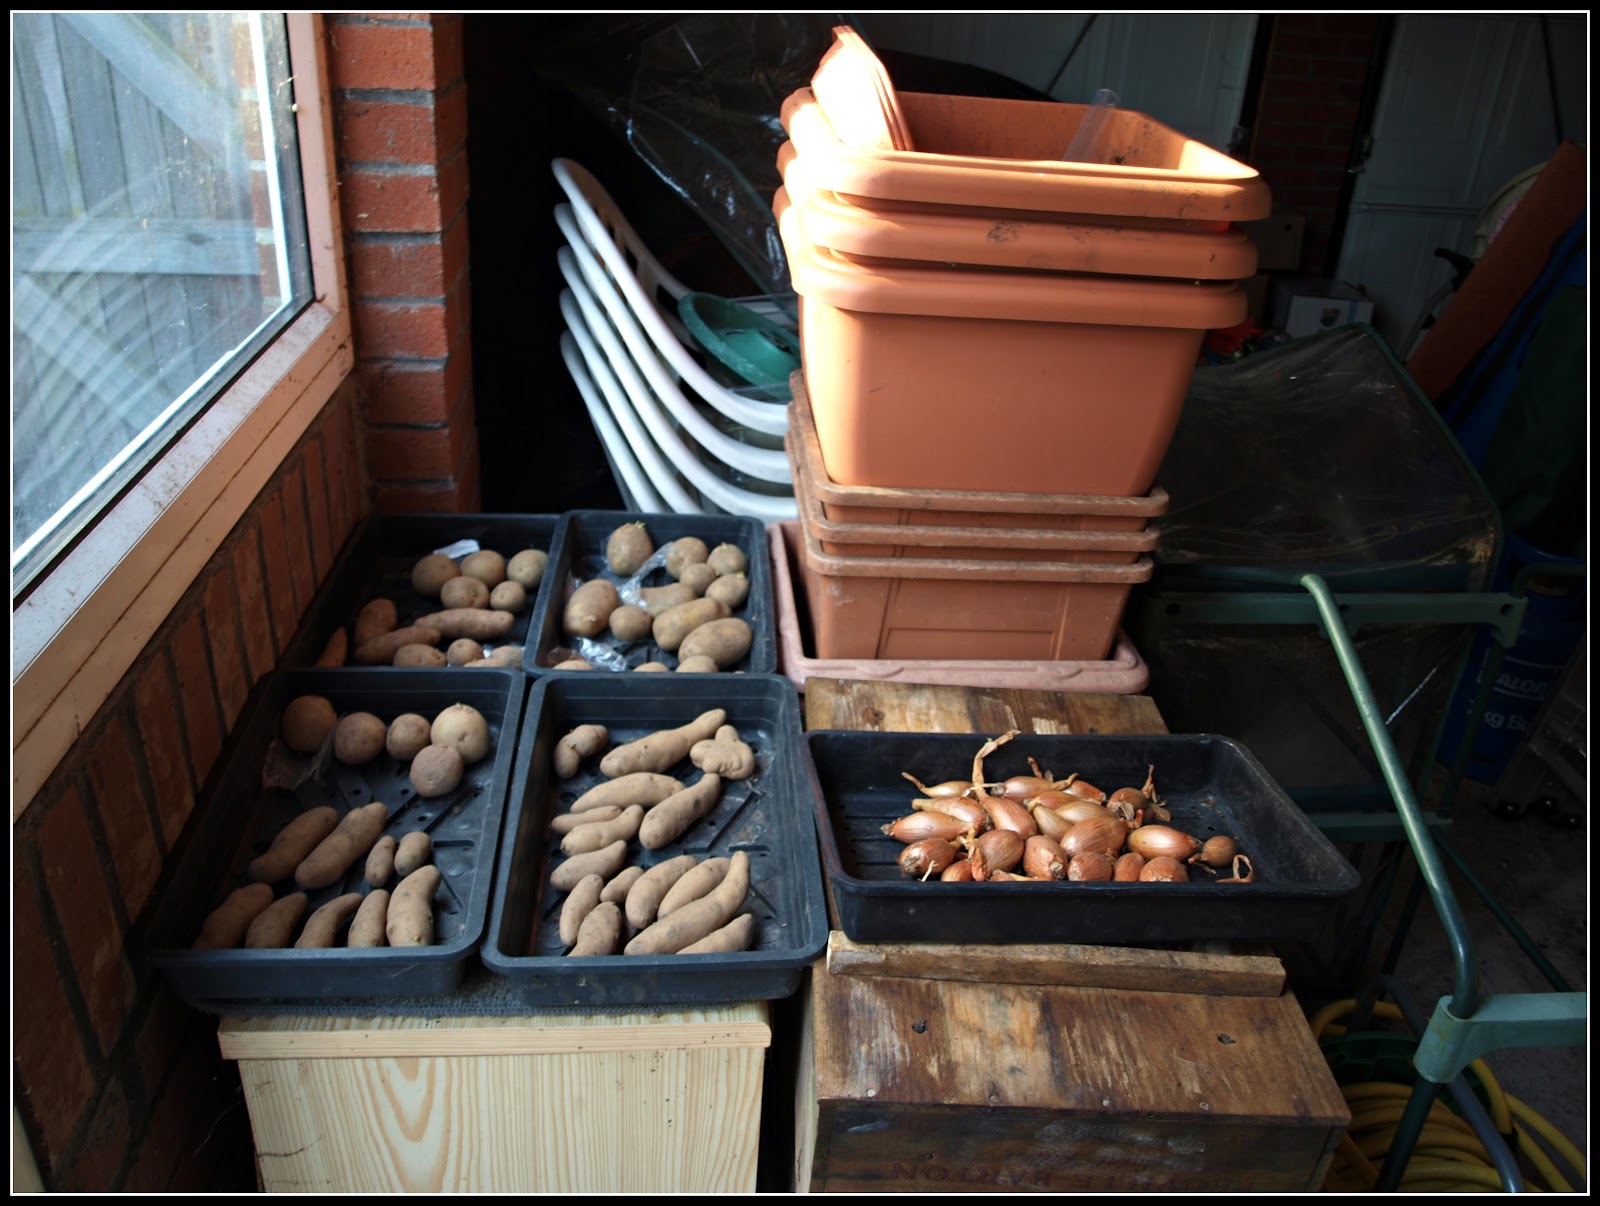
My seed potatoes arrived. I was glad that they weren't sent during the freezing cold weather we had a short while ago, as in those conditions they might easily have got frosted in transit.

This year I have gone for 8 different varieties, but in small quantities of course, since I don't have a great deal of space. My varieties this year are: Accent, Rocket, Orla, Swift, Lady Christl, Casablanca, Pink Fir Apple and Ratte.


I'm not going to plant any of these for a few weeks yet, but I have laid them out to chit. Newcomers to the world of gardening are always puzzled by "chitting", but it is a simple concept:- you encourage the seed potatoes to produce shoots so that they get a head start when you plant them out. This is particularly valuable if you are growing Earlies, which are traditionally planted as early in the year as weather conditions allow. I have laid mine out in some seed-trays in the garage. The conditions here are the best I can provide. Inside the house I think they would be too warm. In the garage (which is part of the main structure of our house), they will be cooler but definitely frost-free. I have put them near the only window, so hopefully they will get enough light. If I had had the foresight to do so, I would have saved some egg-boxes to put them in, to stand them upright, but unfortunately I didn't!


All but the Ratte were supplied in 5-tuber packs, and the Ratte one was a 20-tuber pack (only because I couldn't find a smaller pack.). I am particularly glad to have Ratte, since I want to make up for a failure I had last year. When we were across in France in August, staying with our daughter, we bought some Ratte potatoes on the local market, and although they were intended for eating straight away, I saved a few and brought them home for planting in the hope of getting some late Autumn potatoes. They put up shoots more or less immediately after planting (in about 3 or 4 days if I remember rightly), but they soon got blight and never produced any new tubers. I suppose I was asking for trouble really, planting them at the height of the blight season. Hopefully I'll manage to get a good crop when I plant at a more sensible time! Ratte is popularly reckoned to be a very tasty "gourment-quality" spud, so I have great expectations.

Ratte is usually a long, thin potato - but evidently not always!


I always grow my potatoes in pots these days, simply because I want to use my raised beds for other crops. Having the potatoes in pots also makes them mobile, so that you can put them under cover if frost threatens but you can also put them out in the sunshine whenever the opportunity arises. Some of these will probably go into those "8 for 99p" pots I bought at Morrison's last weekend.

Friday, 1 February 2013

Stumped!

You know the expression "I'm stumped" ? What exactly does it mean? Usually that you have run out of ideas; reached the end of the line; given up? Well, yesterday I felt like that. I couldn't think what to write about. Writer's block? Know what I mean? Well, fortunately stumps came to my rescue. I remembered that I had a number of photos of tree-stumps that I had not previously published, taken on one of my walks on Velmead Common. On the face of it, tree-stumps might sound like boring subjects, but please humour me and look a liitle bit more closely...


This one is studded with holes made by Woodpeckers searching for grubs.


This one has been used as an "eating station" by squirrels, picking out the best bits of some pine-cones.


This ancient specimen has been almost completely covered in moss.


A combination one - eating-station AND moss-covered


This one is almost a miniature garden in its own right - little tufts of moss, like tiny shrubs.


How long has this weather-beaten example been there? 20 years? 30 years? 40? Who knows...


Do you agree then that even something as superficially mundane as a tree-stump can also be an object of beauty, and of interest in its own right?

I hope the weather at the weekend will let me get out and take some more photos...