Tuesday, 13 June 2017

Tavira

Jane and I have just returned from a week's holiday in Portugal. We stayed in a little town in the Eastern Algarve, called Tavira, a place with a long and varied history.


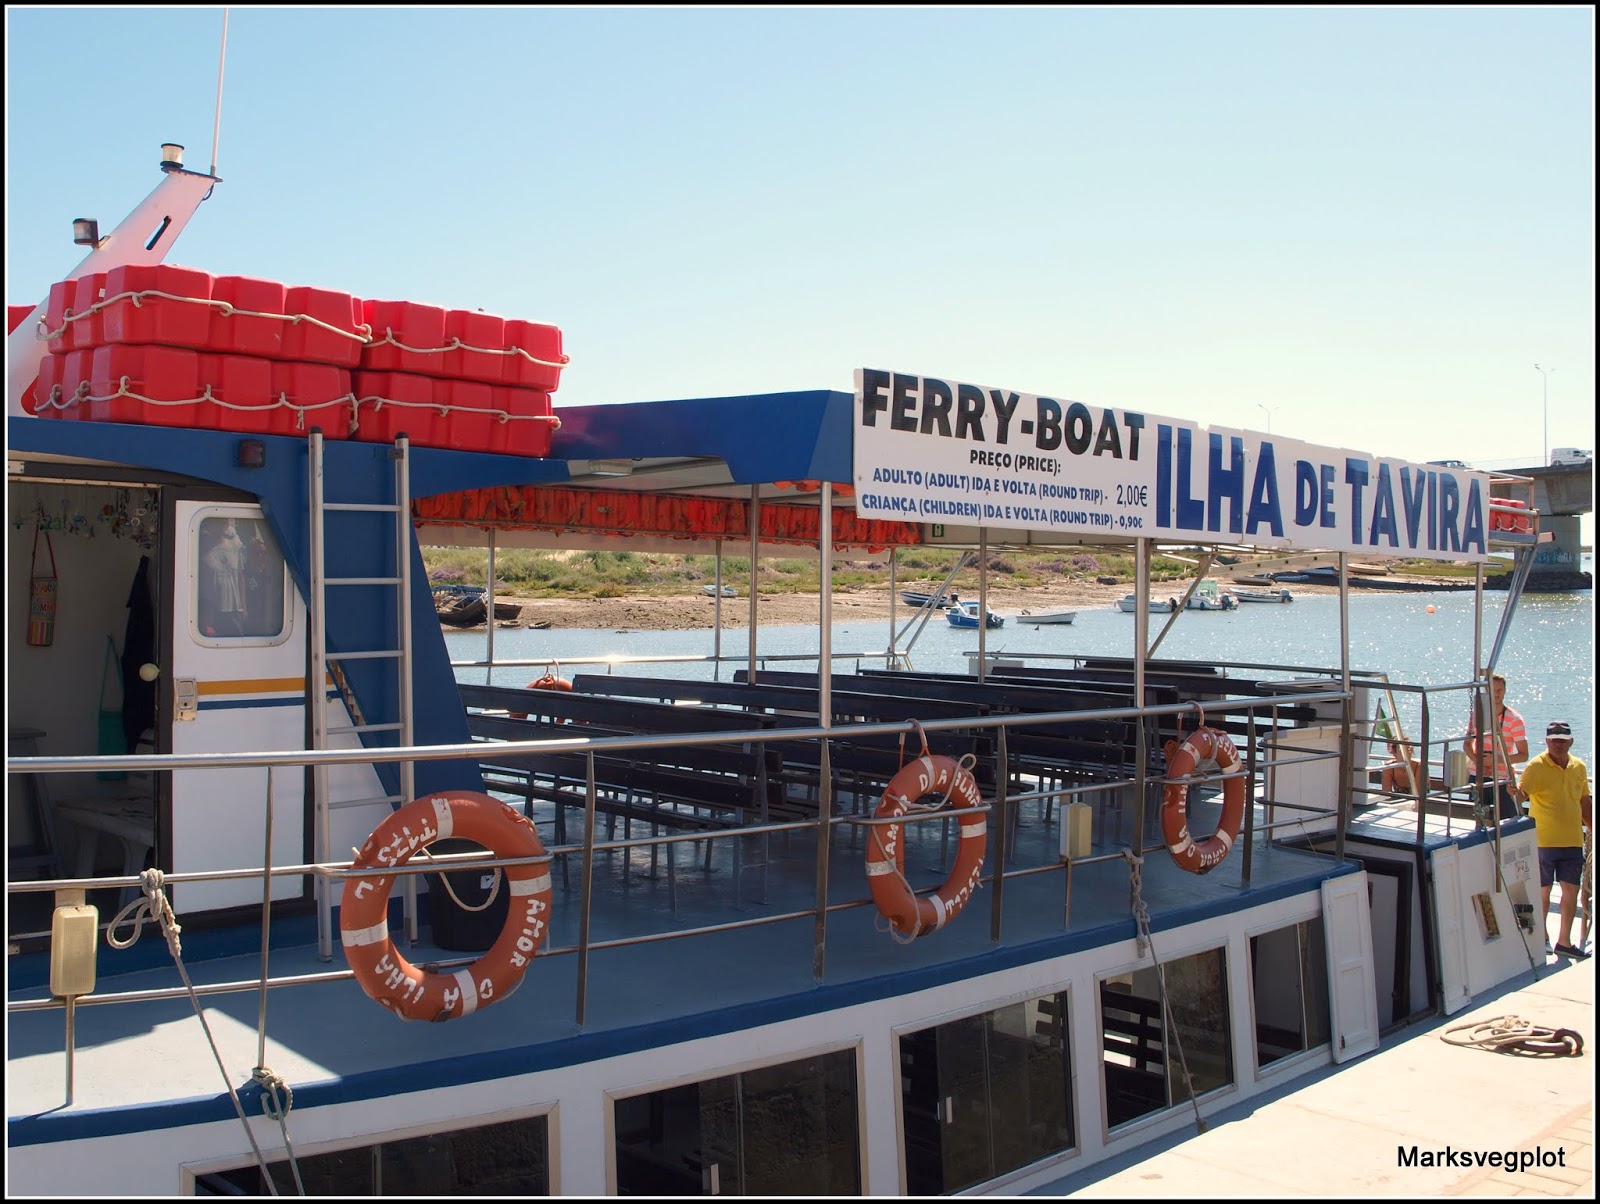
The town is not a typical Algarve resort at all - no nightclubs and all-night revelry (most people seemed to be in bed by 10:00 p.m.!). You even have to make a half-hour trip on a ferry to get to the beach (which is on an offshore island):

It's worth it when you get there though (the beach, I mean):

Ilha de Tavira, Atlantic side


Ilha de Tavira, lagoon side

We're not really beach people, and although it was nice to visit the beach for a short while we didn't want to stay all day - and potentially get "fried" in the 30C+ temperatures. We were much more interested in exploring the history of the town. Perhaps the best-known feature is the Roman bridge (though no-one is really sure whether the existing bridge is actually Roman). However, they are fairly sure there has been a bridge here since Roman times.

The Roman Bridge

For a town of its size (small), Tavira has a lot of churches! We are not religious, but we do enjoy visiting some churches if they are interesting and/or spectacular - like this one, the Igrecia de Misericordia, with its most unusual blue tile-work depicting biblical scenes:

Igrecia de Misericodia

I loved this one (San Sebastian) for its glowing whitewashed walls and its mass of curves and angles.

Igrecia de San Sebastian

Situated at the summit of Tavira's highest hill (closest to Heaven?) stands the Igrecia de Santa Maria - coincidentally just a few yards from our hotel.

Igrecia de Santa Maria

This is where we stayed. Although technically a pousada (Google it!), it's officially a five-star hotel. We were amazed to get such fabulous accommodation at a very modest price!


It would be hard to find somewhere more peaceful than this.  Cool, quiet and tranquil, but also luxurious, well-appointed and staffed by some very friendly and helpful people. We ate our breakfast here, in the cloister, to the accompaniment of enthusiastic twittering of Sparrows:-


Also just a few metres from the pousada is the Camera Obscura, making use of a disused water-tower:


With a simple arrangement of mirrors and lenses, the Camera Obscura gives you a 360-degree view of the town from high above - a sort of real-time CCTV.


Tavira has a castle, or more accurately the remains of a castle, because it was mostly laid low in the devastating earthquake and tsunami of 1755. Likewise, the ancient walls of the town came tumbling down at the same time, though one or two sections still remain.


Incidentally, the offshore islands I mentioned earlier also date back to 1755. Prior to that they did not exist. At the time, the tsunami / earthquake would have been a huge catastrophe, but taking the long-term view, the creation of the new islands has been a major blessing, because they attract tourists (and wildlife) in their droves!

Tavira is in many ways a town of contrasts. Ancient and modern; high-tech and old-fashioned; smart and tatty. "Tatty" is probably not the right word though. A better term might be "Shabby Chic", because even the old, slightly faded buildings had a certain style to them:

Chic?


Shabby?

One of our favourite parts of the town was the municipal gardens, down by the River Gilao. The gardens always seemed peaceful, despite being pleasantly busy. At frequent intervals, buskers played classical and 1970s Pop music. Here we see a Hungarian duo playing the fiddle and the cymbalon:


In times gone by, Tavira was famous for its Tuna and Sardines, but these days the fisheries and canning factories have mostly closed, and have been replaced by the salt industry (and tourism). Between the mainland and the Ilha de Tavira there are lots of salt-pans producing "Flor de Sel" (what we in the UK call sea-salt flakes):


The salt-pans and surrounding marshes were full of birds of many different varieties - storks, plovers, egrets, stilts, avocets etc. We were most impressed to see a flock of perhaps 50 flamingos. I don't think I had seen flamingos in the wild before.


Of course, being a gardener myself, I was very interested to see what plants were being grown in the area. Top of the bill was Bougainvillea, which seemed to be everywhere:


There was also a lot of Lantana:


And Oleander:


One day we visited the "Mercado Municipal". This is one of the things we always try to do when we are abroad, because the market shows us what real (local) people eat. In Portugal it is evidently fruit, vegetables, herbs and fish:


The over-riding impression of Tavira in my eyes is that of the steep, narrow, cobbled streets, streets in which it seemed incongruous to see the modern motor-cars!


Oh, I nearly forgot - tiles! Tiles are everywhere; on street-signs


And especially on houses. Mostly blue tiles here.


A parting shot: doors. Doors are definitely a major feature of Tavira:


Something that doesn't figure at all in my photos is the food (and drink) of Portugal. We loved it. Normally we get back from our holidays pining for fruit and veg, but on this occasion we did not. We were hugely impressed with not only the quality of ingredients, but also the sheer artistry of the way in which food which could have been very ordinary was presented. Perhaps the stand-out dish of the week was a "simple" bruschetta with tomatoes, avocadoes, and olive oil, topped with a sprinkle of the fabulous local dried Oregano. Simple, yes, but also very special. No photos of course, because I very seldom take photos of my food!

I'm ending this post with my favourite photo of the lot - the water-tower of the Camera Obscura, against the backdrop of that cobalt-blue sky!


...

Saturday, 10 June 2017

Runner Beans - tips and a problem

In the UK the Runner Bean is probably the most popular vegetable of all to grow - certainly the most visible, with its masses of red, white or bi-colour flowers. I don't claim to be an authority on growing Runner Beans, though I do have more than 25 years' experience of the subject.

This year I am growing 12 plants. They are of the ever-popular variety "Scarlet Emperor".


The first "piece of wisdom" I have to offer is this: make sure you provide your beans with a substantial frame to climb, because they can get very big. They produce a lot of heavy foliage (and hopefully pods!) This structure of mine is made with stout Hazel poles, about 9 feet long, with each pole pushed into the soil to a depth of about one foot.


Runners like moisture-retentive soil (though they will grow reasonably well more-or-less anywhere), so make sure you incorporate lots of organic matter. Watering is also important because the big bean plants have a prodigious thirst. If you can, water at a time when the sun is not shining brightly, in order to minimize water loss through evaporation, and give the plants a big drink every few days rather than a sprinkle every day.


Most of my beans have grabbed hold of their poles without assistance, but just two of the 12 needed some encouragement. These two I tied very loosely to their poles with some soft string, initially with a big wide loop, and then re-tying the string a little more tightly once the beans were heading in the right direction.


Another tip that I would like to mention concerns pinching-out. If you pinch out the growing tip of a bean plant this will encourage it to produce sideshoots, which normally emanate from the axils of the first pair of leaves. I pinch out my beans only when they reach the top of their support-frame, but I know that some people pinch-out when the plant is only 12 inches or so tall, which means that from a very early stage the plant gets TWO main stalks instead of just one. In theory, this means you get more pods, however I remain unconvinced.

Now, in the title of this post I mentioned a problem. It's the all-too-familiar problem of weedkiller-contaminated compost causing leaf-distortion. See how this leaf is sort of pleated or folded-over on itself:


If you open it out, it looks like this. The concealed part is very wrinkled.


I'm not overly-concerned about this, because I think the plant is almost certainly going to be OK. I've seen a lot worse! It may look unsightly, but it probably won't affect the crop. However, it does confirm my suspicions that compost even from big-name suppliers continues to be contaminated. In this case I am certain where the contamination comes from. My beans were sown in Levington's John Innes No.2 compost, purchased from my local Garden Centre. Look at this pot containing my spares. Notice in particular the leaf at Top Right:


The beans in that pot have never been in any medium other than the compost I mentioned, yet some of the leaves are unmistakeably distorted. This is that "Top Right" leaf:


Many of my chillis (planted in the same compost) are showing the same symptoms.


Again, not severe enough to be a big issue, but a concern nevertheless. Next year I think I will be looking for organic compost...
Wednesday, 7 June 2017

Broad Beans - harvest in sight...

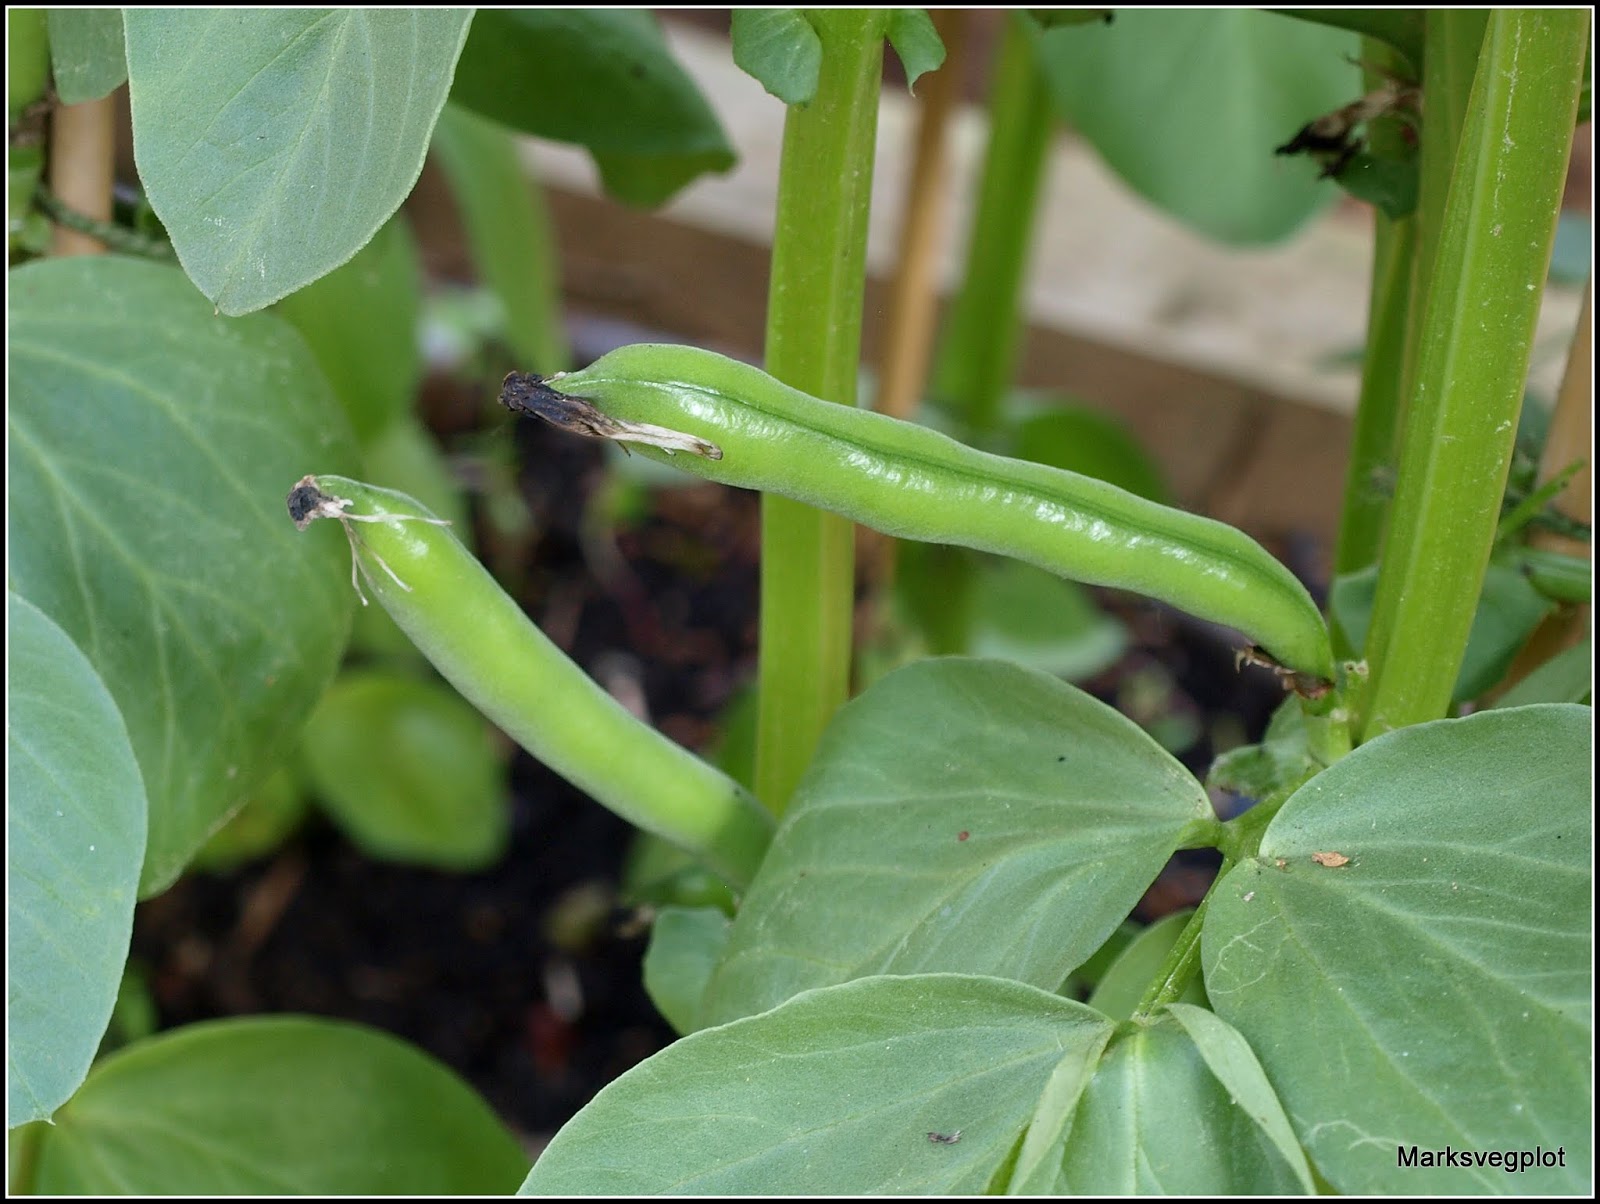
The Broad Beans are podding:


I must say, growing Broad Beans can give you a few anxious moments. The plants you have so carefully nurtured produce all those lovely flowers, at which point you think "Great, I'll have a huge crop!"


And then they all shrivel up and die... You now think "Oh no, I'll have no crop at all!"


But then they do this... and you realise that all is not lost after all.


Wouldn't it be nice if ALL the flowers turned into pods. Wishful thinking! Even though my plants produced masses of flowers, I would say that something like a quarter of them have set, or are setting pods. In my case this is normal - it happens every year. I suppose the plants instinctively know how many pods they need, or will be able to support, and abort the rest. I'm fairly sure it can't be because three quarters of the flowers didn't get pollinated; those plants have been swarming with bees!

I am always very assiduous with watering my Broad Beans, especially at this time, because if they get parched this may also cause poor pollination. In warm weather I often water the beans twice a day, applying the water with a watering-can, directly to their roots.

One of the most common causes of poor crops of Broad Beans is infestation of aphids (aka blackfly), which suck the sap of the plant and weaken it. They are particularly fond of the soft tips of the bean plants, and for this reason gardeners often pinch out the tips when the plants have reached a good height. This year, thank Goodness, I have not been troubled too badly by blackfly, and I have been able to control them with applications of very dilute washing-up liquid, applied with a sprayer.


While I'm on the subject of Broad Beans, I want to show you what happened to that little plant I described a few weeks ago as the "runt of the litter", because it was very much smaller than all the others. This is it on 19th April:

That's a 7cm pot

Just for curiosity, I didn't discard it, I planted it in a vacant space in the bed where my Runner Beans now are:


It has thanked me for the reprieve by producing just one pod - but it's a good one, the same size as the ones its bigger siblings have produced.


In fact, looking carefully at this photo, I think a second pod might be setting too. Woohoo! I expect to be harvest my first beans of this year in about 10 days time, and that pod will definitely be included.

Monday, 5 June 2017

Layering - a different way to propagate tomatoes.

We all know the term "Vine-ripened tomatoes", don't we? Despite the fact that most people grow them in an upright stance, most tomato plants are vines and left to their own devices, they will sprawl. Tomato plants do not have particularly rigid stems, and once they reach about two feet tall they will (if not supported) flop over. In their original wild form they seek support from other plants and grow through them, upwards towards the light, just like many jungle creepers.

This behaviour is easy to observe in my "Maskotka" tomato plants, which this year I am growing in a 3-foot-tall wooden planter, so that they trail down towards the ground.


Although gravity is ensuring that the bulk of the plant cascades downwards, individual shoots still want to grow upwards.


Wherever a tomato plant forms a leaf, it also produces a side-shoot between that leaf and the main stem.


When growing a tomato plant vertically (using the so-called "cordon" method), these sideshoots are normally removed or "pinched-out". Some people call this process "pruning".

Now, imagine that the plant is NOT vertical, and the sideshoots have NOT been pinched out. What happens? The sideshoots grow vertically upwards until they in turn get too tall to support themselves and flop over. Now the best bit: where the stems touch soil, they produce roots. I have dug out an old photo that demonstrates this...


I can't demonstrate this, because I haven't done it myself, but just imagine: you grow one tomato plant in a long raised bed. When it topples over, lay it along the length of the bed and let it continue to grow. Wherever a sideshoot appears and begins to grow upwards, support it with a cane, and help it to form roots by covering the main stem with soil at the point where the sideshoot emerges. When you have got enough strongly-rooted sideshoots, you could (if you want to take this risk), sever the main stem on either side of each shoot, making a number of separate plants.

The technique I have described is known as "layering", but there is also another way to get more tomato plants... When/if you remove sideshoots, plant them immediately into moist compost, or even just place them in a jar of water. They usually root very quickly and go on to become clones of their parent plant. I did this very successfully last year.

Freshly-planted sideshoots

Saturday, 3 June 2017

Harvesting new potatoes

I harvested my first potatoes of the year this morning. This much-anticipated event is one of the highspots of the gardening calendar!


This year I have 16 tubs of potatoes, each planted with one or two tubers. I don't want to have them all mature at once, so it makes sense to start picking as soon as they have viable tubers, even if the individual tubers are not huge.

First up this year is "Belle de Fontenay", a First Early variety, planted on March 11th. The foliage had gone quite yellow and was beginning to die down, which is a sign that the plant has produced tubers. To get the maximum yield it is best to wait until the foliage has completely died down, but I was impatient!


This is the Big Reveal - that moment when you finally get to see the size of the crop. You always think "Oh no, there's nothing", but then you see the little golden nuggets lurking in the compost...


Actually, this year the spuds have not been growing in compost, but in plain garden soil, taken from the two raised beds I demolished in the early Spring. My decision here was also heavily influenced by my past poor experiences with commercial compost!

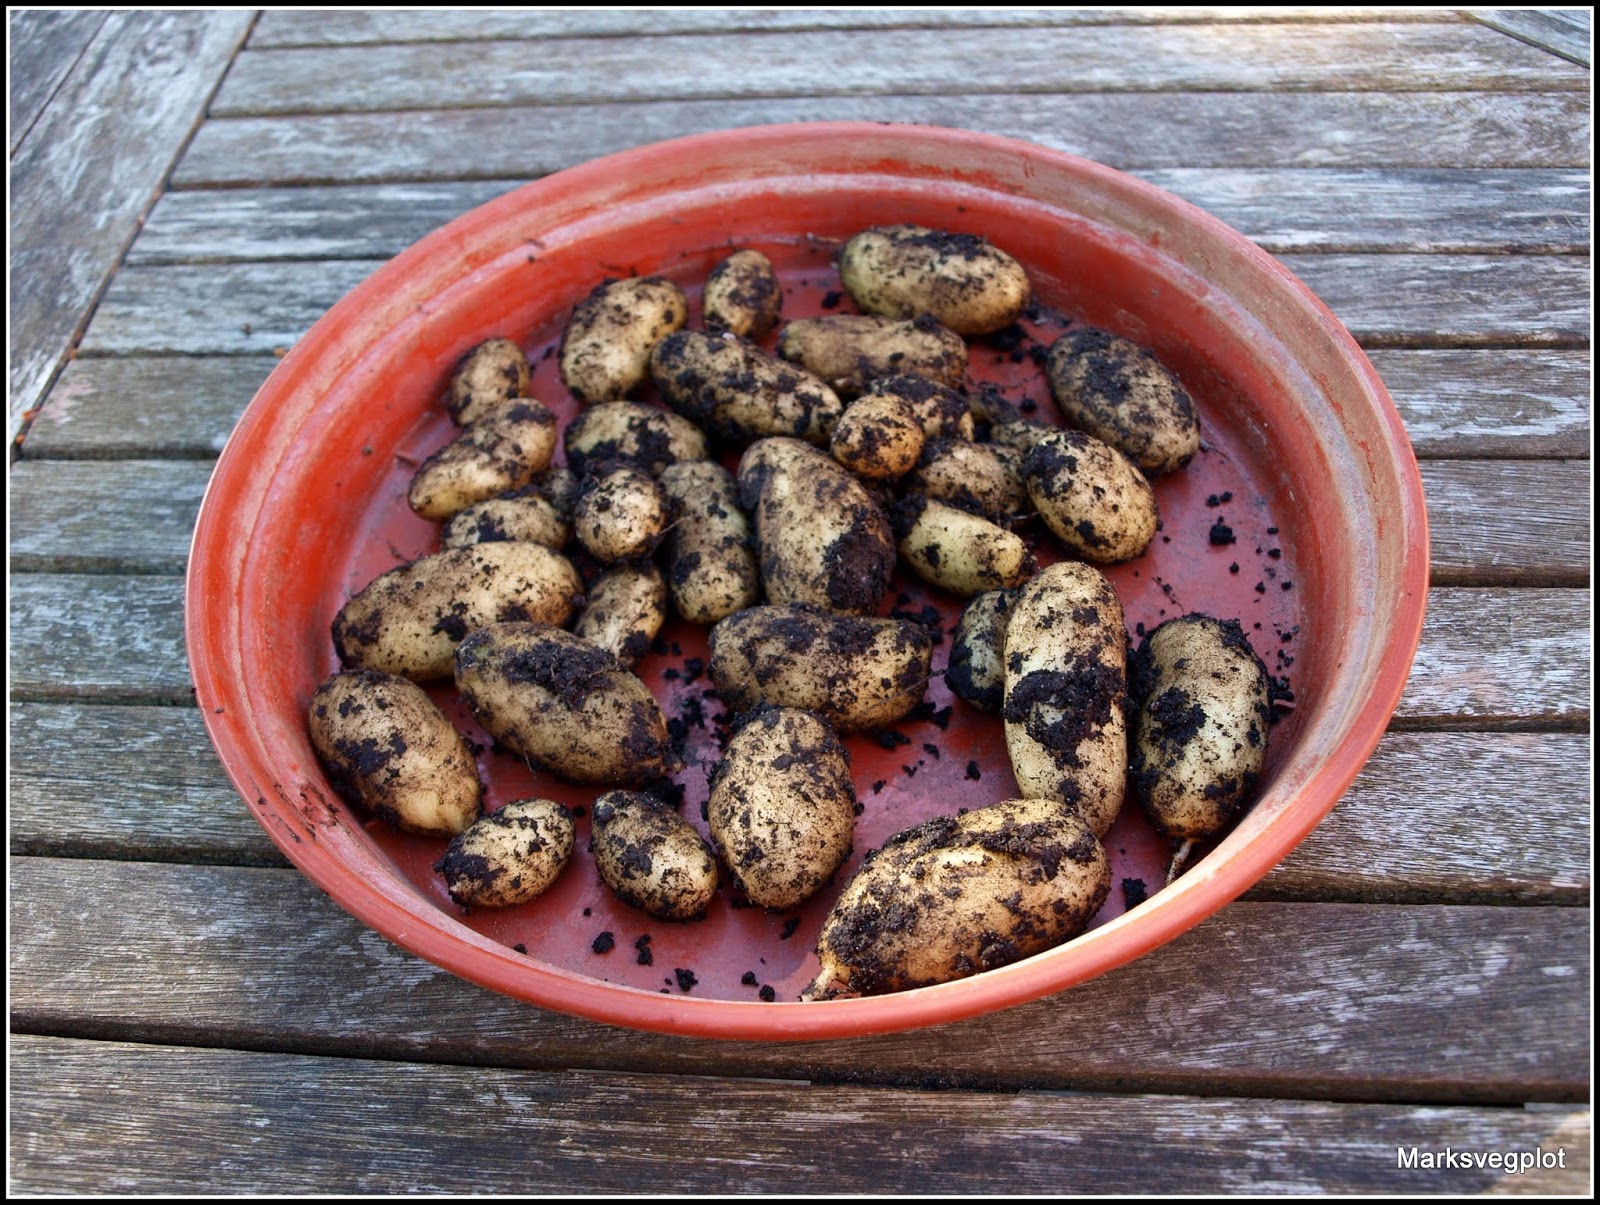
This is what came out...


After washing, they looked a sight more appealing - lovely smooth skins too. They weighed 533 grams.


Some while ago I wrote about my decision to adopt a simpler, less-fuss approach to growing my potatoes this year. All I did was half-fill the tubs with soil, mix in a handful of Growmore general-purpose fertiliser, and then plant the seed tubers two or three inches below the surface. No earthing-up later or anything. One or two of the potatoes have green patches where they grew close to or above the surface of the soil, but the vast majority are fine, good-quality spuds.


These potatoes are destined to be eaten tonight. With "New" potatoes, the sooner you eat them the better, because as they age they tend to become firmer and lose some of the sort of creamy texture that a freshly-dug potato has.

Thursday, 1 June 2017

Summer-flowering perennials

I have high hopes of the Summer-flowering perennials that I planted-out in the early Spring. You may remember that I made lots of new plants last Autumn via root-division. With one single exception, they have all established well and are looking very healthy.


Realistically, I don't expect them to produce a mass of flowers this year - they will need time to settle in - but as long as they establish themselves well, I should get a good display next year. I've been thinking to myself "If I had bought all these plants at my local Garden Centre they would have cost me at least £50, so taking my own cuttings was definitely the right thing to do".

I have 3 Echinaceas like this one:

Echincea

7 Heleniums, like this:

Helenium

And 6 Rudbeckias (though there are a couple of small ones that were already there before).

Rudbeckia

The tall Verbena Bonariensis plants at the back, closest to the wall, have already opened their first flowers.


At this stage they look pretty insignificant (puny, even!), but I hope that they will eventually fill out and provide a good backdrop for the shorter plants in front. I planted 7, and 6 have survived.


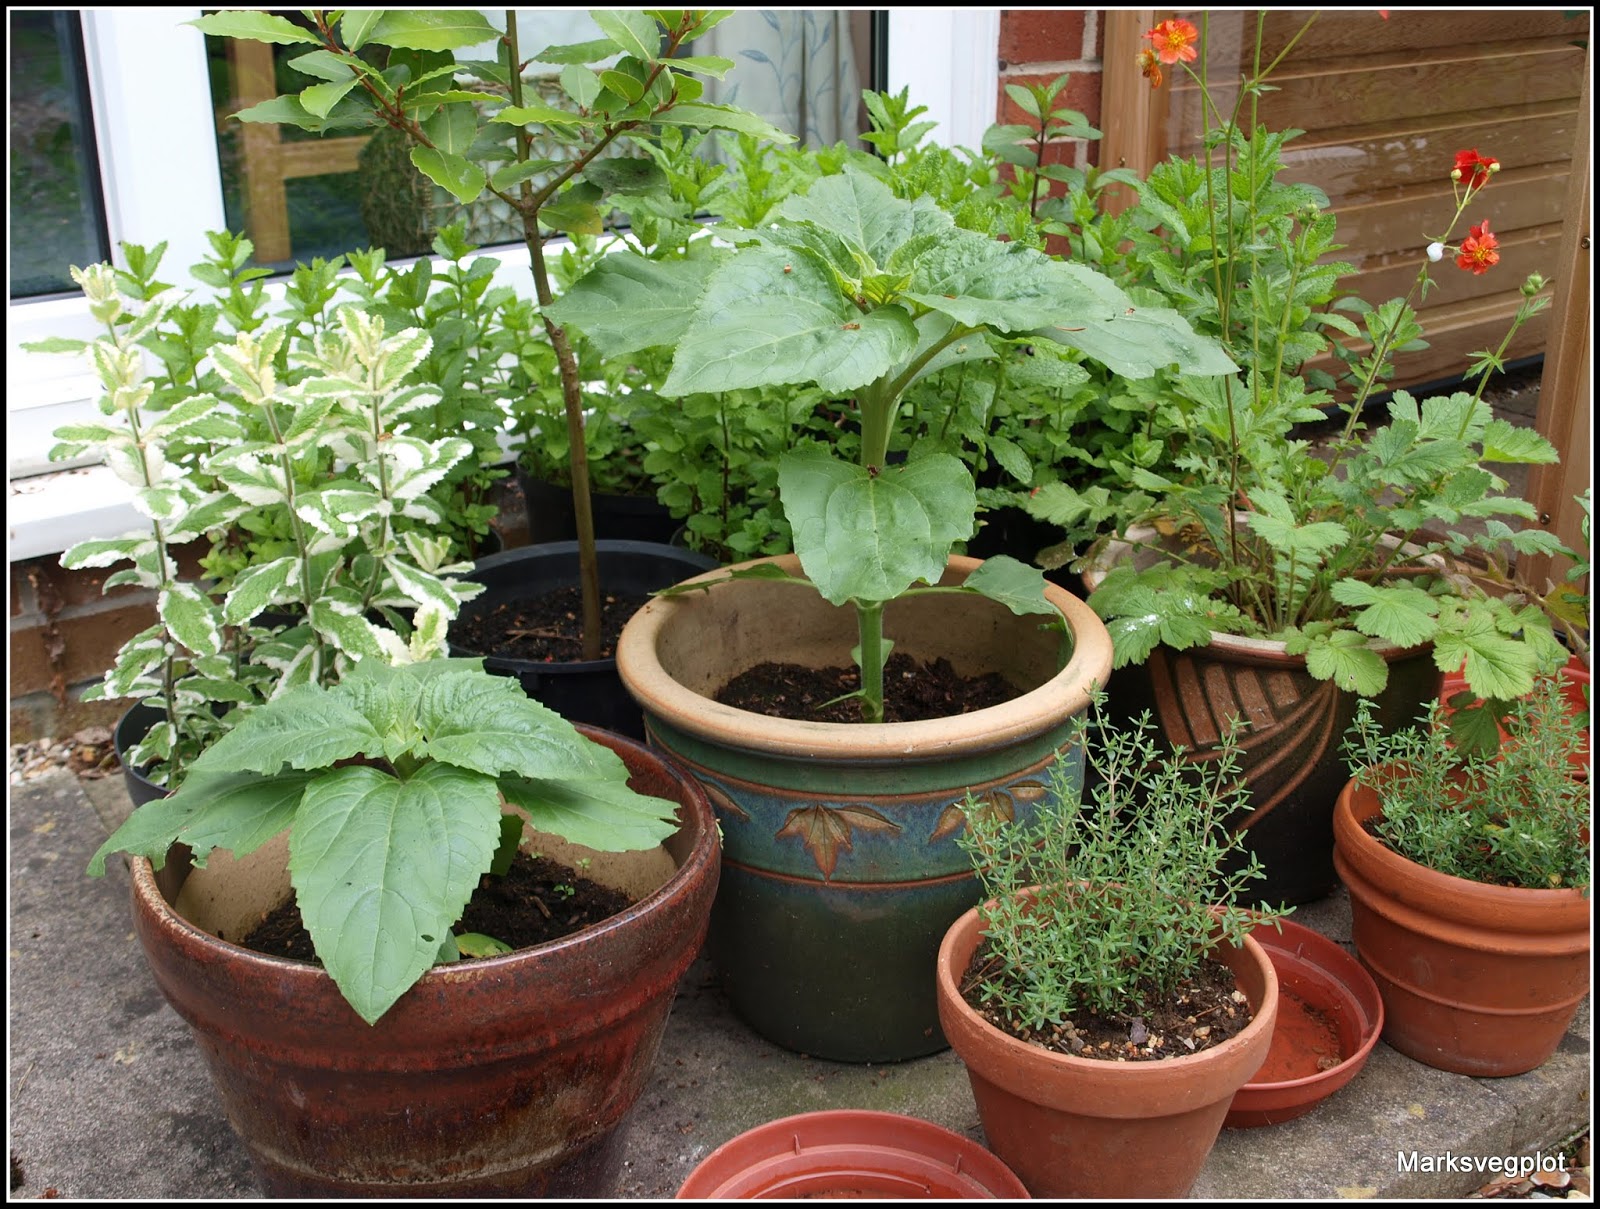
Now, still with flowers, take a look at the two Dwarf Sunflowers("Sunspot") in this next photo. See how different they are in terms of size! Sown on the same day, grown in exactly the same way, yet one is twice as tall as the other. (Maybe it didn't get the memo about being "Dwarf"....?)


I'll post about all these again in a few weeks time, when hopefully there will be some flowers to see.