Saturday, 23 April 2011

Proportional Representation

As you know, I share with my wife Jane a love of food and cooking. She also takes an active interest in what's growing in my garden, because much of it will end up as ingredients for the food she prepares. Once in a while she helps me with some garden tasks. For instance, if I am away from home on business, she will put my seedlings outside in the morning and take them inside again in the evening for me, or do some watering in the Summertime. Understandably though, she is MORE interested in her own hobby and business  - the world of "comping" (entering competitions), and she is forever winning things. Sometimes these are quite substantial (like holidays!); sometimes they are medium-sized (last week she won a top-of-the-range breadmaker machine); and sometimes they are just small things, like this "Winter in Venice" cosmetics set:


The products in this kit are mostly Sage-related: Soap, Bath Soak, Hand Wash, Hand Cream, a loofah pad, a "Fizzer" (aka Bath Bomb), and even a pair of gloves and a set of tiny gardening tools - presumably for cultivating Sage plants. The whole kit is presented in a tin container which is evidently intended to a be a window-box, and the cosmetic items are displayed inside a pair of  metal plant pots. I'm just surprised that there wasn't a packet of Sage seeds.

I jokingly said to Jane that the size of the tools, when compared with the ones I use, represents proportionally her involvement with the garden:

His:


Hers:


Of course, this is only a fair comment if I also admit that the proportion of the cooking done by her and me is in the inverse ratio!

Hers:


His:


Now, while we're on the subject of comping, I thought you might like to see this prize that Jane recently won (I expect it will appeal particularly to the Australian audience...)


This item is based upon that horrendous TV programme "I'm A Celebrity, Get Me Out Of Here". It is a set of 10 white chocolate "Witchetty Grubs", 7 of which contain a toffee filling and 3 of which contain a TRIPE -flavoured filling! A new take on Russian Roulette perhaps...

********************************************************************************

P.S. I have started a new PAGE, called "Herbs", on which I am posting photos of the herbs I grow. Please have a look!

Friday, 22 April 2011

More on Tomatoes

Most of my tomato seedlings are growing strongly now. I have hedged my bets by keeping some of them indoors overnight, and some of them outdoors in the mini greenhouses, although both lots have been outside during the day. The difference is quite marked. The Indoors ones are much bigger and lusher than the Outdoors ones, several of which are looking more blue than green! Actually, if you are buying tomato plants for growing outdoors a certain level of purple tinge on the stems at least is a good thing to look for - it indicates that the plants have been properly hardened-off (gradually exposed to outside weather conditions). If the plants are very pale green they are probably not yet ready to live outside.

"Outdoors" one on the left

Yesterday I moved some of my tomatoes into bigger pots. This of course involved making a selection of the best ones, since I have many more seedlings than I will have space to grow. I have room for probably a dozen big pots (which will have to include a couple for the Physalises), but this year I must also find room for the huge pot that I made from half of the old water-butt that Rosemary gave me. I reckon that will probably be big enough to hold two or perhaps three of the little bushy Maskotka tomato plants.

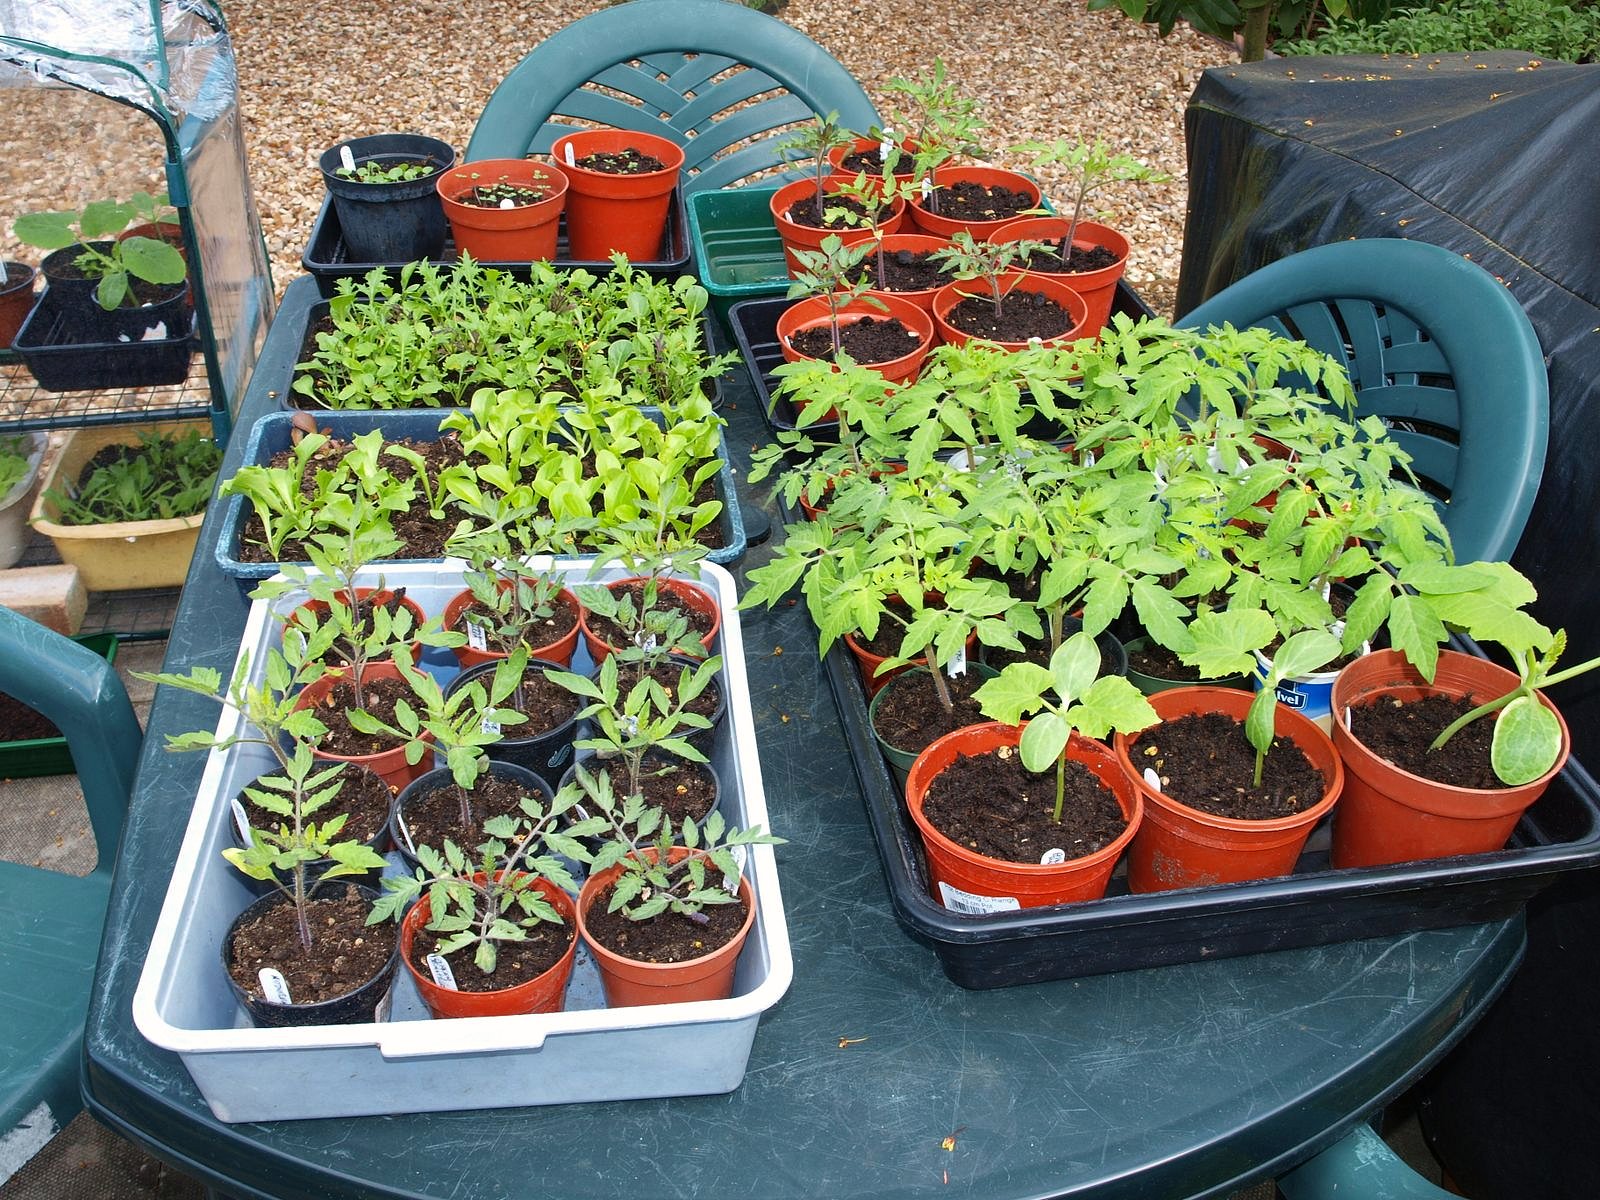
This is the "seedling factory", aka the patio, covered in mini-greenhouses.


Take a look at the strong root system on this "Green Zebra" seedling. I think the extra depth provided by the tall Elmlea pot has definitely been beneficial.


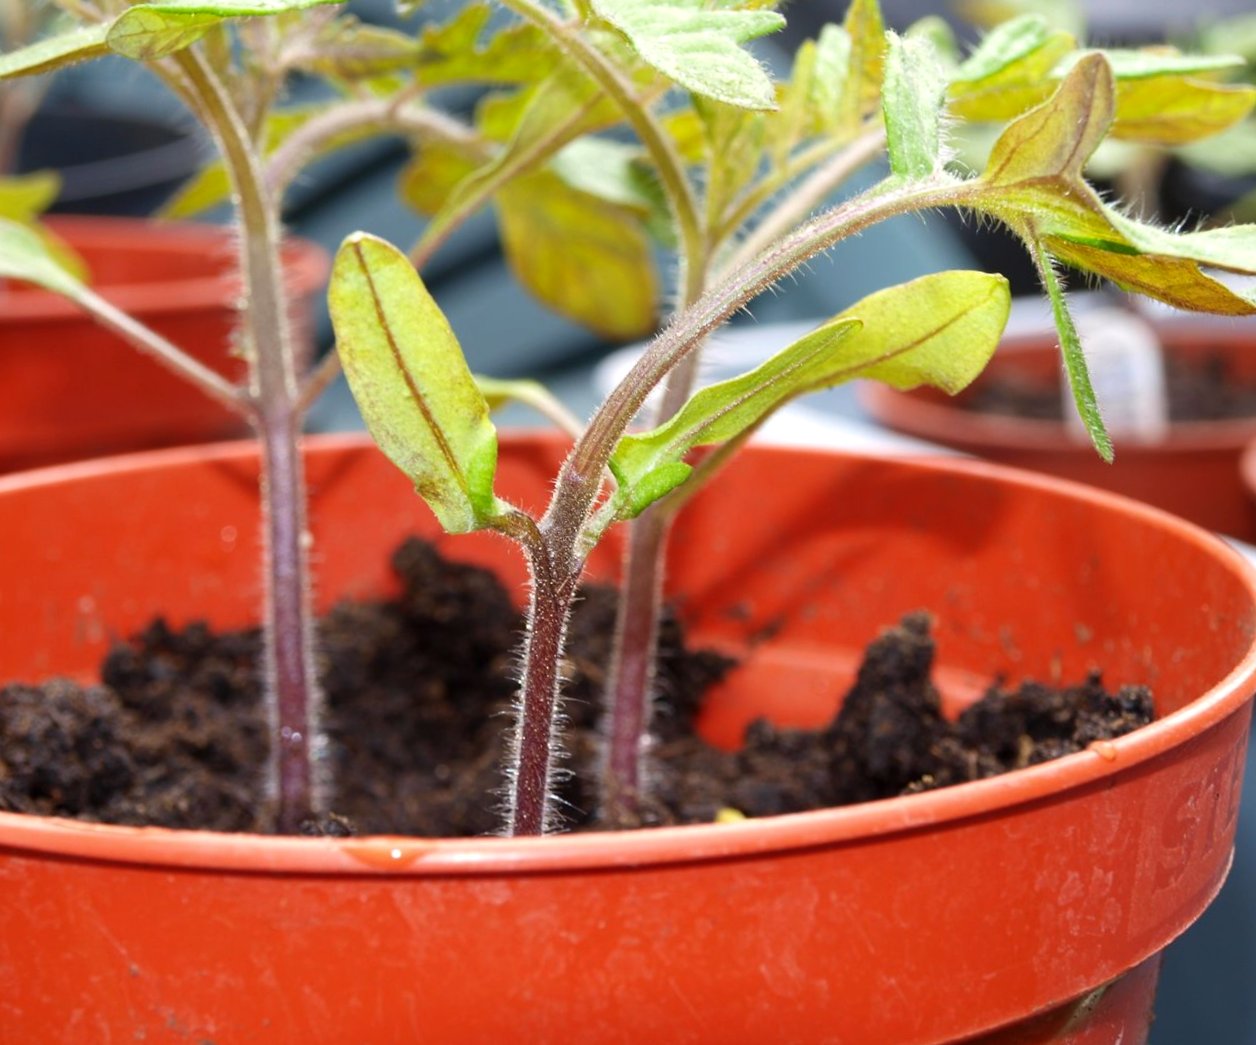
I noticed that one of the Green Zebra seedlings has "gone blind". This is a term used to describe what happens when a plant fails to develop a proper growing point and just terminates in a leaf. These pictures will probably explain better than my words can...


Having one seedling like this is not a problem for me though, since I have plenty of spares. And I mean PLENTY - about three times as many as I really need!

Tomatoes, Cucumbers, Lettuce, etc, etc.
I'm keeping my Toms in fairly small (5") pots for another couple of weeks still, so that I can put them under cover if the weather turns cold again, which it could well do at this time of the year. I will probably put them into their final growing containers in about the second week of May.

Some of the Chillies have also been transplanted. I grow them in 10" containers, so it would still be practical to protect them if I had to. I have two plants each of six different varieties. I will only grow one of each, and as long as the 'A'-team ones establish successfully, I will give away the others in a couple of weeks.

Chillies: 'A'-team at back, 'B'-team at front.

Thursday, 21 April 2011

A cheaper source of herbs?

What do you folks think about using the herb plants sold in supermarkets as "living ingredients" as a source of cheap(er) plants for the garden? In my local Garden Centre the individual herb plants - normally sold very immature, in 3" pots, are often priced at around £2.99. Even a smallish Rosemary plant, which takes longer for the producer to grow, would be probably £4.99. In the supermarkets you can get bigger plants for less money, for example we bought this pot of Rosemary for £1.49


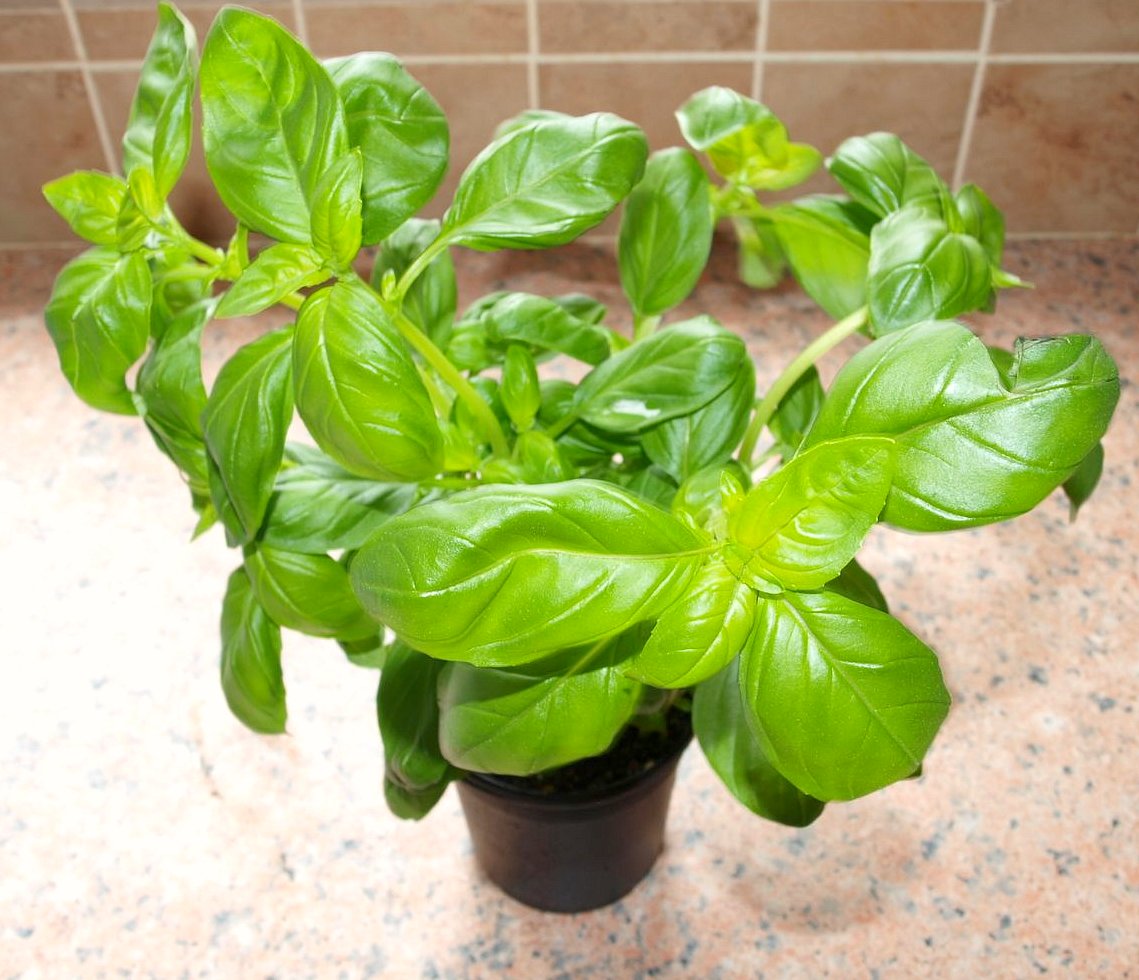
This pot of Basil for 89p


And this pot of Thyme for a mere 50p (although to be fair, it was on Special Offer at half the usual price)


Actually, the Thyme plant is quite a bit bigger than when I bought it about a month ago, and I have had to put it in a bigger pot, but I think that just proves my point: the "ready-to-eat" plants from the supermarkets will normally be perfectly viable in the garden.

Of course, it has to be said that the cheapest way to get herb plants is to grow them yourself from seed - which is what I normally do - except in the case of Rosemary, which takes a long time to grow from seed! Or perhaps to take cuttings from plants you already have -- like these Sage cuttings I potted-up in the first week of February, which are showing signs of some new growth, so they must have rooted.

Wednesday, 20 April 2011

Dragon-slayer

You remember the Rhubarb that was nicknamed "the Dragon"?


Well, I have slain the Dragon - in other words I have harvested the first batch of Rhubarb.


I only have two fairly small crowns of Rhubarb, and it will be a long time (if ever) before I get a glut of the stuff, but my philosophy is to always strive for quality rather than quantity, so I am quite proud of this batch.

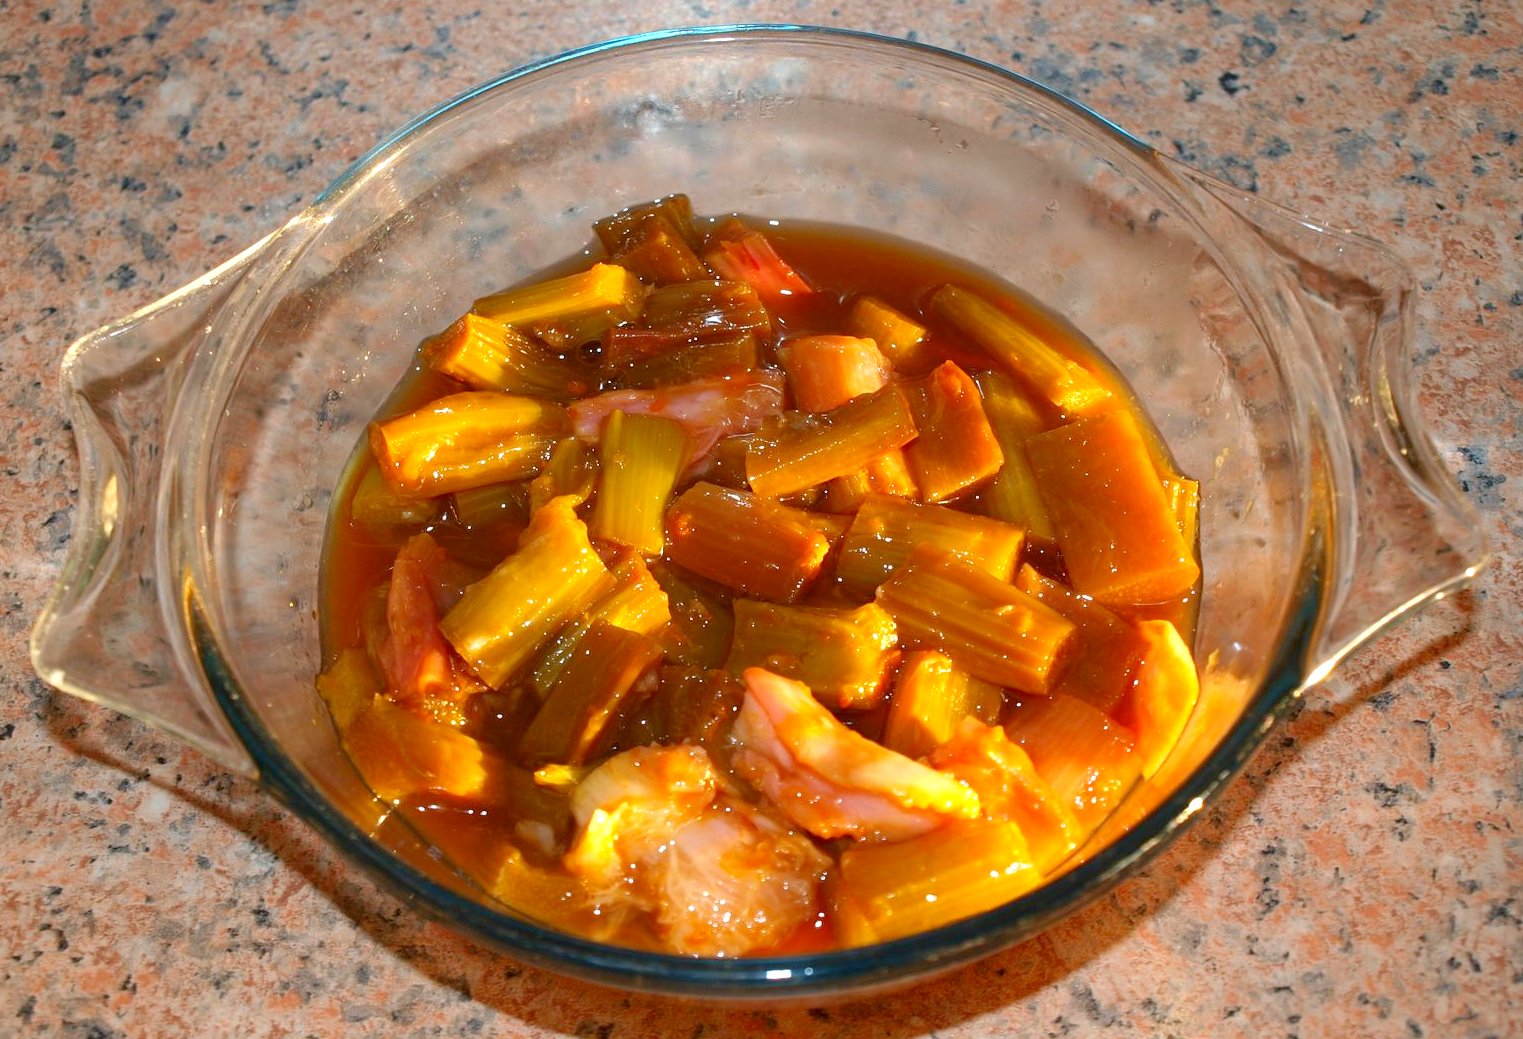
This is how I cooked it: I removed the leaves, washed the stalks and cut them into 1" lengths. I then put the Rhubarb in an ovenproof dish and added to it the juice and zest of half an orange, a tablespoonful of Dark Muscovado sugar, and a 1" knob of fresh Ginger, grated. I then covered it in foil and roasted it in the oven for about 35 mins at 140C, until very soft but not completely disintegrating. This is the end result.


The lovely golden glow is natural evening sunlight, by the way, not a trick of Photoshop. Here's a close-up.


Is that unctuous, or what???

The first of it was served on top of my pannacotta - like this:


Hopefully there will be more of it to come soon!

Tuesday, 19 April 2011

Pricking out and potting on


These are terms that experienced gardeners will fully understand, but for the benefit of our less-experienced colleagues, this is what they mean. "Pricking out" is the process of transferring tiny seedlings from their first home (usually a seed-tray) into individual containers or modules. This is normally done soon after the seedlings have developed their first set of true leaves (as opposed to their cotyledons or "seed-leaves"). It is a task that needs to be done with some care. Accumulated wisdom says that you should lift up the tiny seedlings on a non-metallic implement, to avoid accidental damage (I ignore this sometimes, because I find my stainless steel widger to be an ideal implement). You are also advised to handle the seedlings by the leaves, not the stems, for the same reason. A plant can replace damaged leaves, but not a damaged stem.

This is a picture of my newly pricked-out Basil seedlings, sitting on the Dining Room windowsill. Their predecessors, having survived the winter, had begun to look very tired and dispirited, so they were relegated to the compost bin, and have been replaced by these healthy youngsters:-


In my usual way, although I really only require four plants, I actually had nine strong seedlings, and I couldn't bear to just throw away the spare ones, so I have potted them up in individual 3" pots, and I will give them to my friend Rosemary, who is collecting plants for sale at a Hospital Fete which aims to raise money for charity.


 I have applied the same procedure to my Physalis (Cape Gooseberry) seedlings. I have seven plants, though I plan to grow to maturity only two of these. Hopefully they won't be quite as big and prolific as the Mexican Tomatillo plants I grew last year!


The term "Potting on" is the name applied to moving a plant into a bigger container. The 3" and 4" pots in the pictures above will only be suitable for these plants for a period of a couple of weeks and they will soon need to be moved into even bigger containers. It is not recommended that you put a tiny plant straight into a massive pot. Why? Not sure really. Maybe they just get lonely / intimidated! Actually, it is good for practical reasons to keep your plants in fairly small containers for as long as possible, because it allows you to protect them better. In our part of the world you can still get frosts in May, so it is handy to be able to put tender plants (like tomatoes) under cover if required, which for space reasons would not be possible for me if they were already in big pots. The next picture shows seedlings of the Tomato variety "Maskotka". The black 3" pot at the left demonstrates the first size into which I put individual tomato seedlings, and the terracotta-coloured 5" pot on the right shows the next size up.


These Lettuce seedlings are not going to be Pricked-out or Potted-on. They will just go straight into the ground in their final growing positions - and soon too, because they are getting quite big, and they are hardy enough to not require frost protection.


I have progressively thinned this seed tray to avoid over-crowding, but I'll still end up with more than I need. Lettuce is definitely a crop that needs to be sown successionally, in small batches throughout the growing season. You don't want loads of lettuces all coming on at the same time. However much you like lettuce there is only so much you can eat! A mature lettuce often bolts, so in most cases you can't just leave it until you need it. This is one of the reasons why I always grow some of the Cut-and-Come-Again types. I particularly like "Fristina", a frizzy almost Endive-like lettuce that can be harvested leaf by leaf if required.

My chilli plants are getting big too. They will definitely need potting-on, but that's a task for Easter weekend...


Monday, 18 April 2011

Sunday in the garden (and kitchen)

This Sunday I indulged in my two main hobbies: gardening and cooking.

I was up early (I always am these days...) Morning sunlight makes for great photography conditions. This is the border in which most of my Dogwoods grow, photographed at about 07:00. The red shrub is the Cotinus "Royal Purple".


Dogwood in the spotlight...

It was quite chilly first thing in the morning, so after breakfast I did some cooking while the temperature outside warmed up. I had volunteered to make dinner, to give Jane a break. This is what I had decided to cook.

Dinner menu:

Baby leaf salad with fried Black Pudding, served with warm oil-and-vinegar dressing

Mexican-style Braised beef with chipotle chilli and Black Beans
Sprouting broccoli stir-fried with garlic
Basmati rice

Pannacotta with Rhubarb and orange compote

Now, I'm not intending in this post to describe in detail the whole of this menu, (I will be writing about the home-grown Rhubarb in the next couple of days) but perhaps I should just say a few words about my beef dish, which was "experimental", using my instinct to create something new. I had bought a really fabulous piece of Silverside from my local butcher. The meat was dark - obviously well-aged -  and finely marbled with fat, which helps it to stay tender as it cooks. I marinated the beef for several hours with a rub made from black pepper, crushed cloves, star anise, Allspice (Jamaican pepper, or Pimiento), and chilli flakes.

At a point about four hours before serving-time, I browned the meat all round in some very hot oil, and set it aside for a few minutes while I softened some onions in the oil and meat juices. While this was going on I had a handful of dried Chipotle re-constituting in some boiling water. When the onions were done, I returned the meat to the pan, added the chipotle and their soaking water, a couple of cloves of garlic (chopped finely), and a whole fresh red chilli, and a bit more water. Then into the oven on a low (120C) heat for about three and a half hours... About an hour before serving I removed the bigger pieces of chipotle, adjusted the seasoning, and added the black beans. At serving-time the meat was succulent and strongly flavoured, with quite a kick from the chilli. It was tender and so soft that you could have pulled it apart with two forks. I didn't: I sliced it very carefully, and laid the slices over some rice, and spooned some of the black bean sauce over the top. Heavenly!

*********************************************************************************

OK, back to the gardening then. Imagine I have just made some vanilla and yoghurt pannacotta, and left it in the fridge to set...

Vanilla pannacotta with Rhubarb and orange compote

My first gardening task was (rather surprisingly for the UK in April) to water the garden with the hosepipe. We have had some exceptionally dry weather recently; hardly any rain for several weeks now, and everything was looking very thirsty. The soil in my garden is sandy, and it goes dry and dusty very rapidly.

I next "re-arranged" my Broad Beans. Regular readers will know that I sowed two rows of BBs, one of which germinated well and one of which didn't. Even in the good row, there were a few rather weak plants. You can see a couple in this photo:


Fortunately, I had taken the precaution of sowing a few extra seeds at the end of each row, just for this sort of eventuality. Some of the spares can be seen in the next photo. The main row is the horizontal one (with its matching row of Radishes below it), and the spares are the ones above and below the end plant in the main row.


So what I did was dig up the weaklings and insert the spares.


You can see that the plants are really too close to one another still, but I am going to leave it a bit longer before removing some of them, once I see which are the strongest ones. So now I have one good row and one that is OK-ish (composed of plants of two different varieties now!)


On next to the Cucumber bin. Again, regular readers will know that I have been planning to grow my cucumbers in a big tub made from half of an old water-butt. Today I erected the frame over which the cucumber plants will hopefully climb. It is made with bits of wood that were trimmed from trees and bushes elsewhere in the garden. It doesn't look very picturesque, but I'm sure it will serve the purpose. It'll look better once it is covered in cucumber foliage.


In front I have planted a bit of camouflage - a row of ferns which will put up tall fronds to screen the tub.


The ferns are protected by more twigs - to try to dissuade the foxes from digging them up. The foxes like to dig close to / underneath the plants because the soil around them is moist where I have watered them. Presumably there are lots of succulent worms in this moist soil...

Another task I needed to do was earth-up the potatoes. I have 21 tubs of potatoes - one tuber planted in each. Several of the pots are re-purposed chicken manure tubs.


I'm sure most of your know this, but "earthing-up" means adding a bit more compost around the stems of the plants as they grow taller. The aim is to have as much as possible of the stem underground, which is where the tubers form of course. Earthing-up is done progressively, two or three times, until the rim of the container is reached.

I'm sure I did a few other tasks too, but to be honest I've forgotten what they were - let's just say I had a busy day!

Sunday, 17 April 2011

The Crab Apple tree

I have a Crab Apple tree at the front of my house. Most of the time it looks pretty ordinary, but for a couple of weeks every year (about the middle of April) it looks absolutely stunning.


This is what the individual blossoms look like:


It's hard to do the tree justice; it's just an absolute riot of colour:


On Thursday, as I got in from work I noticed that the tree was literally buzzing with the sound of bees.


Later in the year this tree will (hopefully) provide us with a massive crop of little pink-tinged apples, some of which usually end up being made into Crab Apple Jelly, which is delicious with pork and cold ham.

Photo from August 2010